
The Ninja Blender, a popular kitchen gadget, has won many hearts due to its powerful performance and versatility. However, like any other kitchen appliance, it requires regular cleaning and maintenance to ensure its longevity and optimal performance. One component often overlooked in the cleaning process is the Ninja Blender Rubber Gasket. This small yet crucial part plays a significant role in sealing the blender and preventing leaks. This blog post will provide an in-depth guide on how to clean the Ninja Blender Rubber Gasket and why it’s essential to maintain this part in pristine condition.
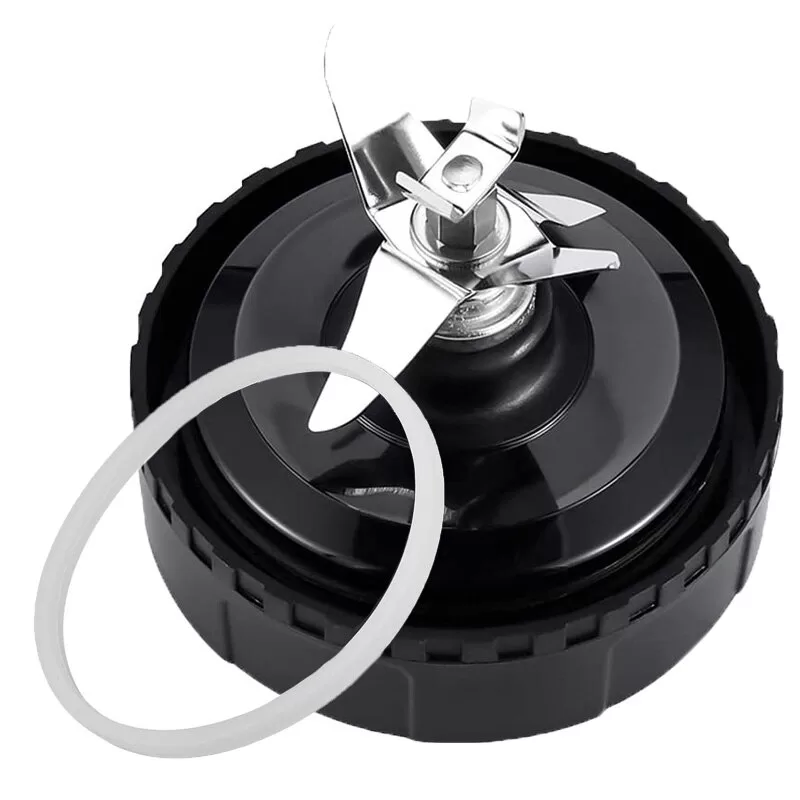
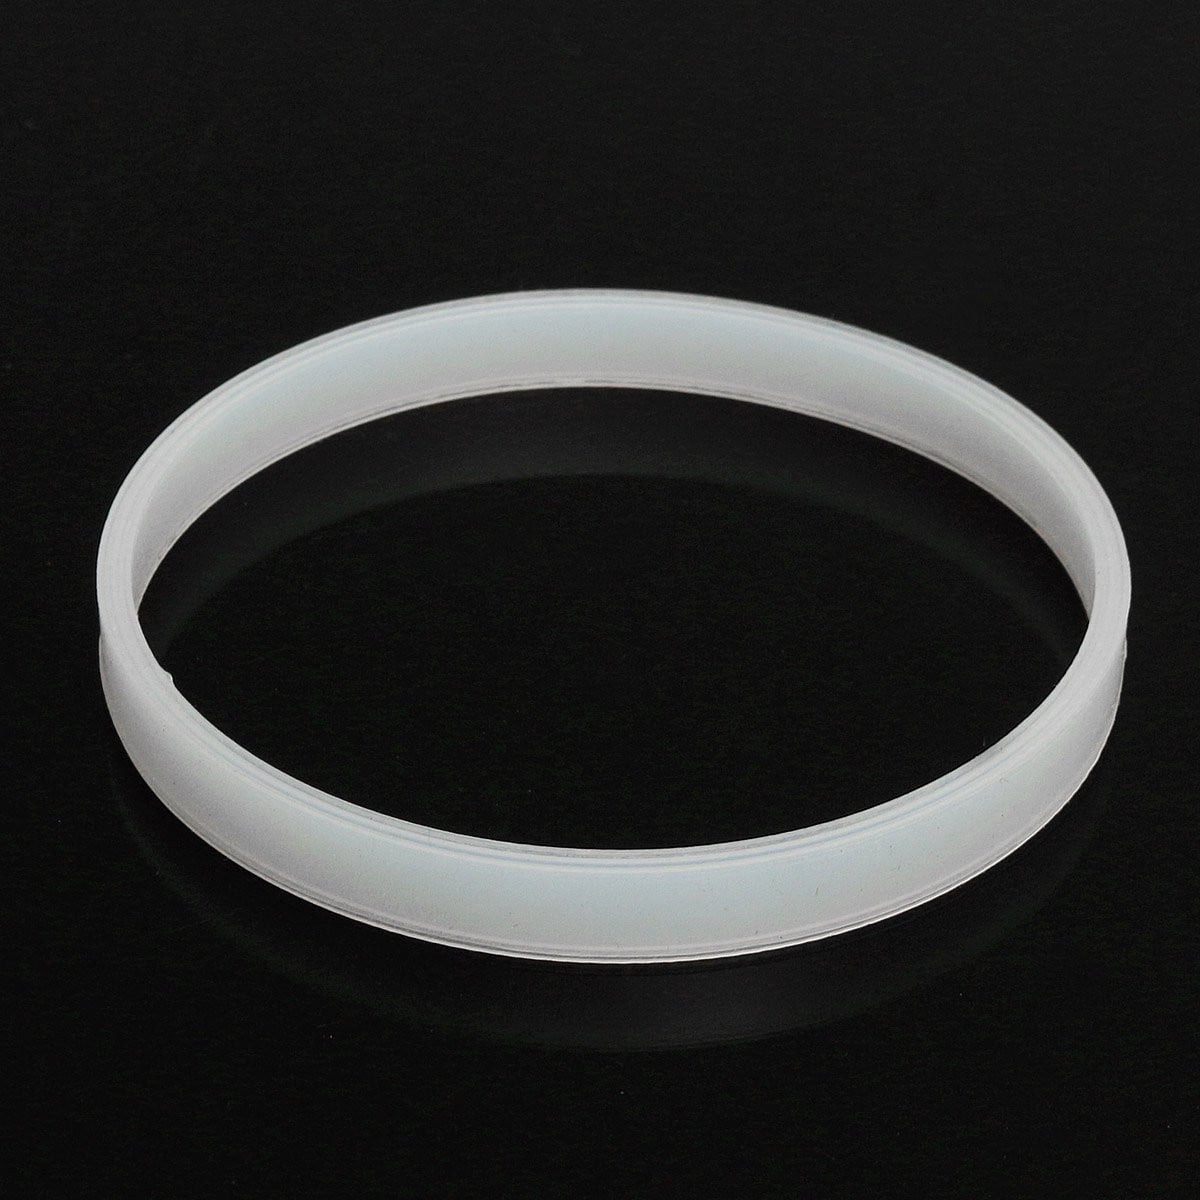
The rubber gasket in your Ninja Blender acts as a seal between the blade assembly and the jar. It prevents the liquid from leaking out during blending and ensures smooth operation. When food particles get stuck in the gasket, they can compromise the seal’s effectiveness and lead to leaks. Additionally, these particles can harbor bacteria and mold if not cleaned promptly, posing a health risk.
Regular cleaning of the gasket not only maintains the blender’s performance but also extends its lifespan and ensures your blended concoctions are safe to consume.
1. Disassemble the Blender
Start by unplugging the blender. Remove the lid and take out the blade assembly. The rubber gasket is usually located around the base of the blade assembly.
2. Soak the Parts
Immerse the blade assembly, along with the gasket, in warm, soapy water. Let them soak for about 15-20 minutes. This will help loosen any stuck-on food particles.
3. Scrub the Gasket
After soaking, use a soft cloth or a small brush (like an old toothbrush) to gently scrub the rubber gasket. Be thorough and ensure you remove all food particles and residue.
4. Rinse and Dry
Rinse the gasket and blade assembly under warm running water. Ensure to remove all soap residue. Finally, dry all parts thoroughly before reassembling to avoid any water damage or bacteria growth.
5. Reassemble the Blender
Once all parts are dry, reassemble your Ninja Blender. Ensure the gasket is correctly positioned to avoid leaks.
6. Regular Maintenance
It’s advisable to clean your gasket after every use, especially if you’re blending sticky or high-pigment foods. Regular maintenance will keep your blender in top shape and extend its lifespan.

1. How often should I clean my Ninja Blender Rubber Gasket?
Ideally, you should clean the rubber gasket after every use. It helps prevent food particles from drying and sticking, which could lead to stubborn stains or bacterial growth.
2. Can I put my Ninja Blender Rubber Gasket in the dishwasher?
While some Ninja Blender parts are dishwasher-safe, the company advises against washing the rubber gasket in the dishwasher. The high temperatures could warp or damage the gasket. Hand washing is recommended.
3. What should I do if my Ninja Blender Rubber Gasket is damaged?
If your gasket is damaged or worn out, it’s essential to replace it immediately to prevent leaks. You can buy replacement gaskets from Ninja or authorized retailers.
Maintaining a clean Ninja Blender Rubber Gasket is crucial for smooth operation, longevity, and food safety. By cleaning the rubber gasket properly and regularly, you ensure your Ninja Blender continues to perform efficiently. Don’t overlook this small component; it plays a big role in your blender’s overall performance.
Remember, proper care and regular cleaning of your Ninja Blender, including the rubber gasket, will provide you with many years of reliable service and delicious recipes. Happy blending!

