
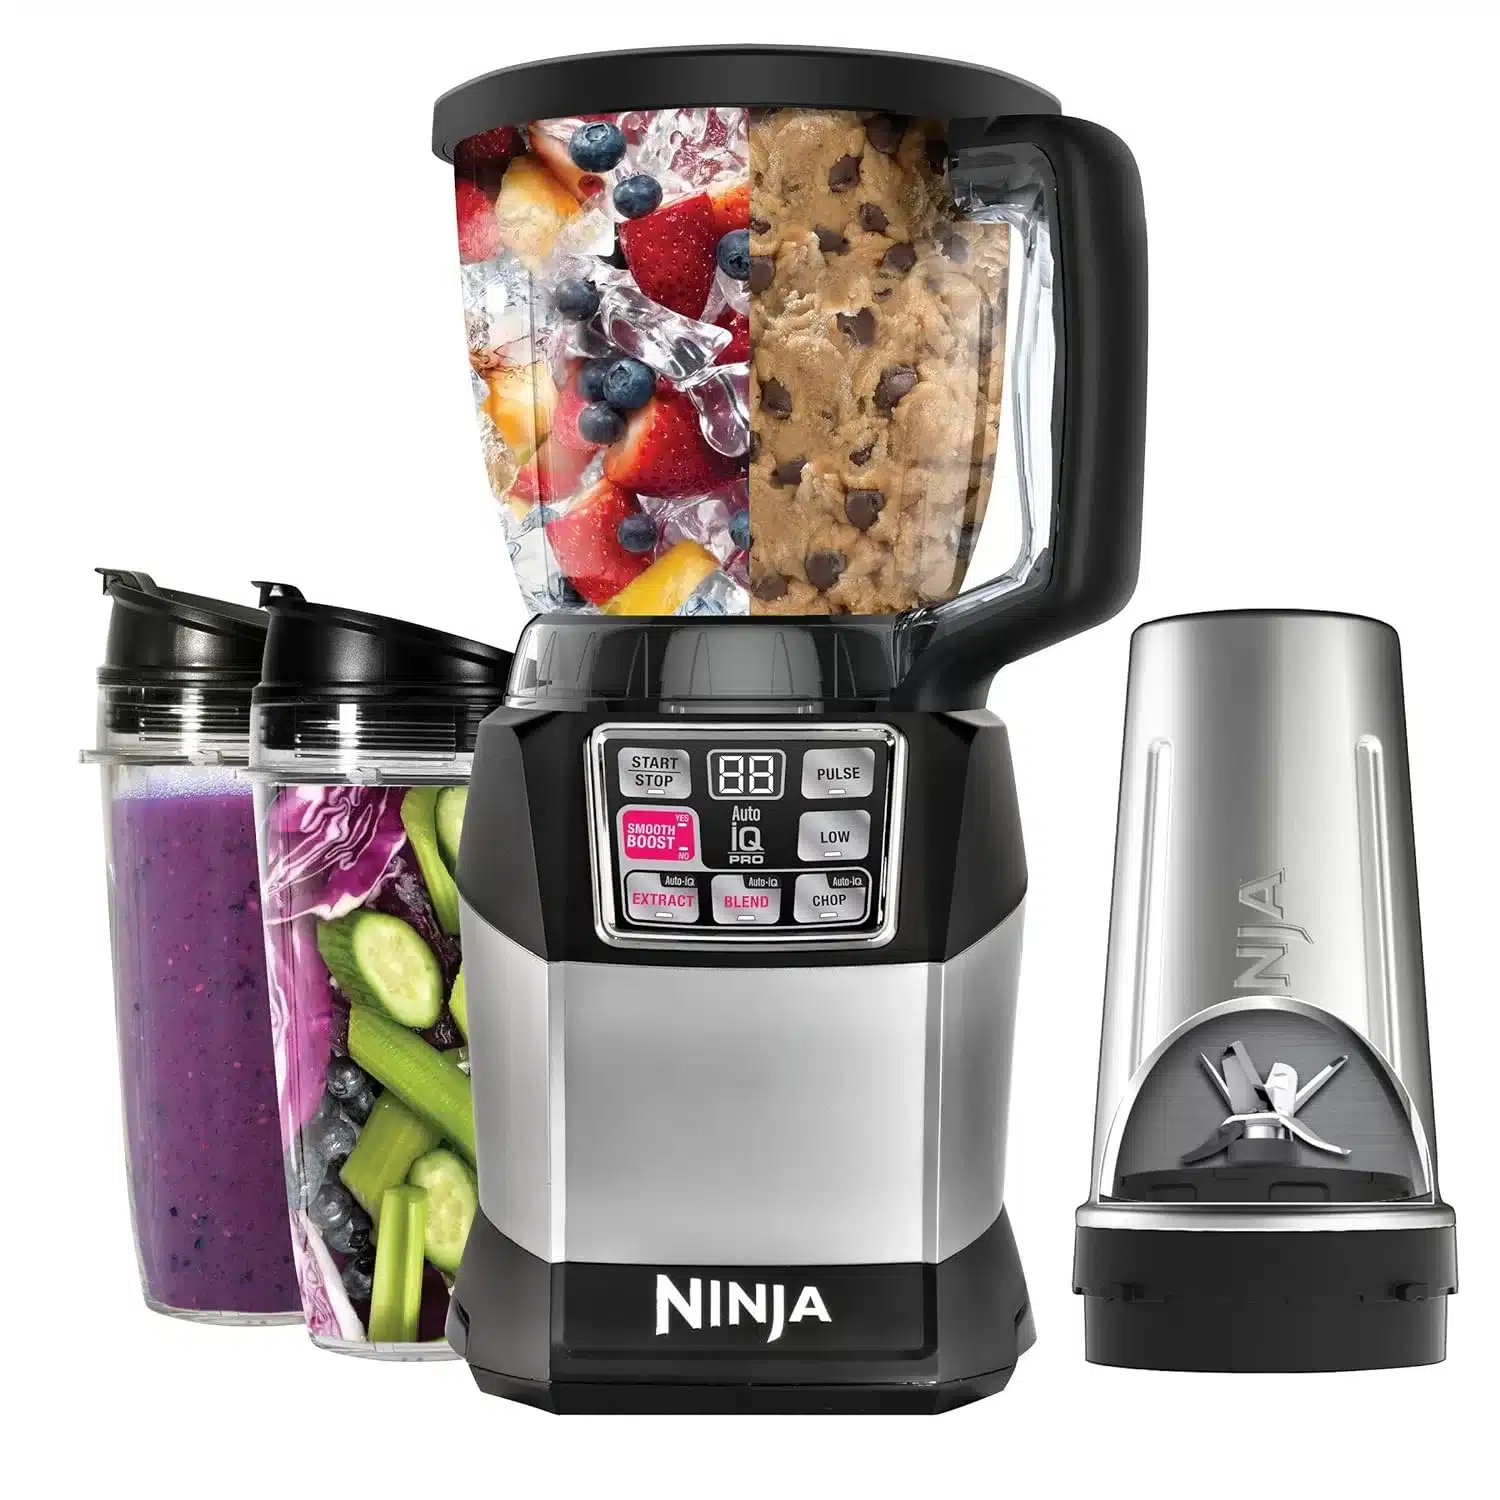
The Ninja Auto-IQ blender is one of the most advanced and convenient blenders on the market today. With its intelligent Auto-IQ technology, this blender practically makes smoothies and other blended drinks for you at the touch of a button. If you’ve recently purchased one of these high-powered blenders, this guide will help you get the most out of it.
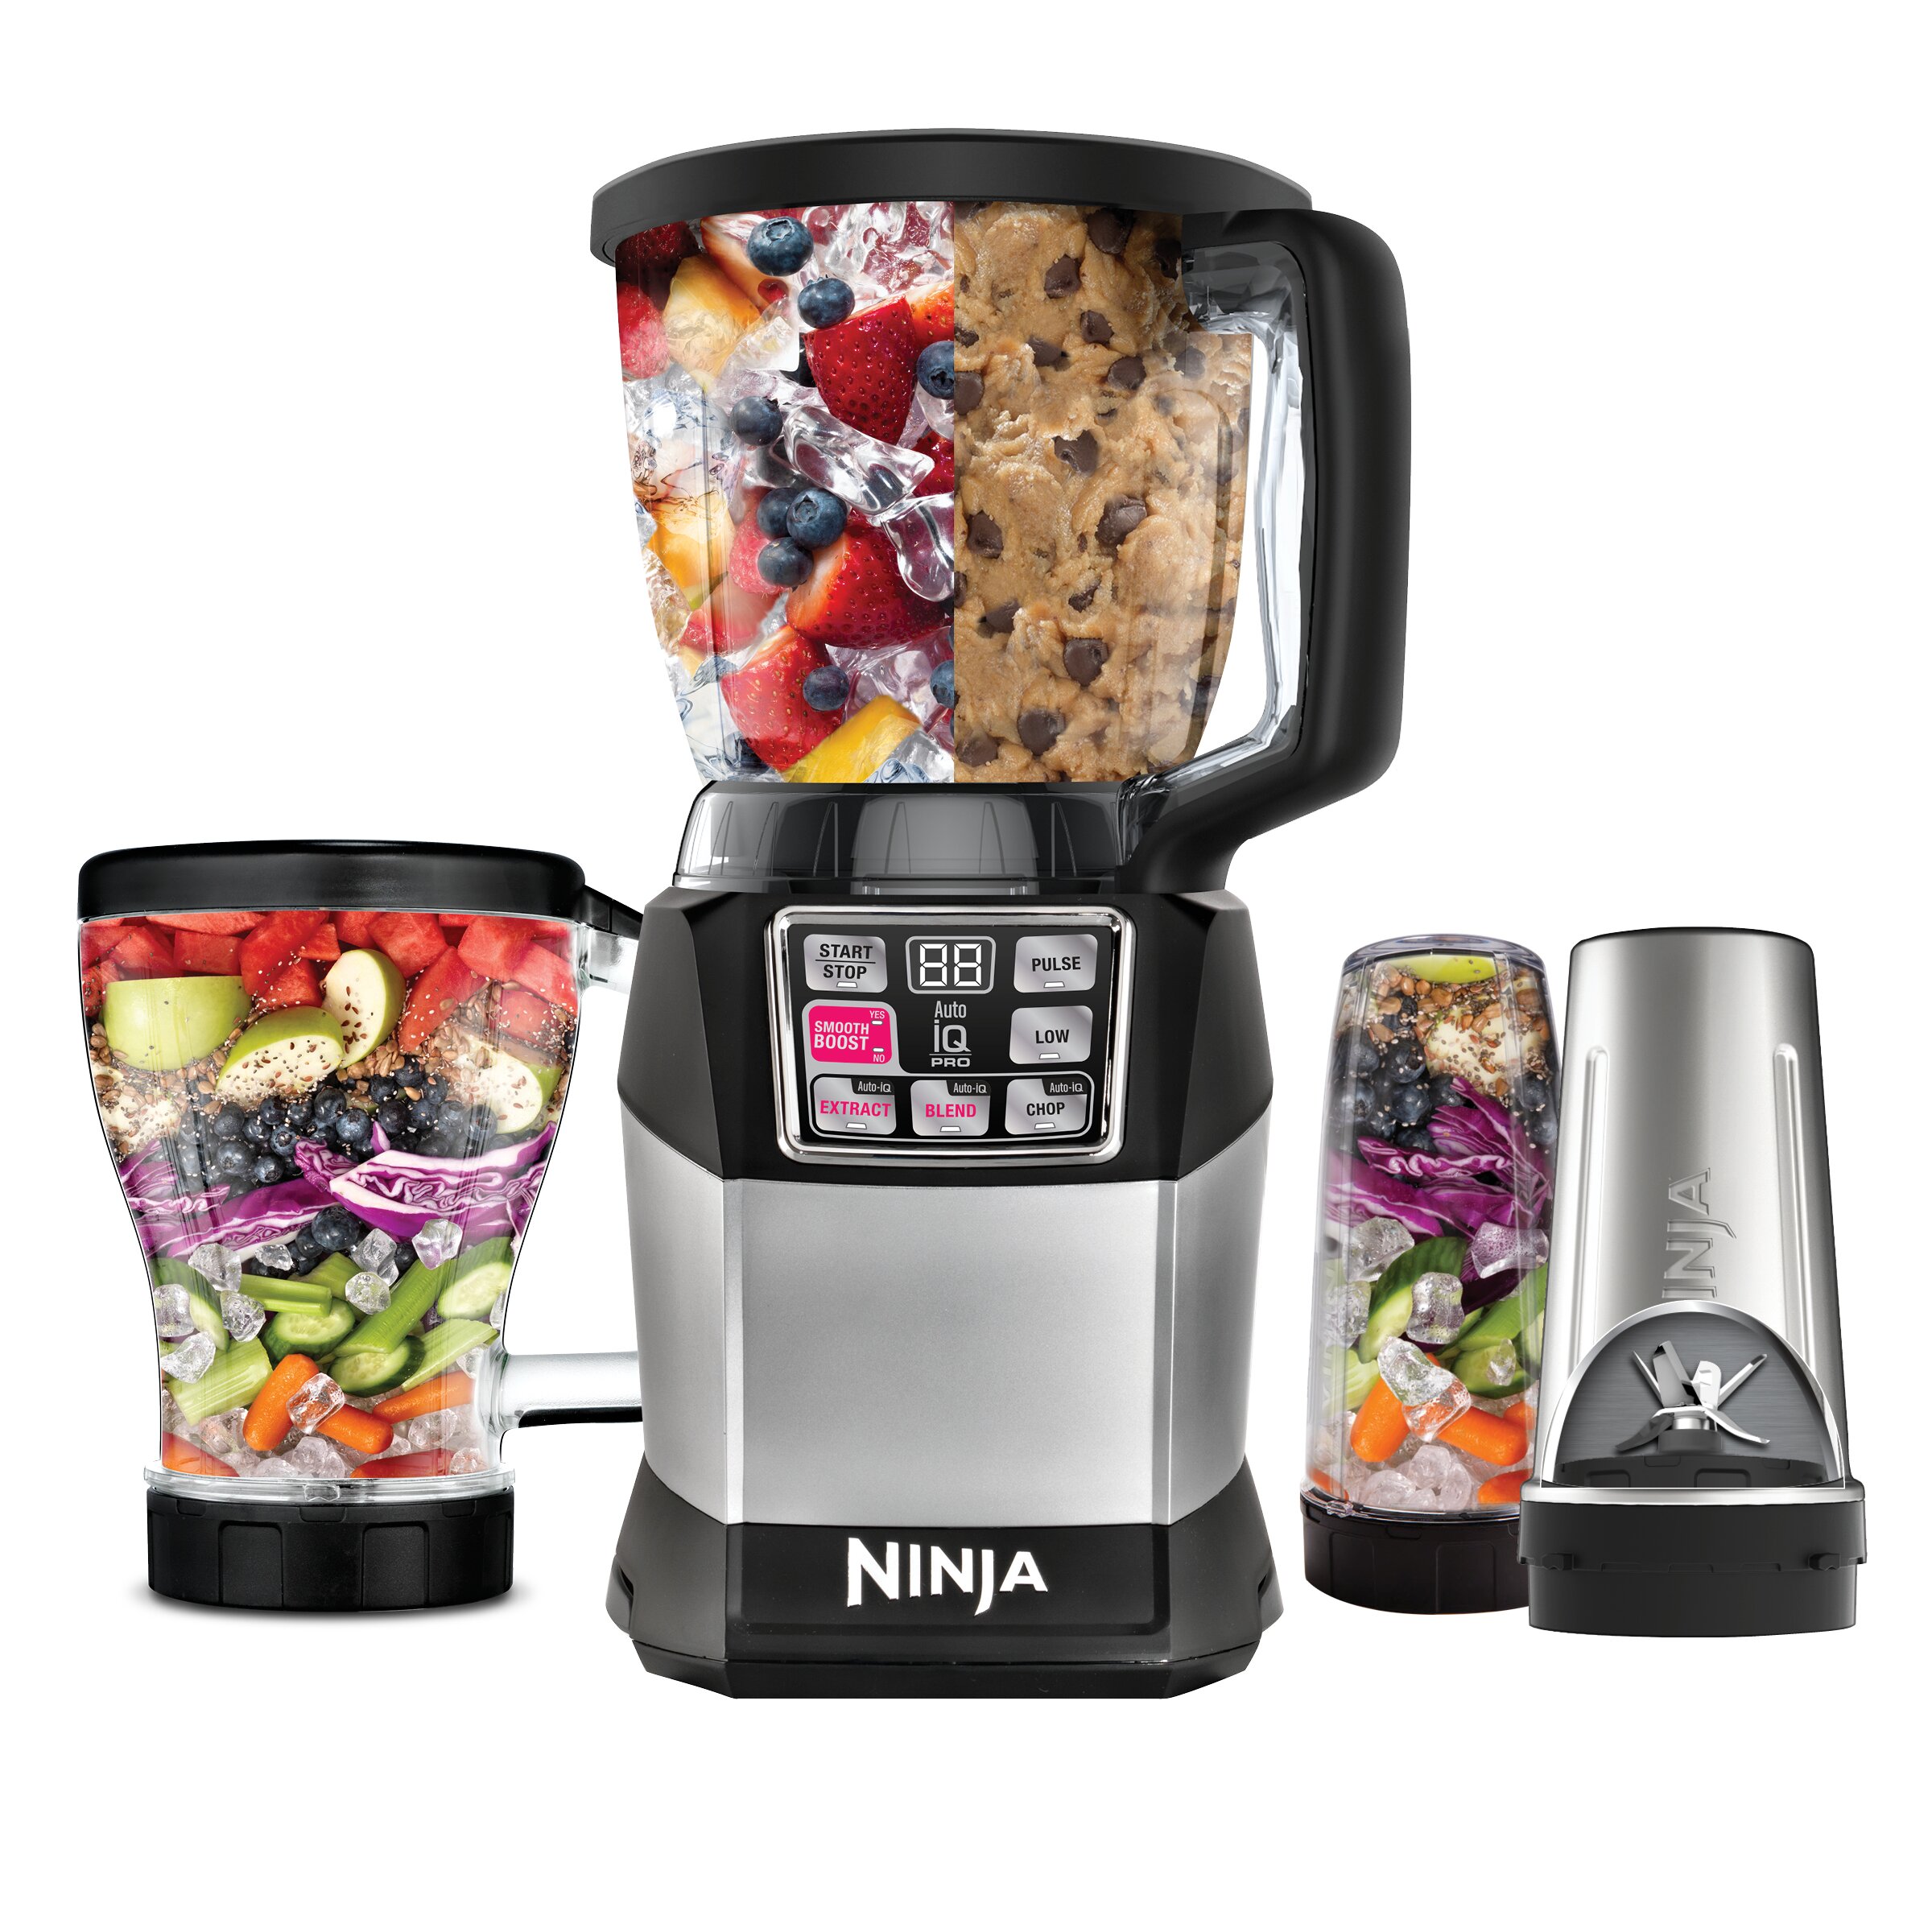
The first step is to unpack all the parts and accessories that came with your Ninja Auto-IQ blender, wash the components with warm soapy water, and thoroughly dry them. The main blender pitcher has measurement markings on the side that you’ll use to gauge ingredients.
Before first use, make sure the blender is standing on a clean, dry, and level surface. There should be adequate space around it for the lid to open without obstruction.
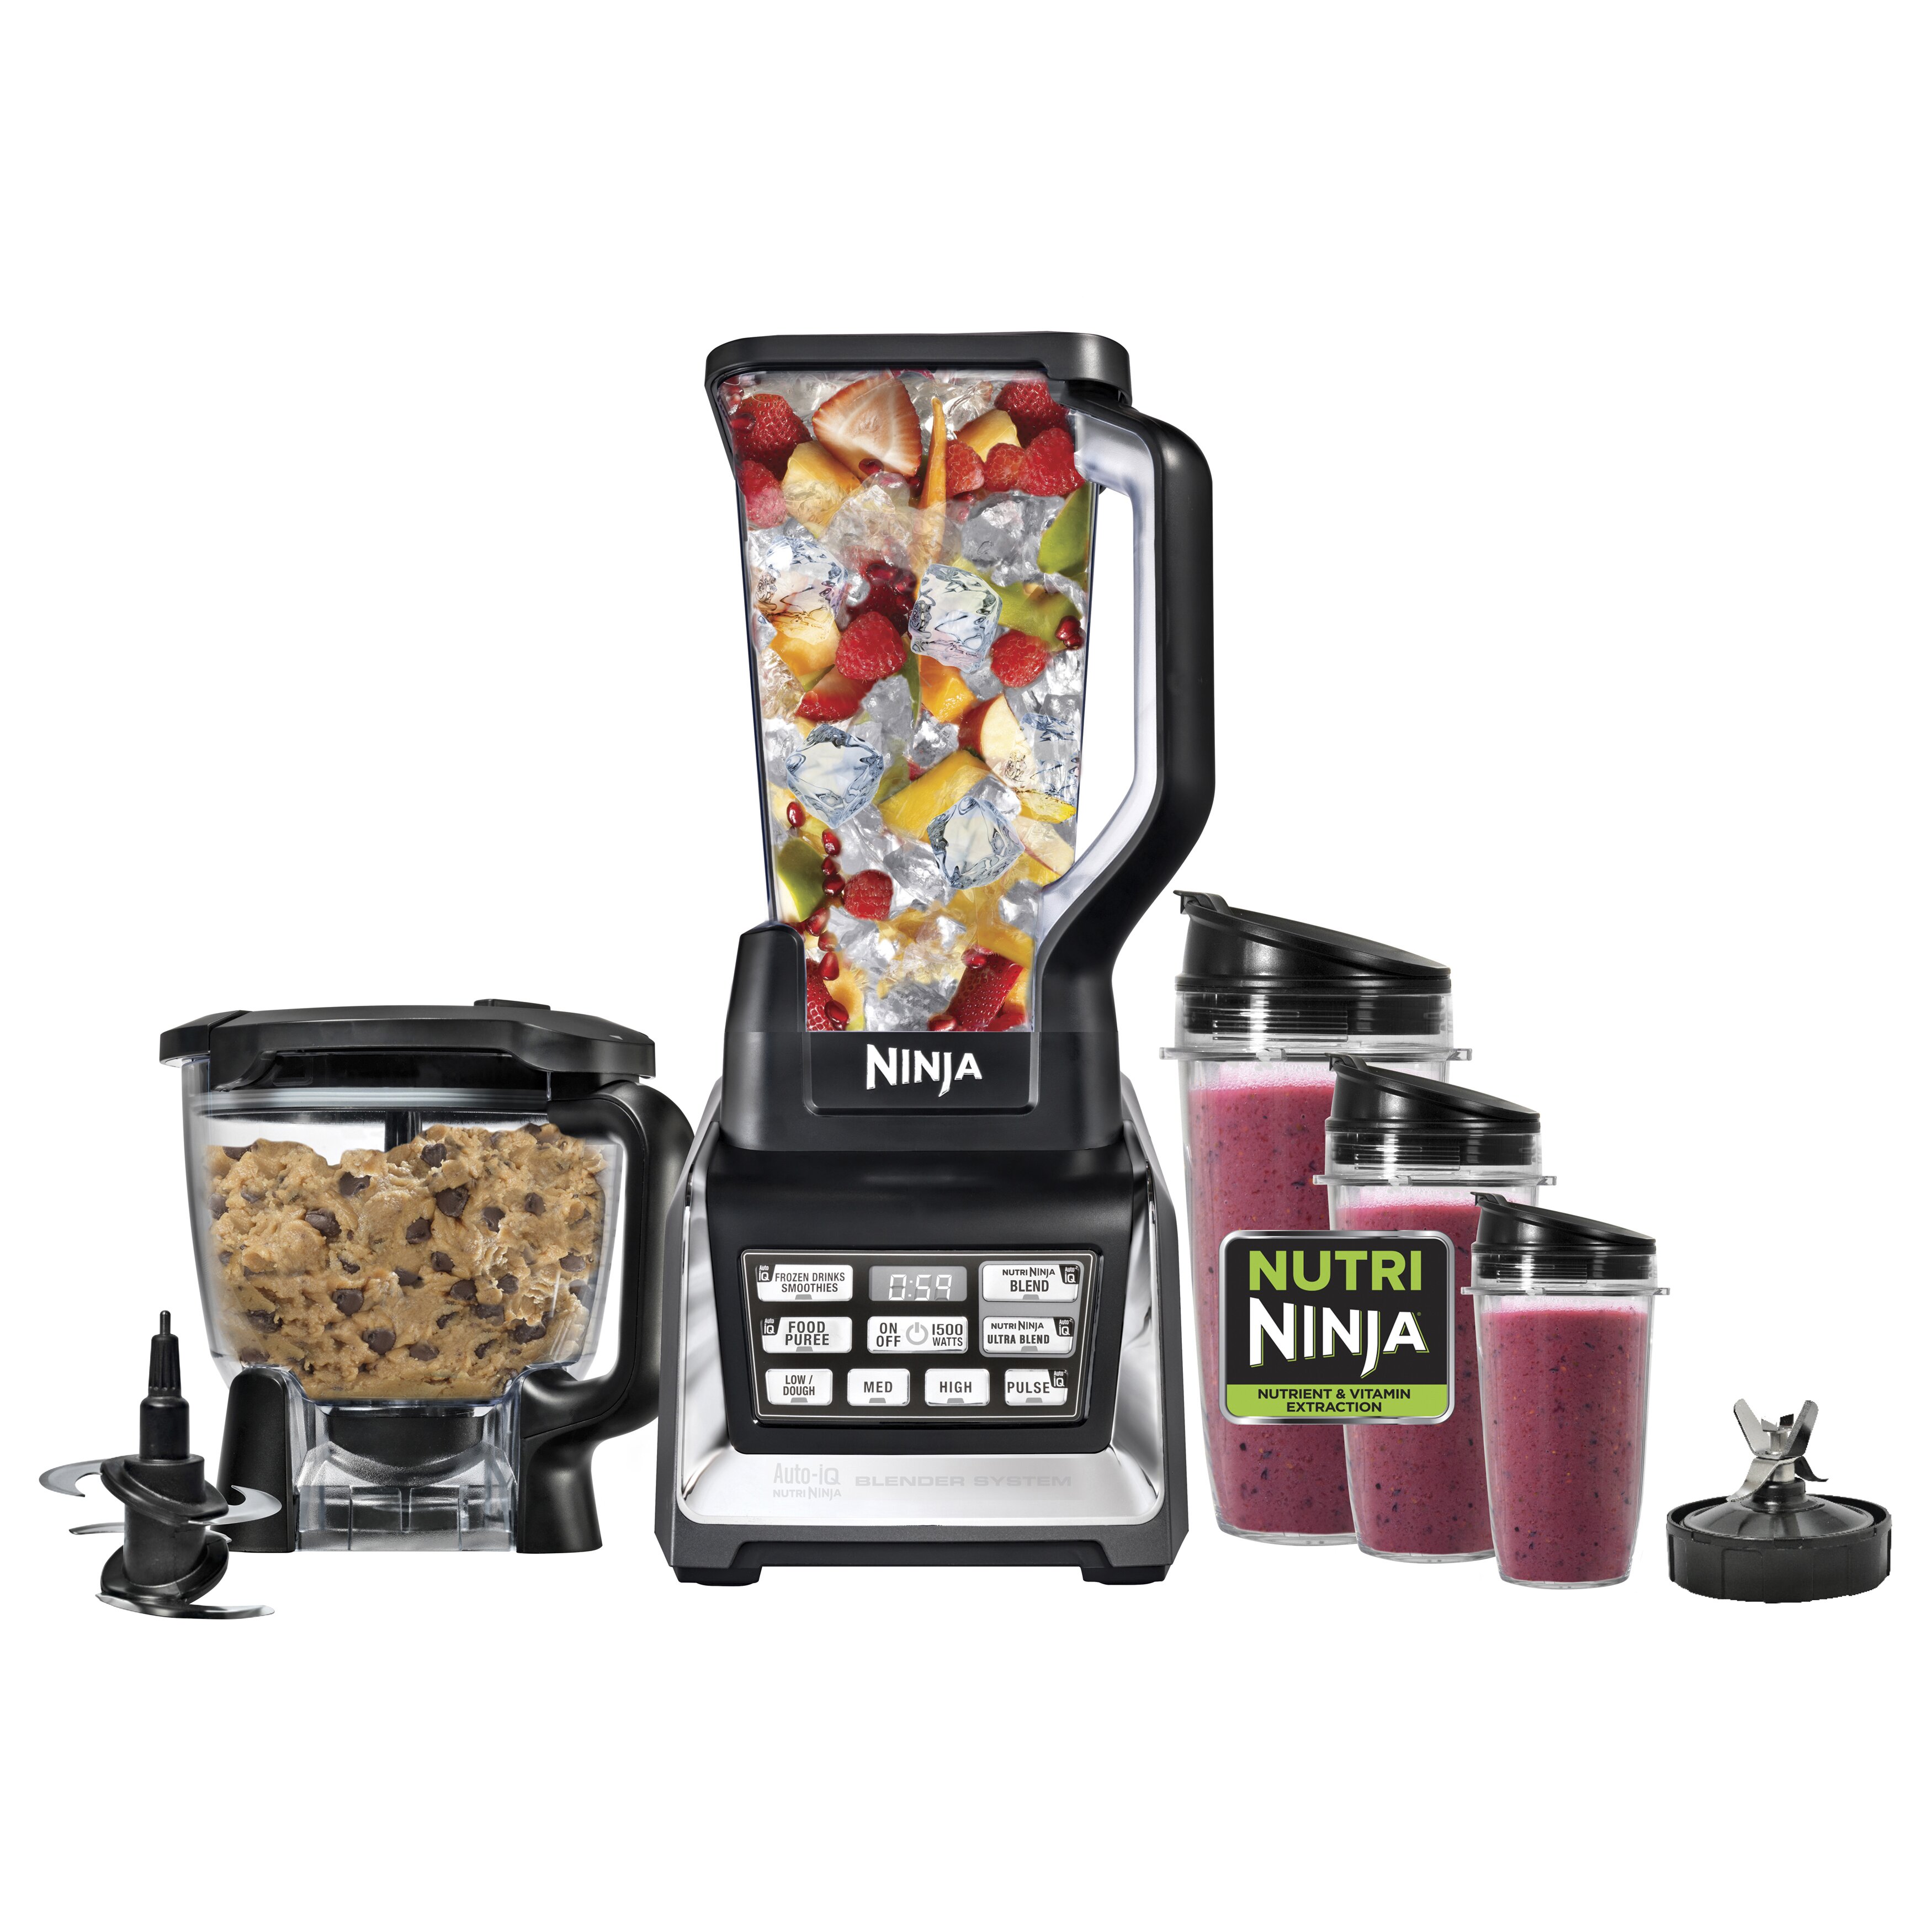
Plug the power cord into an outlet and make sure the blender is turned off initially. The control panel has buttons for the preset Auto-IQ programs as well as low, medium, and high manual speeds. We’ll get into how to use both functions shortly.
The Auto-IQ feature is what really sets this blender apart. There are four pre-programmed Auto-IQ profiles:
To use an Auto-IQ program, simply press the corresponding button once. The blender will automatically stop itself when the program finishes. The total blend time varies based on the program – smoothies take roughly 45 seconds while frozen drinks can take 1-2 minutes.
Add your ingredients to the blender, making sure not to exceed the max fill line. Then press your desired Auto-IQ preset and let the blender work its magic. The Auto-IQ technology intelligently combines pulsing, blending, and pausing to achieve the perfect consistency for each program.
If you want more manual control, you can use the low, medium, and high speed buttons instead of the Auto-IQ presets.
The low speed is good for gently stirring chunky ingredients together before increasing the speed. Medium speed works well for blending smoothies and mixing batters. High speed is ideal for liquifying ingredients into smooth purees and crushing ice.
When using manual speeds, pulse the blender a few times initially to break up larger pieces. Then blend on low or medium for 30-60 seconds. Check the consistency and blend longer if needed. Finish on high speed for the smoothest results.
Here are some additional pointers for blending success with the Ninja Auto-IQ:
Be sure to wash all blender parts thoroughly after each use. Do not place the plastic pitcher in the dishwasher. Handwashing prevents warping and retains the clarity.
Wipe down the blender base to keep it looking shiny and new. Follow the manufacturer’s instructions for regular maintenance and lubrication of the blender parts.
With Auto-IQ technology and manual speed options, the Ninja blender makes it easy to craft restaurant-quality smoothies, frozen drinks, dips and more right at home. Follow this guide to get familiar with the blender’s features and functions. Soon you’ll be an expert at using your machine to whip up delicious blended creations in minutes!

How long should I blend ingredients on each speed setting?
Blend on low to incorporate chunky ingredients, medium to blend smoothies, then high at the end for a silky texture. Use Auto-IQ presets to blend hands-free.
What can I make in this blender besides smoothies?
You can make salsa, hummus, nut butters, oat flour, fruit and vegetable purees for baby food, nut milks, protein shakes, salad dressings, soups, pancake batter and more! Get creative with sweet and savory recipes.
How do I clean sticky or dried ingredients from the blender pitcher?
Fill the pitcher half full with warm water and add a drop of dish soap. Blend on low for 30 seconds, then high for 20 seconds. Rinse thoroughly. For tough stains, soak the container for 10-15 minutes before scrubbing.
With intelligent Auto-IQ programs that blend specific ingredients to perfection, along with manual speed options for greater control, the Ninja Auto-IQ blender makes it easy for anyone to create delicious, restaurant-quality drinks and foods. This guide covered the initial set-up, walkthrough of features, handy tips, and proper cleaning to help you get the most out of your new blender. Once you get the hang of it, you’ll be able to effortlessly whip up your favorite smoothies, shakes, dips and more!

