
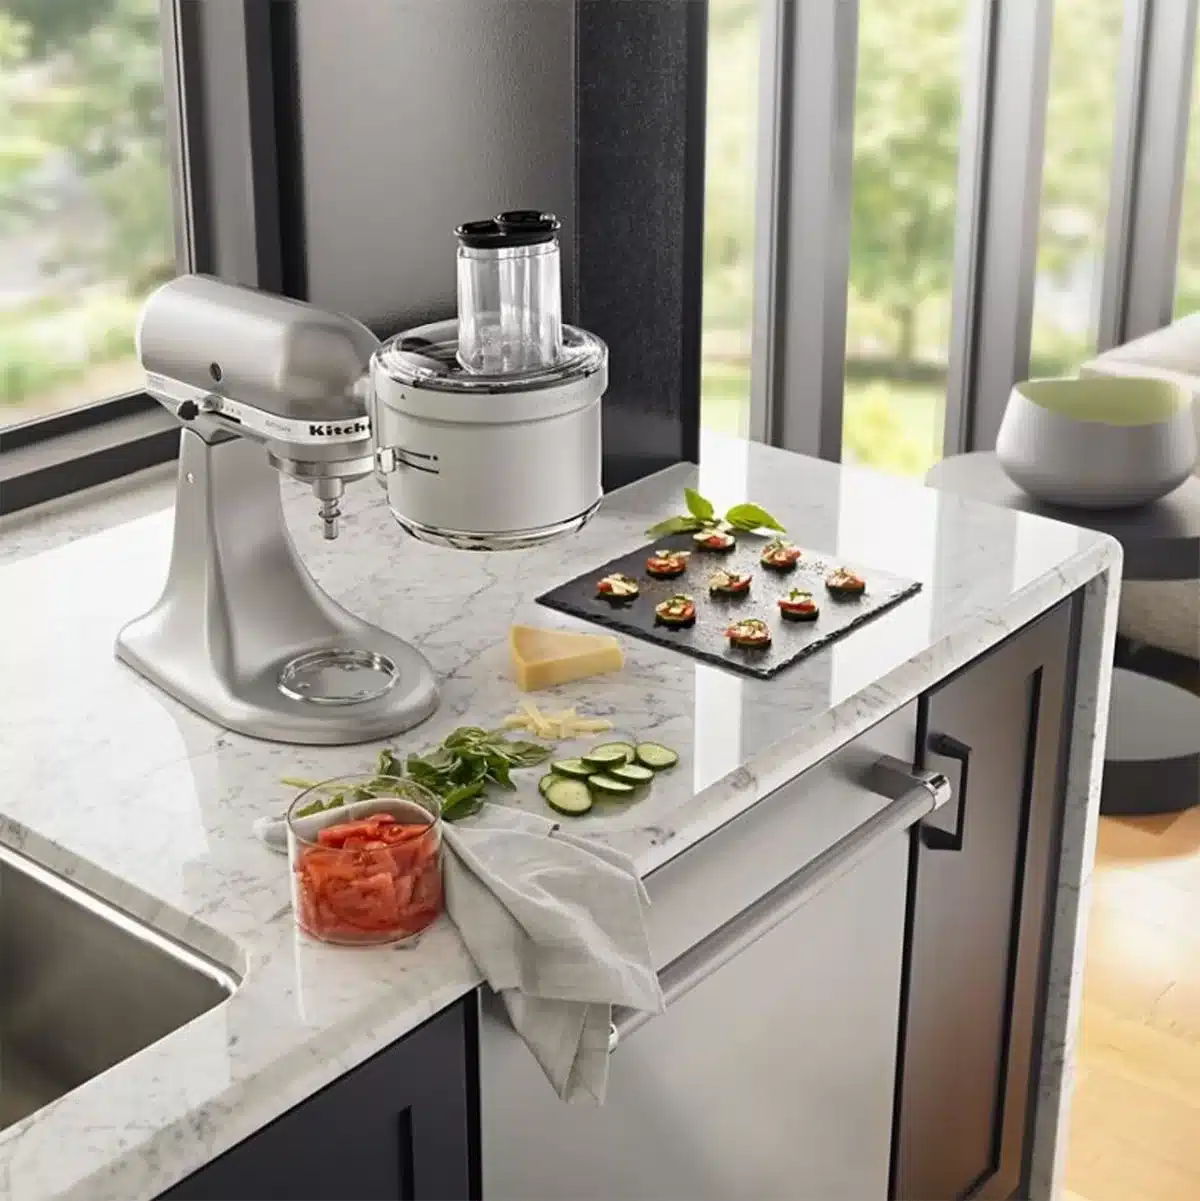
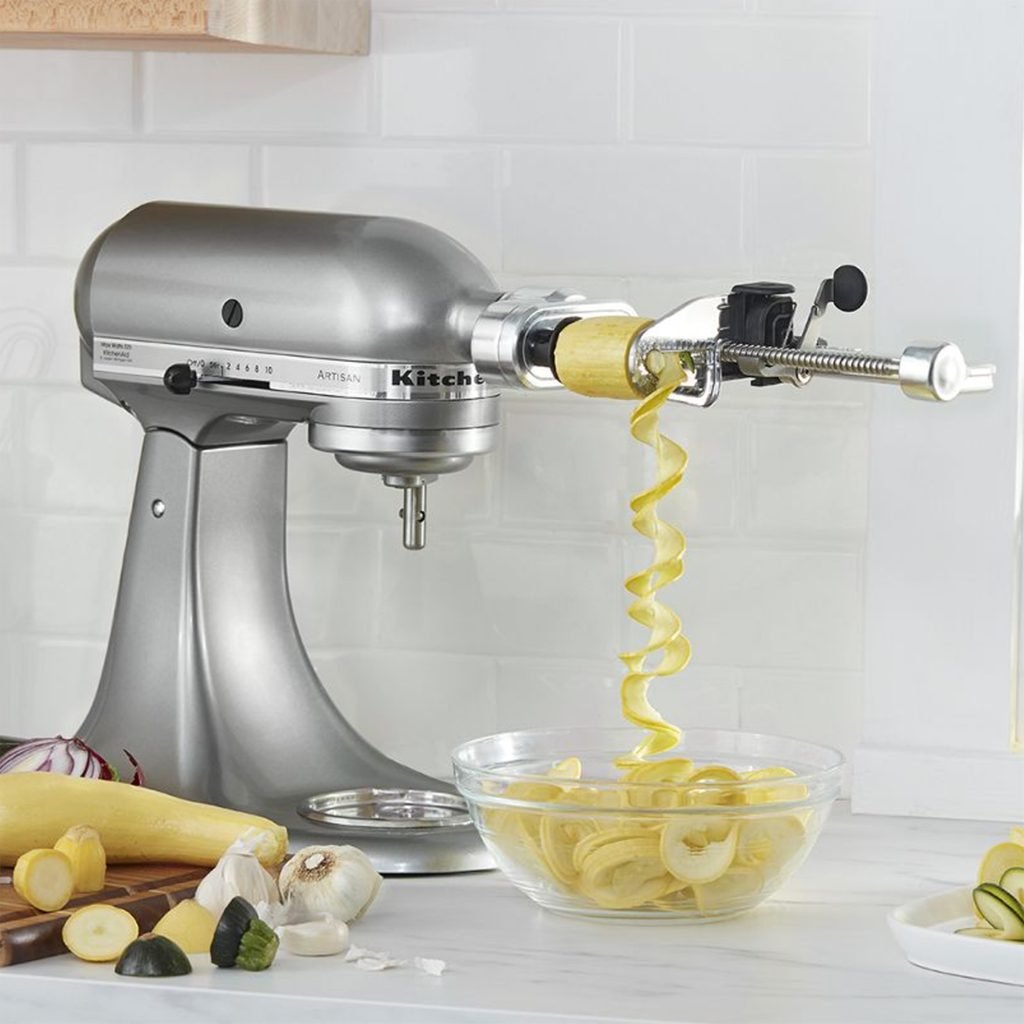
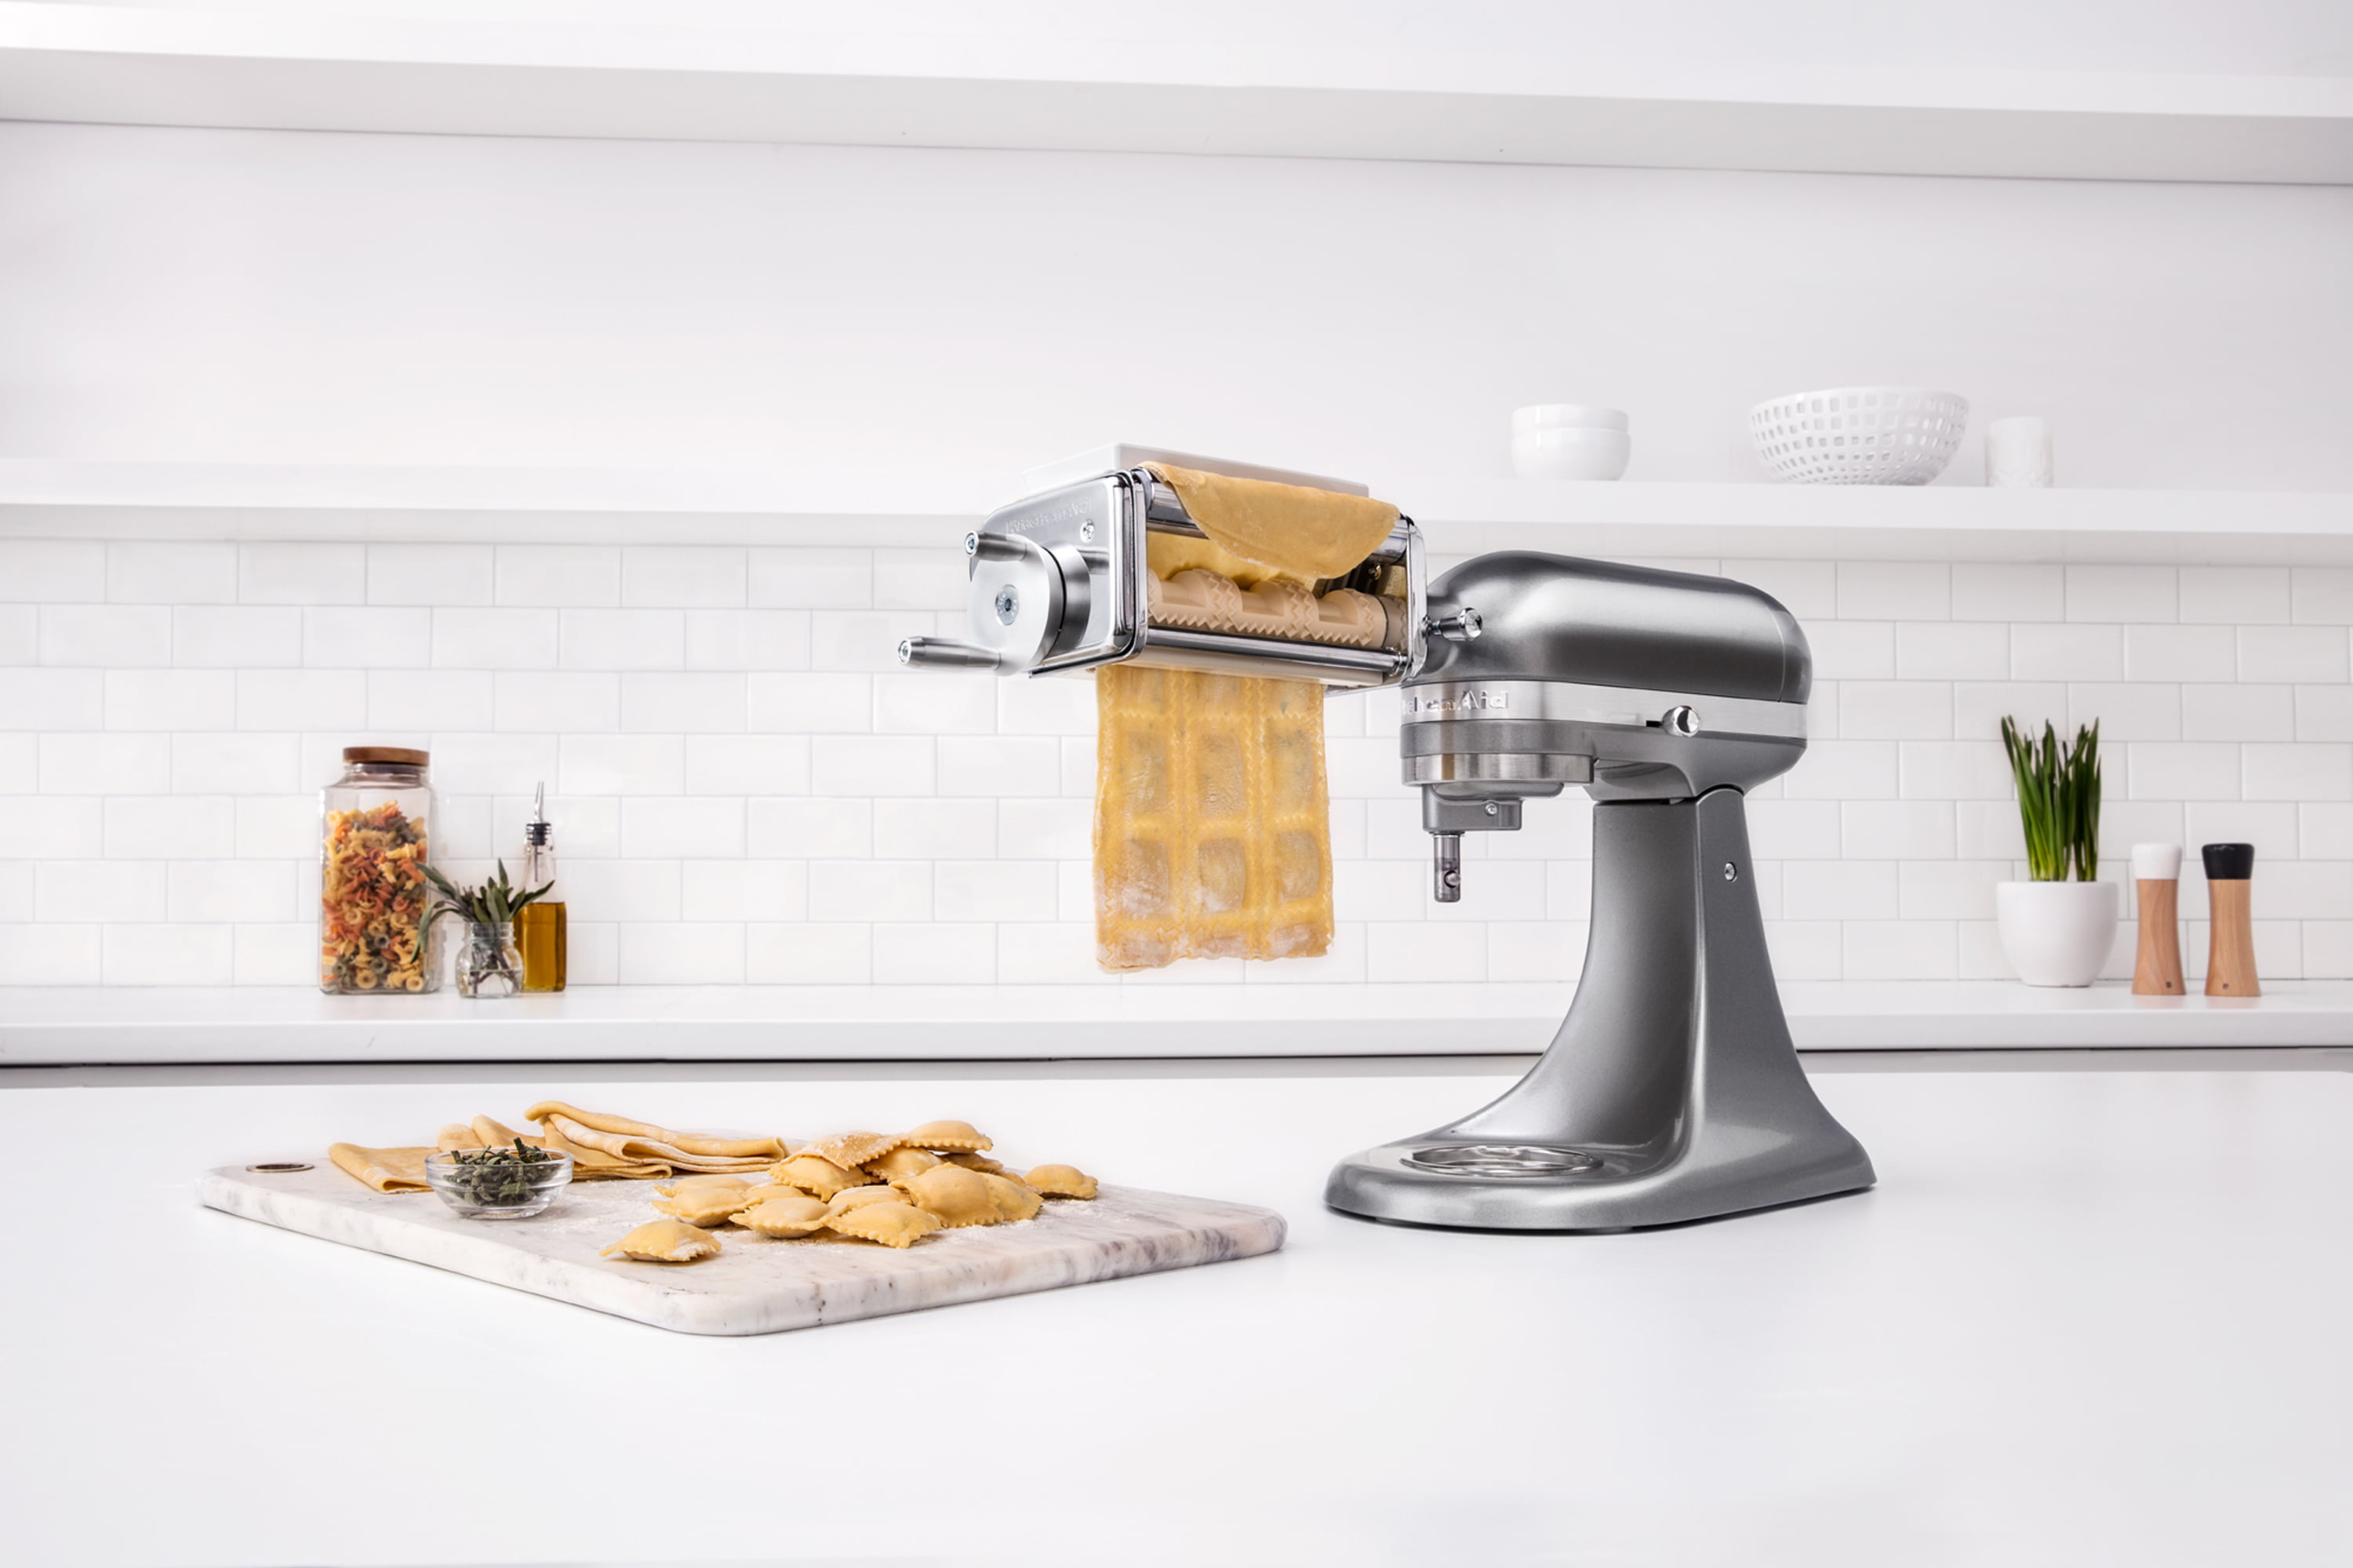
KitchenAid stand mixers are beloved kitchen appliances known for their power and versatility. One of the best things about KitchenAid mixers is that they can be used for so much more than just mixing batters and doughs. With all of the available attachments, you can grind meat, make pasta, juice fruits and vegetables, and more.
While the attachments allow you to expand the functionality of your mixer, they can sometimes be tricky to attach and remove. If you’re struggling to get an attachment on or off your KitchenAid, this guide will walk you through the process step-by-step.
All KitchenAid mixer attachments connect to the appliance via the attachment hub. The attachment hub is the rectangular protrusion on the front of the mixer head. There are two main parts to understand about the attachment hub:
The Locking Pin: This is the metal pin in the center of the attachment hub. The locking pin inserts into the attachment to secure it in place.
The Release Lever: The release lever is located just above the metal pin on the attachment hub. This lever must be pushed in towards the mixer to release an attachment.

When removing a KitchenAid attachment, the most important thing is to avoid forcing it. With a few simple steps, the attachment should release smoothly. Here is the full process:
Sometimes an attachment can be stubborn and resist removal. Here are tips for dealing with tricky attachments:
KitchenAid attachments represent a significant investment. With proper care and maintenance, they’ll provide many years of reliable service. Here are some tips for keeping attachments in great shape:
The attachment hub makes it easy to swap out accessories and expand what you can do with your KitchenAid. Follow this guide when removing attachments, and you’ll be able to change them out more smoothly. Spending a little time on attachment care will ensure they function reliably for years so you can get the most out of your mixer.

How do I know if my KitchenAid attachment is properly secured?
You should hear an audible click when an attachment engages fully on the hub. Try to twist the attachment – it should not detach if properly locked in place. Also check that the release lever has sprung back out.
Why is my KitchenAid attachment hard to get off?
This usually occurs if food gets lodged around the hub or the attachment and hub are rusty. Try cleaning the area, lubricating with oil, and gently rocking the attachment to remove it. Forcing it can damage the hub.
Can all KitchenAid attachments be washed in the dishwasher?
Some can, but others cannot. Always check the manufacturer’s instructions. Hand washing is recommended for most attachments to preserve them. Avoid submerging the pronged end.
Wrapping Up
While KitchenAid attachments are sometimes tricky to attach and remove, knowing the right techniques makes the process smooth and simple. With the locking pin, release lever, and a few helpful tips, you’ll be able to change out attachments and unlock all that your mixer can do. Handle attachments with care and they will enhance your mixer for years to come.

