If you have a Whirlpool French door refrigerator, you may be wondering how to change the water filter and when to do it. The water filter is an important component that helps to remove contaminants and improve the taste and quality of your water and ice. Changing the water filter regularly can also prevent problems with water flow and ice production.
In this post, we will show you how to change the water filter in a Whirlpool French door refrigerator in a few easy steps. We will also answer some frequently asked questions about water filters and provide some tips on how to maintain them.
The best way to change the water filter in a Whirlpool French door refrigerator is to identify the filter type, locate the filter compartment, remove the old filter, install the new filter, and flush the system. You should change the water filter every six months, when the indicator light comes on, or as needed.
How to Identify the Filter Type
Before you change the water filter in your Whirlpool French door refrigerator, you need to know what type of filter you have and what replacement filter you need. There are different types of filters for different models of refrigerators, and they are not interchangeable.
You can find the filter type by checking the owner’s manual, looking at the label on the old filter, or visiting the Whirlpool website and entering your model number. The most common types of filters for Whirlpool French door refrigerators are:
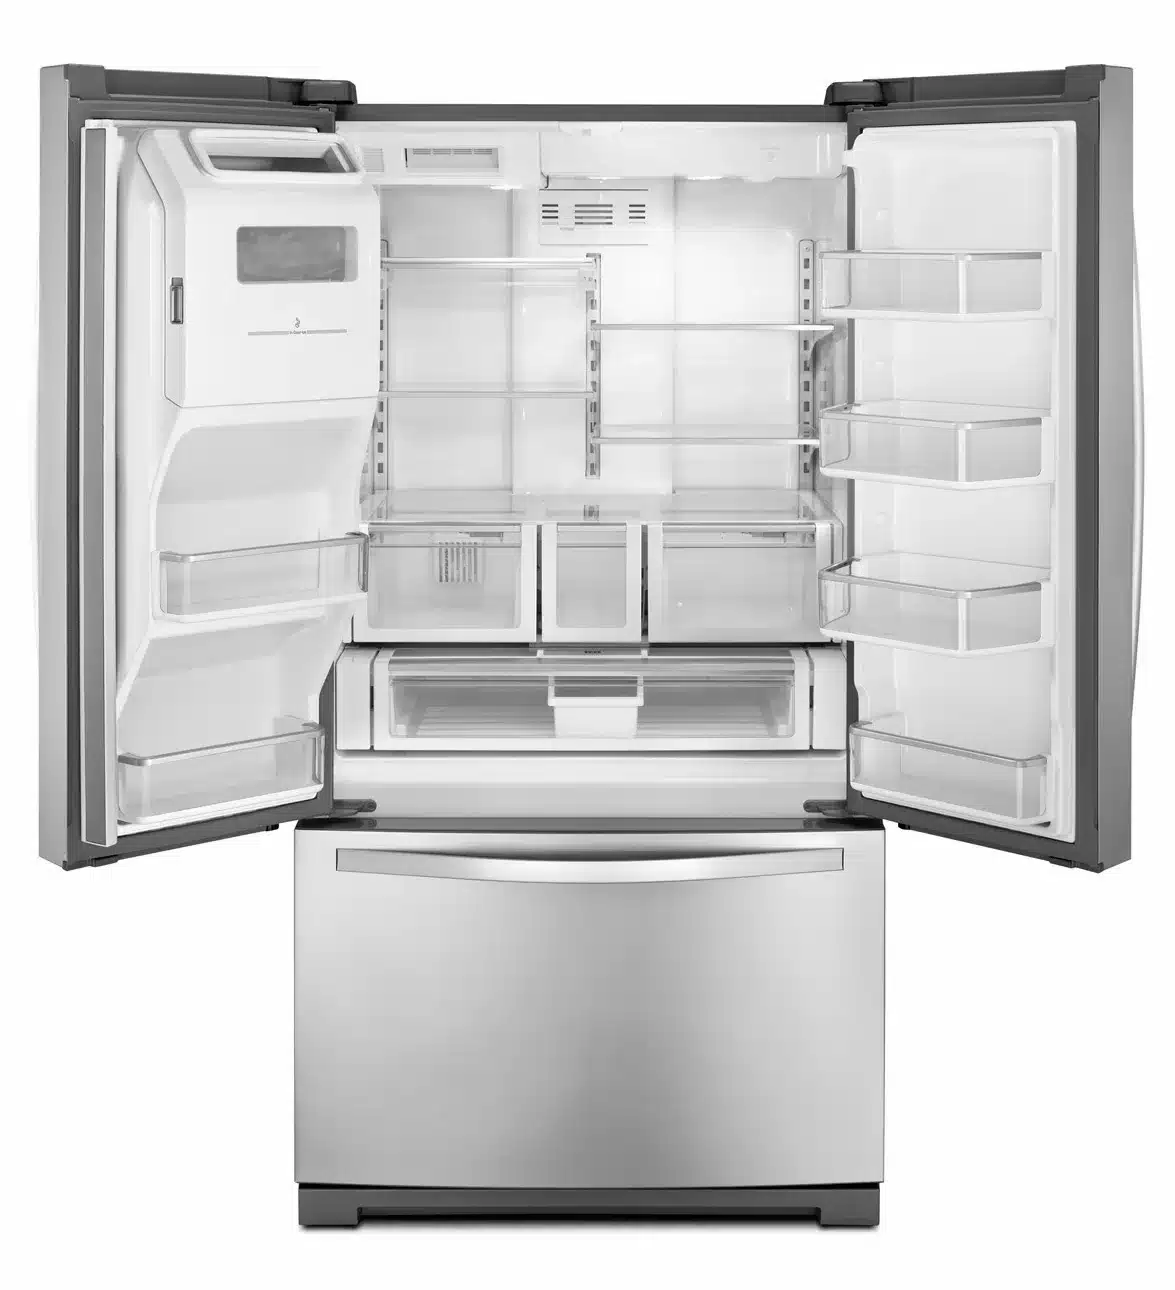
Filter 1: This is a push-button filter that is located in the upper right corner of the refrigerator compartment. It has a round shape and a blue cap.
Filter 2: This is a quarter-turn filter that is located in the upper right corner of the refrigerator compartment. It has an oblong shape and a black cap.
Filter 4: This is a pull-out filter that is located in the upper left corner of the refrigerator compartment. It has an oblong shape and a white cap.
Once you know your filter type, you can purchase the correct replacement filter from Whirlpool or other authorized retailers. Make sure to buy genuine Whirlpool filters that are certified by NSF International to reduce contaminants and improve water quality.
How to Locate the Filter Compartment
The next step is to locate the filter compartment in your Whirlpool French door refrigerator. Depending on your filter type, the compartment may be in different locations.
For Filter 1: Open the refrigerator door and look for a round button with a water drop symbol in the upper right corner of the refrigerator compartment. Press the button to release the old filter.
For Filter 2: Open the refrigerator door and look for a black cap with ridges in the upper right corner of the refrigerator compartment. Turn the cap counterclockwise to unlock it and pull it out along with the old filter.
For Filter 4: Open both refrigerator doors and look for a white cover with a tab in the upper left corner of the refrigerator compartment. Pull down on the tab to open the cover and slide out the old filter.
How to Remove the Old Filter
After locating the filter compartment, you can remove the old filter from your Whirlpool French door refrigerator. Depending on your filter type, you may need to push, twist, or pull out the old filter.
For Filter 1: After pressing the button to release the old filter, pull it out of the compartment. You may need to wiggle it slightly to loosen it.
For Filter 2: After turning the cap counterclockwise to unlock it, pull it out along with the old filter. You may need to tilt it slightly to remove it from the compartment.
For Filter 4: After sliding out the old filter from the cover, pull it out of its holder. You may need to press a button on its side to release it.
How to Install the New Filter
Once you have removed the old filter from your Whirlpool French door refrigerator, you can install the new filter in its place. Depending on your filter type, you may need to push, twist, or slide in the new filter.
For Filter 1: Remove any protective packaging from the new filter and align it with the opening in the compartment. Push the new filter into the compartment until it clicks into place.
For Filter 2: Remove any protective packaging from the new filter and align it with the opening in the cap. Push the new filter into the cap until it snaps into place. Then insert the cap with the new filter into the compartment and turn it clockwise to lock it.
For Filter 4: Remove any protective packaging from the new filter and align it with the holder in the cover. Push the new filter into the holder until it clicks into place. Then slide the cover with the new filter into the compartment and close it.
How to Flush the System
The final step is to flush the system after installing the new filter in your Whirlpool French door refrigerator. This will help to remove any air bubbles and debris from the filter and the water lines, and ensure optimal water flow and quality.
To flush the system, you need to dispense water from the dispenser for about 3 minutes or until the water runs clear. You may also need to reset the filter indicator light by pressing and holding the reset button for a few seconds.
You should flush the system every time you change the water filter, or whenever you notice a decrease in water flow or quality.
FAQs
Here are some frequently asked questions about changing the water filter in a Whirlpool French door refrigerator:
How often should I change the water filter? You should change the water filter every six months, when the indicator light comes on, or as needed, depending on your water usage and quality. Changing the water filter regularly can help to prevent clogging, reduce contaminants, and improve taste and odor.
How do I know if the water filter is working properly? You can check if the water filter is working properly by looking at the color, clarity, taste, and odor of your water and ice. If you notice any changes or problems with these aspects, you may need to change the water filter or contact a service technician.
What are the benefits of using genuine Whirlpool filters? Genuine Whirlpool filters are designed to fit your refrigerator model and reduce specific contaminants that may be present in your water supply. They are also certified by NSF International to meet industry standards for safety and performance. Using genuine Whirlpool filters can help to ensure optimal water quality and avoid potential damage to your refrigerator.
Conclusion
Changing the water filter in your Whirlpool French door refrigerator is not a difficult task, but it is an important one. By following these steps, you can change the water filter in a few minutes and enjoy fresh and clean water and ice.
We hope this post has been helpful and informative for you. If you have any questions or comments, please feel free to share them below. And don’t forget to check out our other posts on kitchen appliances and food safety at PressToCook.com!
Dale is the founder and appliance expert behind PressToCook.com. He is a former restaurant manager who has spent years behind the scenes using just about every kitchen appliance imaginable.
He founded PressToCook.com to debunk the myths around appliances and show home cooks how to truly harness the power of their gadgets to whip up incredible dishes easily and efficiently.
Dale is on a mission to prove that kitchen appliances should be celebrated, not feared, and he can’t wait to share his real-world tips and tricks with you!