adjust-your-kitchenaid-mixer-for-best-results

How To Adjust Your KitchenAid Mixer For Best Results

KitchenAid stand mixers are beloved kitchen appliances known for their power and versatility. With proper care and adjustments, your KitchenAid mixer can deliver perfect results for years to come. This guide will walk you through the key steps for adjusting your mixer to ensure optimal performance.

Why Proper Adjustment Matters

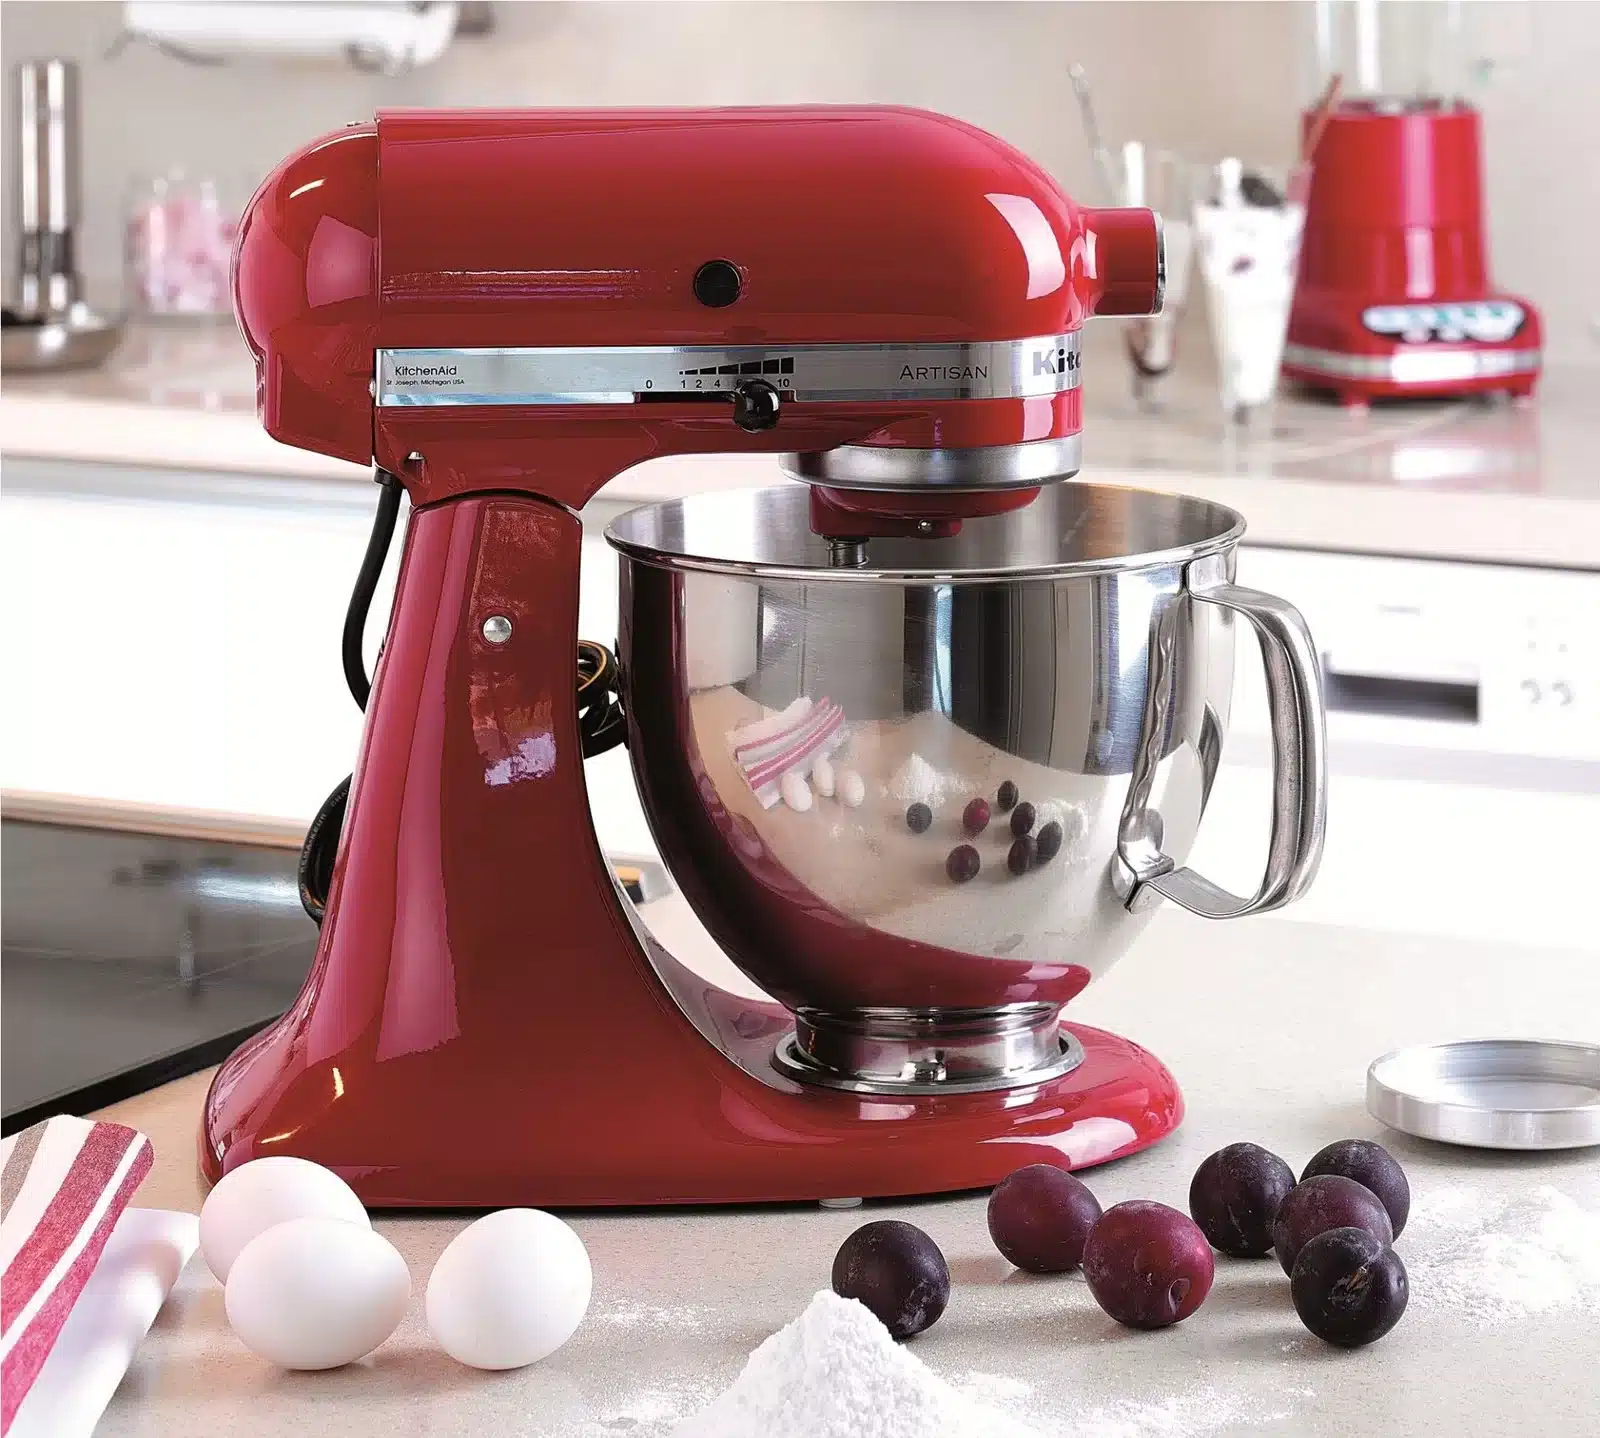
While KitchenAid mixers are built to last, improper adjustments can lead to subpar outcomes and even damage over time. Issues like oil leaking, loose attachments, blobs of unmixed ingredients, or excessive vibration are often signs that adjustments are needed.

Adjusting the bowl height, tightening attachments, and monitoring belt tension are simple ways to fine-tune your mixer for smooth, efficient mixing. Taking the time to get the adjustments right means your KitchenAid will run quietly and cleanly while achieving the ideal texture, consistency, and thorough blending of ingredients.

The 7 Best Kitchenaid Mixer Box Dimensions - Life Sunny

Adjusting the Bowl Height

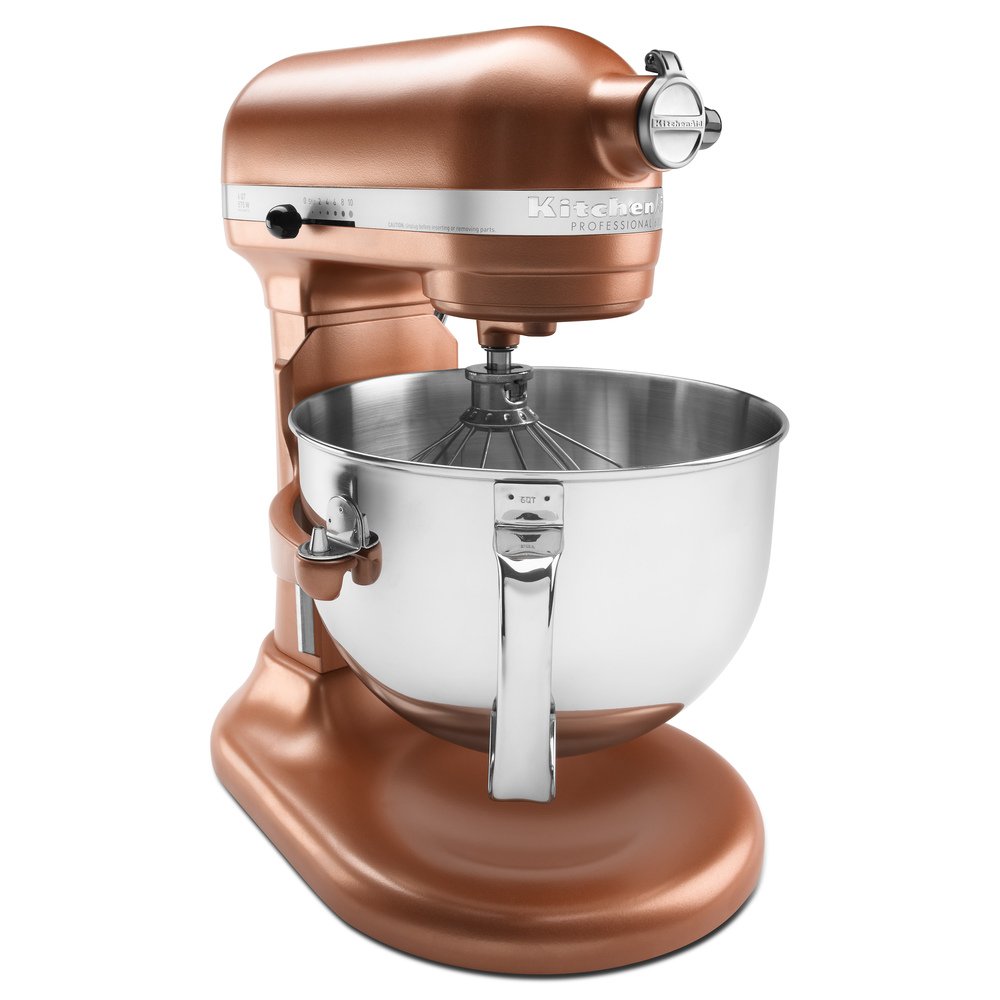
One of the most important KitchenAid mixer adjustments is setting the bowl height. The bowl needs to fit into the lift bowl socket securely and at just the right angle.

Here is the step-by-step process for adjusting bowl height:

  • Unplug the mixer before making any adjustments.
  • Loosen the screw on the side of the bowl lift lever to unlock the bowl height.
  • With the lever lowered, insert your mixer bowl and rotate it clockwise and counter-clockwise. This will help the bowl settle into the socket.
  • Raise the lever to lift the bowl. The bowl rim should align evenly with the top edge of the mixer body.
  • If needed, continue rotating the bowl to obtain an even positioning.
  • Once aligned, tighten the bowl lift lever screw while holding the bowl in place. This will lock in the proper bowl height.

Double check that the bowl fits snugly into the socket at the right angle and height. When positioned correctly, the bowl edge should be parallel to the mixer body. Mixing performance and stability improve dramatically when the bowl height is set correctly.

kitchenaid 5 quart mixer

Securing Attachments Properly

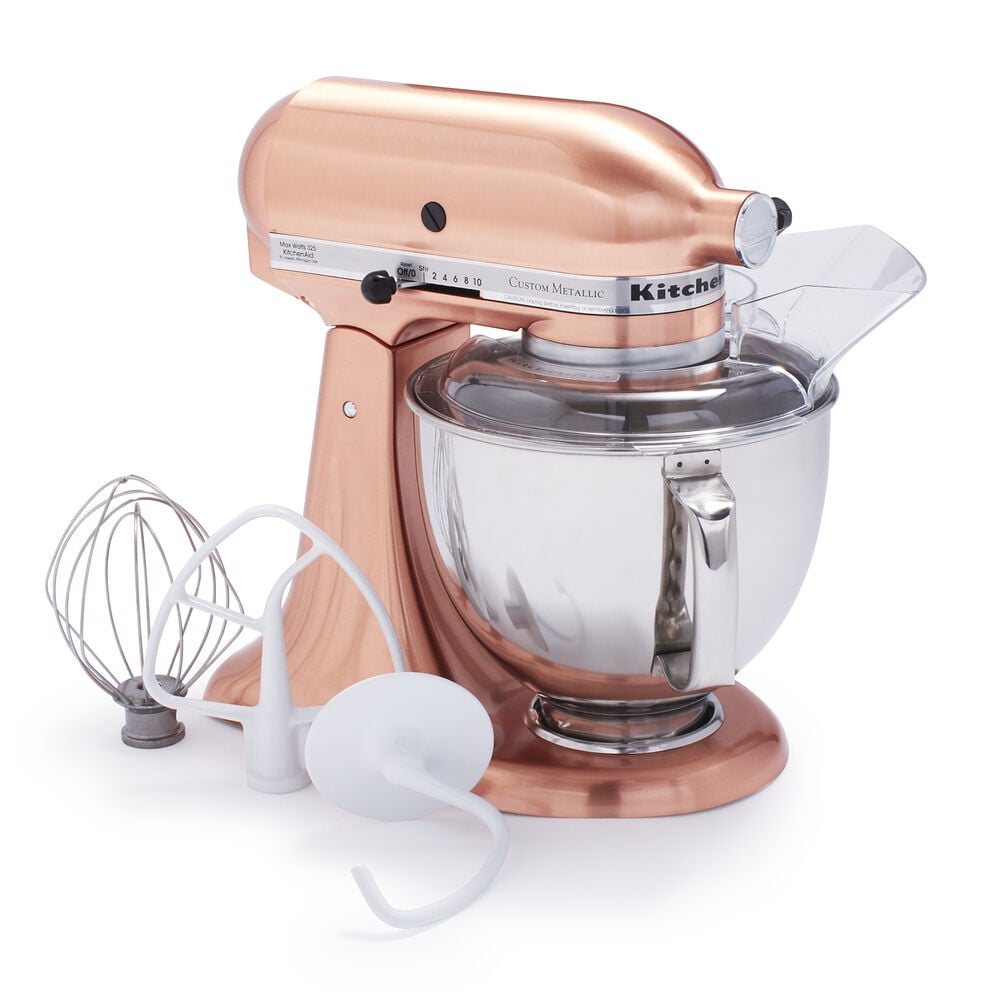
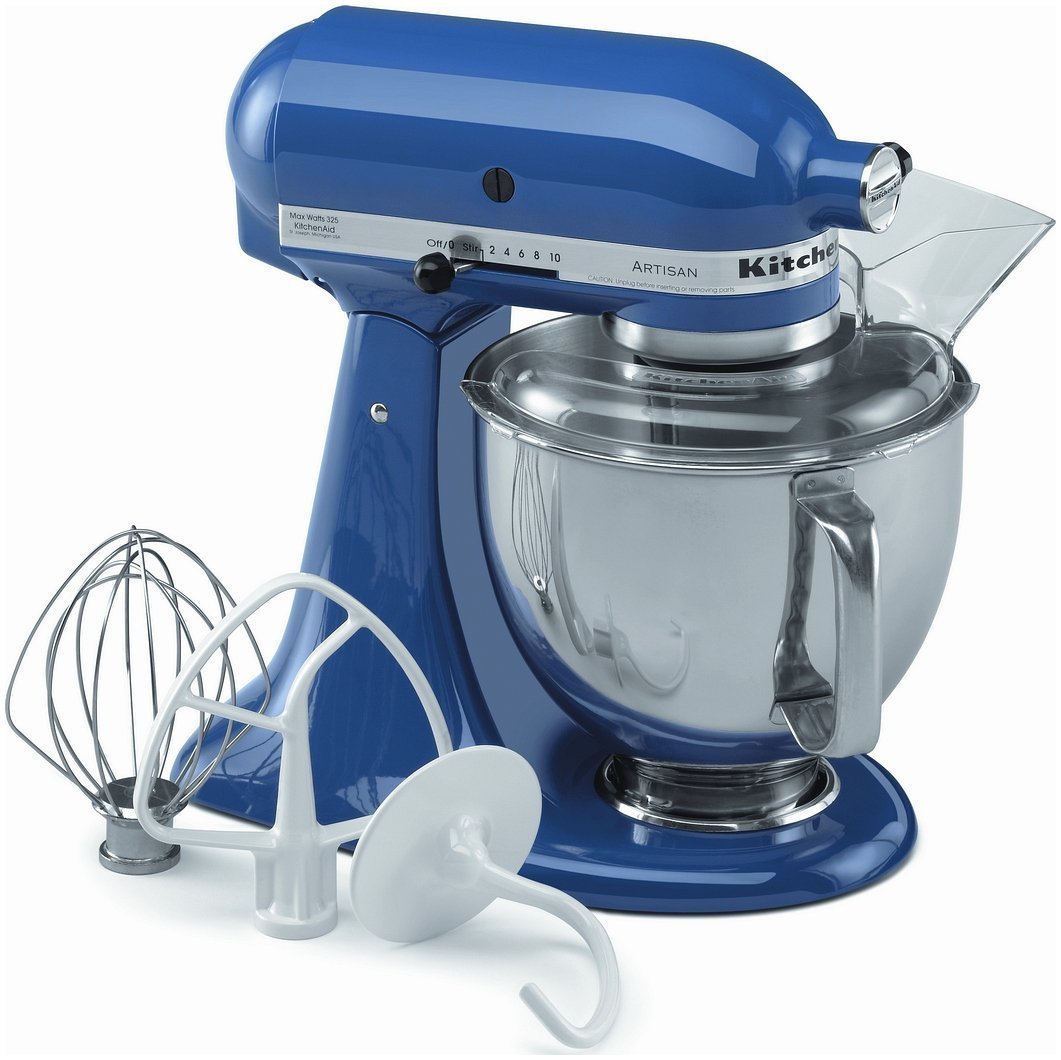
Another key adjustment area is properly securing any attachments used with your KitchenAid mixer. This includes the wire whip, dough hook, flat beater, and any food grinder or slicer/shredder attachments.

Follow these tips for safely and securely attaching accessories:

  • Before attaching anything, always ensure the mixer is unplugged and the bowl lift is lowered completely.
  • Match the attachment shape and size to the appliance connection point. Turn the attachment gently to help slide it onto the mixer connection end.
  • Once seated properly, turn the attachment clockwise while gently pushing it inward at the same time. The attachment should slide effortlessly into a locked position.
  • To confirm it is secured, tug gently on the attachment. There should be no movement or wiggle at all when properly locked in.
  • Avoid overtightening attachments, as that can damage the mixer’s internal gears. Simply ensure a snug, wobble-free fit.
  • Unplug the mixer before removing any attachment, and avoid yanking or applying excessive force during removal.

Taking a moment to correctly fit and fasten attachments goes a long way in preventing messy mishaps down the road. Always check for a snug, stable fit before mixing.

KitchenAid Mixer

Monitoring Belt Tension

The flat belt connecting the motor to the mixing attachment is another area that needs periodic adjustment. With heavy use over time, the belt may loosen and begin to slip. Signs of insufficient belt tension include:

  • Loose fitting attachments
  • An unusual clicking noise during mixing
  • Unstable operation with rocking or “walking” across the counter
  • Excessive vibration

Re-tensioning the belt is a simple adjustment to restore optimal performance. Here is a step-by-step overview:

  • Unplug the mixer and remove any bowls or attachments.
  • Tilt the mixer back to access the bottom base plate. Unscrew the base plate and set it aside.
  • Locate the belt tensioning screw near the motor. Use a screwdriver to turn this screw about 1/4 turn clockwise.
  • Test the tension by pressing firmly on the belt with your finger. It should have just a slight give.
  • Replace the base plate and screw it securely in place.
  • Plug the mixer back in and run it briefly to test the new belt tension.

Be very careful not to over-tighten the belt, as excess tension puts undue stress on the motor and gears. Check that the belt still has a bit of flexibility when properly tensioned. A tighter belt should run much more smoothly and quietly.

Find Out Which KitchenAid Mixer Is Right for You

Maintaining Your KitchenAid Mixer

Along with proper adjustments, be sure to keep your KitchenAid mixer in prime condition with regular maintenance:

  • Wipe down the mixer body and attachments after each use to keep surfaces clean and prevent build-up.
  • Monitor for signs of leaks around the gear box and grease gears annually.
  • Store mixer attachments properly to avoid warping from heat or damage.
  • Unplug the mixer when not in use and cover it to prevent dust build up.
  • Every few years, have the mixer serviced and belts replaced at an authorized KitchenAid repair facility.

Adjusting and caring for your KitchenAid stand mixer helps ensure years of reliable performance. Take the time to regularly check the bowl height, attachment security, belt tension, and overall condition of your mixer. With proper use and maintenance, your KitchenAid will deliver beautiful, balanced results batch after batch.

The 4 Best Kitchenaid Mixer Shaking Problem - Life Sunny

Frequently Asked Questions

How do I know if my KitchenAid bowl height needs adjusting?

If you notice the bowl is unsteady, attachments don’t fit right, ingredients aren’t fully incorporated, or you hear scraping noises during mixing, the bowl height likely needs adjustment.

Should the bowl touch the bottom of the mixer housing?

No, the bowl rim should align evenly with the top of the mixer body when properly positioned. There should be a slight gap between the bottom of the bowl and the mixer housing.

How often should I check the belt tension on my KitchenAid?

Check the belt tension about once a year to ensure optimal performance. Watch for signs like vibration or walking during mixing, which indicates the belt may need tightening.

Conclusion

Properly adjusting a KitchenAid stand mixer helps ensure the appliance runs safely and efficiently. Taking the time to check the bowl height, attachment security, and belt tension improves mixing action and prolongs the life of the machine. Along with periodic maintenance, adjustments allow a KitchenAid mixer to produce perfect results for years of baking enjoyment.

Meet

Dale

Dale is the founder and appliance expert behind PressToCook.com. He is a former restaurant manager who has spent years behind the scenes using just about every kitchen appliance imaginable.

He founded PressToCook.com to debunk the myths around appliances and show home cooks how to truly harness the power of their gadgets to whip up incredible dishes easily and efficiently.

Dale is on a mission to prove that kitchen appliances should be celebrated, not feared, and he can’t wait to share his real-world tips and tricks with you!
© 2024 PressToCook.com. All rights reserved.

Site built by LaowaiSites