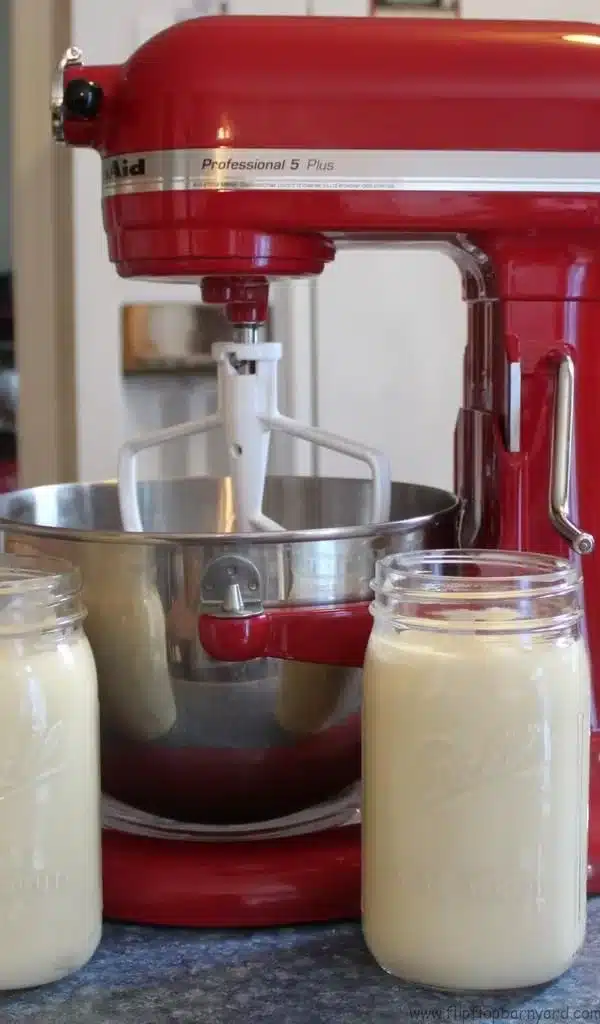
Making your own homemade butter is incredibly easy and rewarding. With just heavy cream and a KitchenAid mixer, you can churn out fresh, creamy butter in your own kitchen in about 10-15 minutes.
Why Make Your Own Butter?
Here are some of the benefits of making butter at home:
Quality Ingredients – By making your own butter, you control exactly what goes into it. You can use high-quality heavy cream from grass-fed cows or organic cream. Store-bought butter often has preservatives, stabilizers, or other additives.
Freshness – Homemade butter tastes so much better than store-bought. It’s fresh, creamy, and spreadable straight from the churn. Store-bought butter is often weeks or months old before you buy it.
Cost Savings – Making butter at home costs a fraction of the price of buying artisanal butters. Heavy cream is relatively inexpensive and butter yields are high.
Fun Weekend Activity – It’s an enjoyable weekend activity, especially for kids. Churning butter is like magic and lets you appreciate how real butter is made.
Equipment Needed
Making butter at home is straightforward with minimal equipment:
KitchenAid Stand Mixer – A stand mixer makes quick work of churning cream into butter. Any KitchenAid mixer will do, but higher wattage is better.
Paddle Attachment – The paddle attachment is ideal for agitating the cream to form butter. The typical flat beater can also work.
Glass or Stainless Steel Bowl – Use a bowl with some height to contain splashes. Glass or stainless steel bowls are easiest to clean after.
Fine Mesh Strainer – Used later to rinse and strain the freshly churned butter.
Cheesecloth – To wrap the finished butter for storage.
Ingredients
You need only TWO ingredients to make butter at home:
Heavy Cream – Use pasteurized, high-fat heavy whipping cream with at least 36% milk fat. Do not substitute half and half or light cream.
Salt (optional) – Add a pinch or two of salt if desired for flavor. Use plain salt or consider smoked salt, garlic salt, or other seasoned salts.
Step-By-Step Guide
Follow these simple steps to churn heavenly homemade butter:
1. Pour Chilled Cream into Mixer Bowl
Start with very cold cream straight from the fridge. Cold cream churns quicker.
Pour 2 cups heavy cream into the mixer bowl. Do not fill more than halfway.
2. Beat Cream on Medium-High Speed
Lock the bowl in place and attach the paddle attachment.
Mix on medium-high speed until cream starts to thicken, about 2-3 minutes.
3. Turn Speed to High
Gradually turn speed up to high as cream continues to thicken.
It will slowly turn into whipped cream. Beat until it forms stiff peaks.
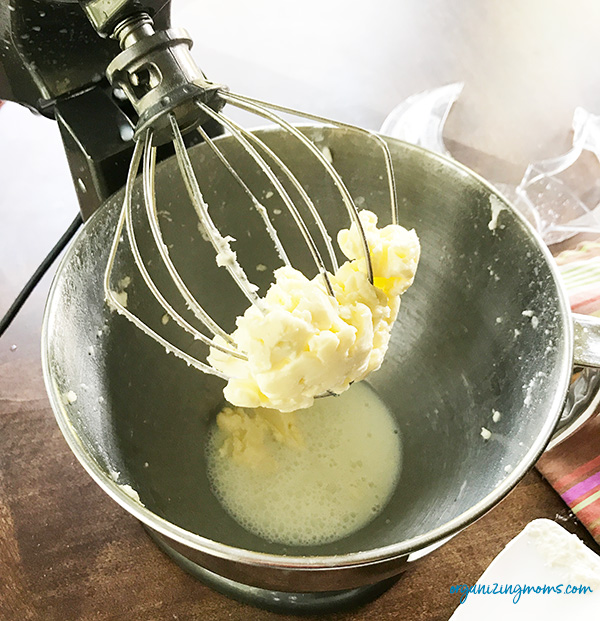
4. Keep Mixing Until ButterForms
After 5-7 minutes, stiff whipped cream will turn into grainy butter clumps.
Butter will separate from the liquid whey. Drain whey as needed.
Keep mixing 3-4 minutes until butter forms a solid mass.
5. Drain and Rinse Butter
Drain off remaining whey from the butter glob.
Place butter in a fine mesh strainer and rinse under very cold water.
Rinse and knead continuously under water to remove whey.
6. Work in Salt and Refrigerate
If adding salt, knead it in now. Start with 1/4 teaspoon salt.
Form butter into a log or block. Wrap tightly in cheesecloth.
Chill for an hour before using. Store refrigerated up to 2 weeks.
And that’s it! With just 10-15 minutes of hands-on mixing, you can now enjoy fresh, homemade butter. Way better than anything you can buy!
Tips for Best Results
Follow these tips for smooth and creamy DIY butter every time:
Use very cold heavy cream straight from the fridge.
Chill the mixer bowl and attachments beforehand.
Mix on high speed once cream starts thickening.
Drain off whey periodically so it doesn’t splash out.
Rinse butter multiple times to remove all residual whey.
Add salt slowly to taste – it’s easy to add more but hard to remove.
Knead butter firmly before shaping and chilling to form consistency.
Store butter tightly wrapped for up to 2 weeks refrigerated or 2 months frozen.
FAQ
Here are answers to some frequently asked questions about making butter in a KitchenAid:
What speed should I mix the cream?
Start on medium-high until cream thickens, then turn to high speed to churn into butter. Avoid splashing by starting slower.
How long does it take to churn butter?
It takes 10-15 minutes total. Around 2 minutes on medium-high speed, then 8-10 minutes on high speed. Exact times vary.
What do I do with the leftover buttermilk?
The liquid whey drained off is buttermilk! Use it for baking like pancakes, biscuits, or cornbread. Store refrigerated.
Can I use a hand mixer instead?
A stand mixer works best with its paddle attachment. Hand mixers may not whip and churn fast enough.
Why not use ultrapasteurized cream?
The higher heat processing of ultrapasteurized cream prevents it from churning well. Use regular pasteurized heavy cream.
Conclusion
Making your own butter at home is so simple with a KitchenAid mixer. In just a few minutes, you can churn out fresh, tasty butter that puts store-bought to shame. Plus, you can control the quality of ingredients and customize it to your taste. Churn up a batch on a cozy weekend and enjoy butter like it was meant to be!
Dale is the founder and appliance expert behind PressToCook.com. He is a former restaurant manager who has spent years behind the scenes using just about every kitchen appliance imaginable.
He founded PressToCook.com to debunk the myths around appliances and show home cooks how to truly harness the power of their gadgets to whip up incredible dishes easily and efficiently.
Dale is on a mission to prove that kitchen appliances should be celebrated, not feared, and he can’t wait to share his real-world tips and tricks with you!