
In this 5 second guide, we’ll give you pro tips on using your Ninja blender specifically for pureeing. From what vessels to use to how much liquid to add, read on for pureeing success with your Ninja!
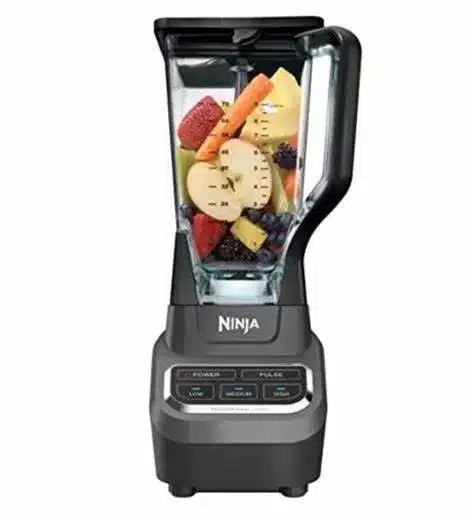
One of the first steps for pureeing in a Ninja blender is choosing the right vessel. Here are the best options:
The 72-ounce pitcher that comes with most Ninja blender models has plenty of room for pureeing batch recipes. Use the handled pitcher for larger quantities.
The single-serve cups are great for smaller portion purees. Use the to-go lids for on-the-go pureed drinks.
Models like the Ninja Foodi have a food processor bowl perfect for pureeing drier ingredients for baby foods, breadcrumbs, and more.
Some premium models include a sauce and spread cup. The angled blades provide extra efficiency for pureeing wet ingredients into smooth sauces.
Tip: Always leave at least 1-2 inches of headspace for ingredients to circulate while blending.
To ensure the smoothest purees, prep ingredients properly before blending:
Proper prep makes pureeing a breeze!
Adding some liquid is key for pureeing many ingredients smoothly. Here are guidelines on liquid amounts:
Add liquid gradually and blend, adjusting consistency as you go for the perfect puree texture.
Follow these simple tips for the smoothest, lump-free purees:

Once blended:
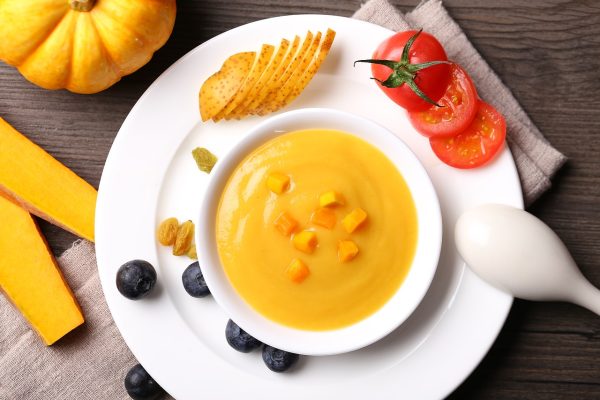
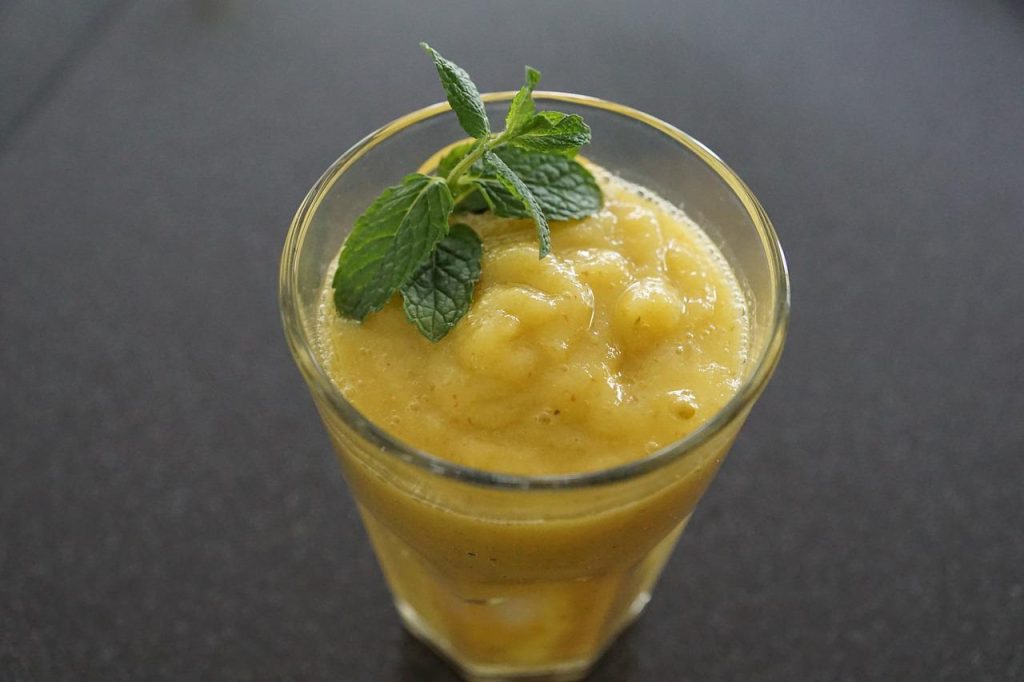
With these pro pureeing tips, you’ll be prepping smooth, creamy purees to use in all your favorite recipes with ease. Happy blending!

What is the best way to puree cooked meat in a Ninja blender?
Trim meat and cut into 1-inch chunks before cooking until no longer pink. Allow meat to cool slightly, then add 2-3 Tbsp broth, milk, or oil per pound of meat to the blender and puree at high speed until completely smooth.
Can I puree hot ingredients in my Ninja blender?
Yes, but very hot liquids can cause the lid to vent and splatter, so allow liquids to cool slightly before pureeing. Start blending on low speed. Do not blend hot ingredients back-to-back to avoid overheating the motor.
Why are my purees coming out chunky?
This usually happens if ingredients are undercooked or not cut small enough prior to blending. Ensure veggies are tender before blending and cut all ingredients into 1-2 inch pieces. Use the tamper and scrape sides as needed while blending.
What is the difference between puree and sauce settings on some Ninja models?
The “puree” setting provides high power for thick and creamy textures. The “sauce” setting blends at a lower speed for lighter consistency sauces. Use puree for things like baby food, hummus, fruit purees. Use sauce for vinaigrettes, marinades, and thinner mixes.
Pureeing with a Ninja blender is easy with the right techniques. Cut ingredients into small, uniform pieces, add liquid as needed, start blending at low speeds, and gradually increase to high. Scrape down sides and use the tamper to ensure smooth results with no lumps. In just seconds, you can whip up perfect purees for soups, sauces, breadcrumbs, baby foods, and beyond using your Ninja blender!

