
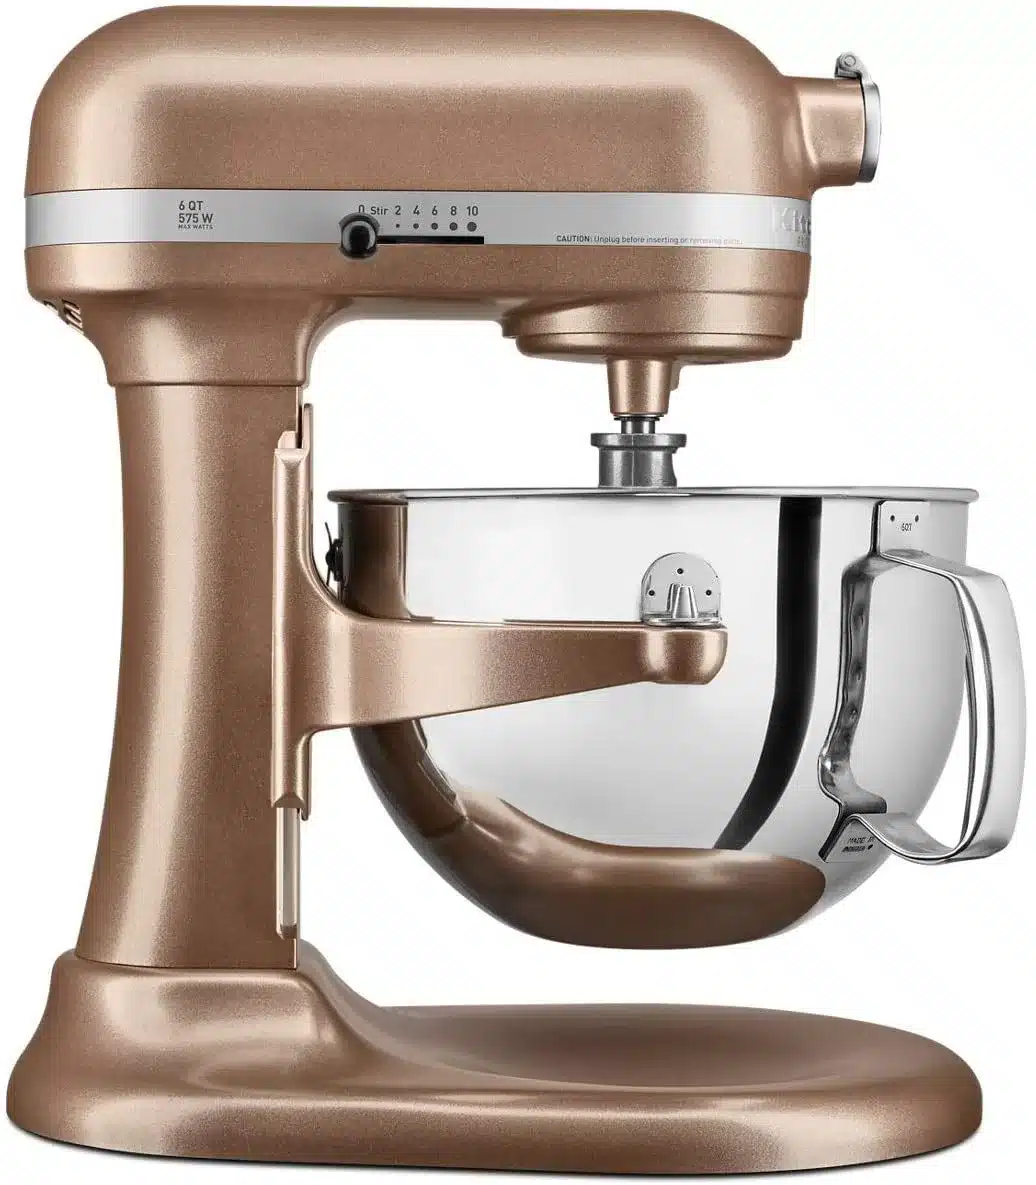
KitchenAid stand mixers are beloved kitchen appliances known for their power and versatility. Whether you’re mixing up cookie dough or whipping egg whites, having your KitchenAid properly adjusted is key to getting the best results. In this guide, we’ll walk through the steps to get your mixer adjusted just right.
An adjusted mixer means your machine maintains the proper clearance between the mixing head and the bowl. This clearance, referred to as the “head clearance”, impacts mixing performance.
If the head clearance is too tight, friction builds up. This strains the motor and can lead to overheating. Doughs and batters may climb up the mixing attachment and make a mess instead of mixing smoothly.
On the flip side, if the clearance is too loose, ingredients can get stuck and fail to mix properly. You may see clumps of dry ingredients or unincorporated chunks of butter. This inconsistent mixing will lead to poor outcomes for recipes.
Getting the adjustment just right takes the guesswork out and ensures your KitchenAid lives up to its reputation for baking excellence.
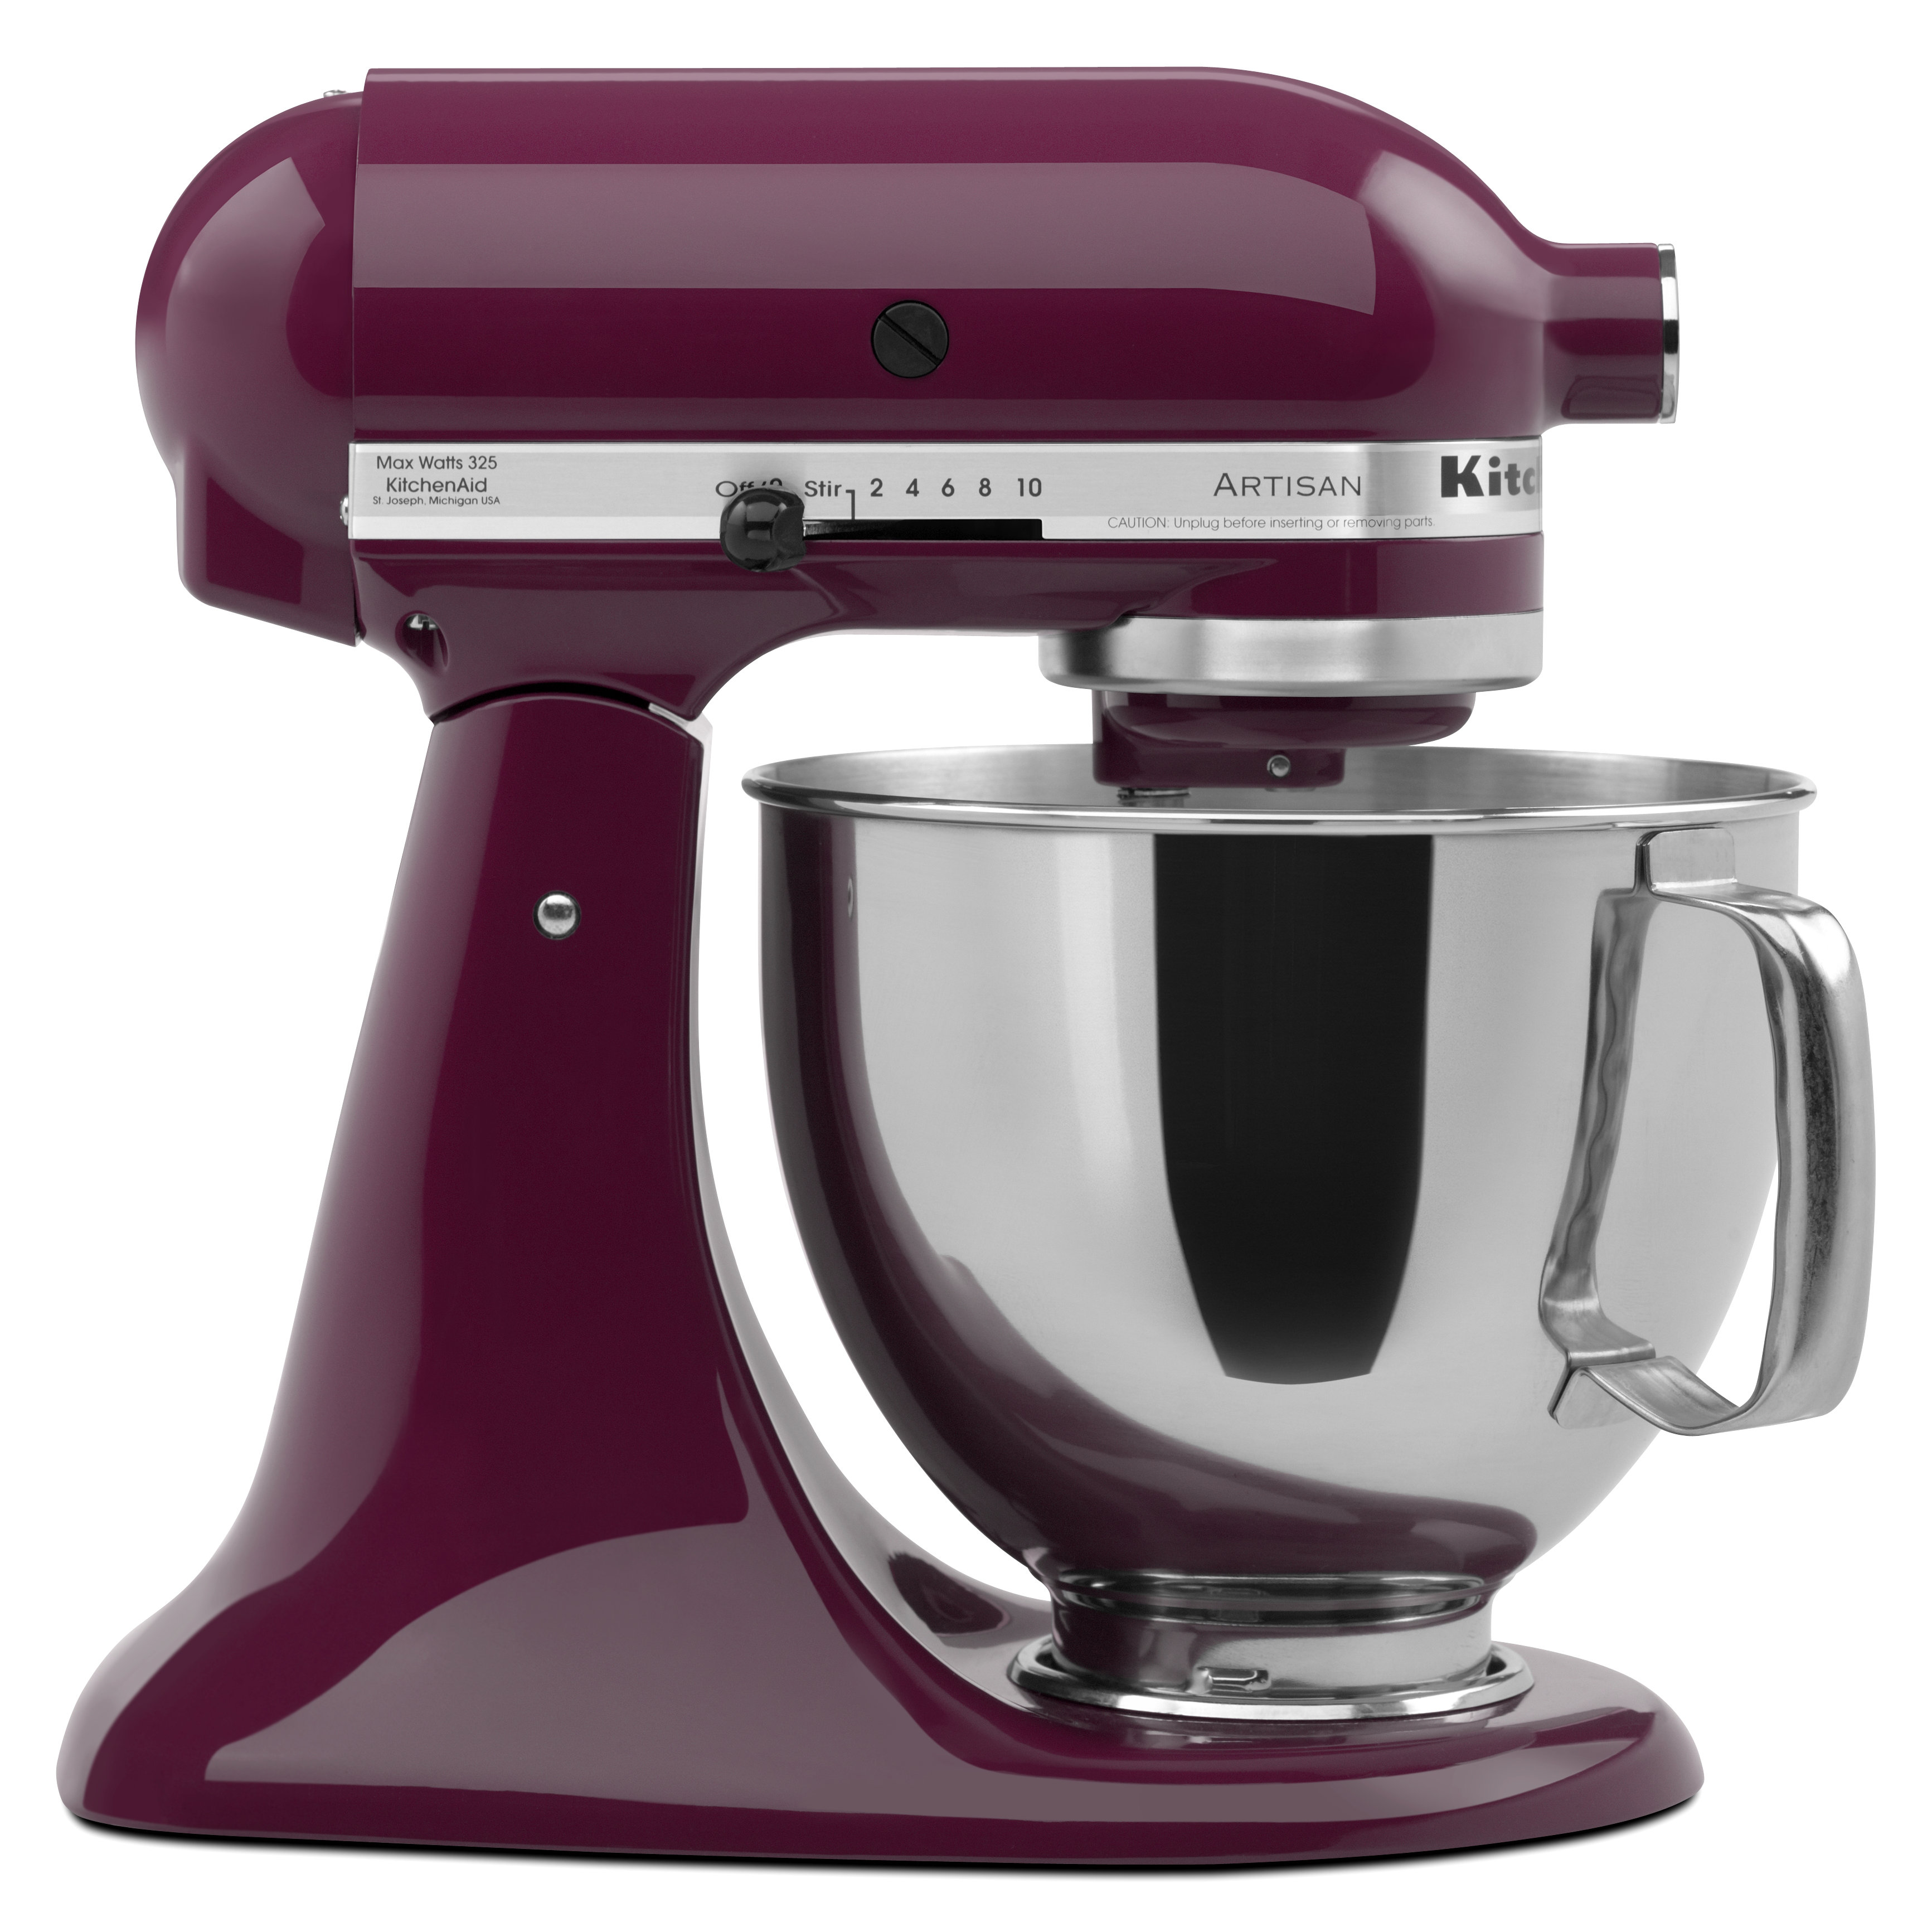
Adjusting head clearance takes just a few simple steps. We’ll go through the process below using a tilt-head mixer as an example.
Before adjusting anything, make sure your KitchenAid is unplugged. Safety first!
Tilt back the head to expose the adjustment screw underneath. This screw regulates clearance.
Use a flathead screwdriver to turn the adjustment screw. Turn clockwise to lower the head or counterclockwise to raise it.
Lowering the head tightens clearance, while raising it provides more room. Make adjustments slowly in 1/4 turns. Just a slight turn can make a big difference.
Lower the mixer head back down and check clearance. The ideal spacing between the mixer head and bowl is about the thickness of a sheet of paper.
You should slide paper through easily but feel a bit of friction. Adjust again if needed to achieve this perfect clearance.
Keep an eye on clearance over time. Friction and use can throw it off. Check every few months and make adjustments as needed. Tighten if you notice ingredients climbing up the mixer and loosen if mixing seems inconsistent.
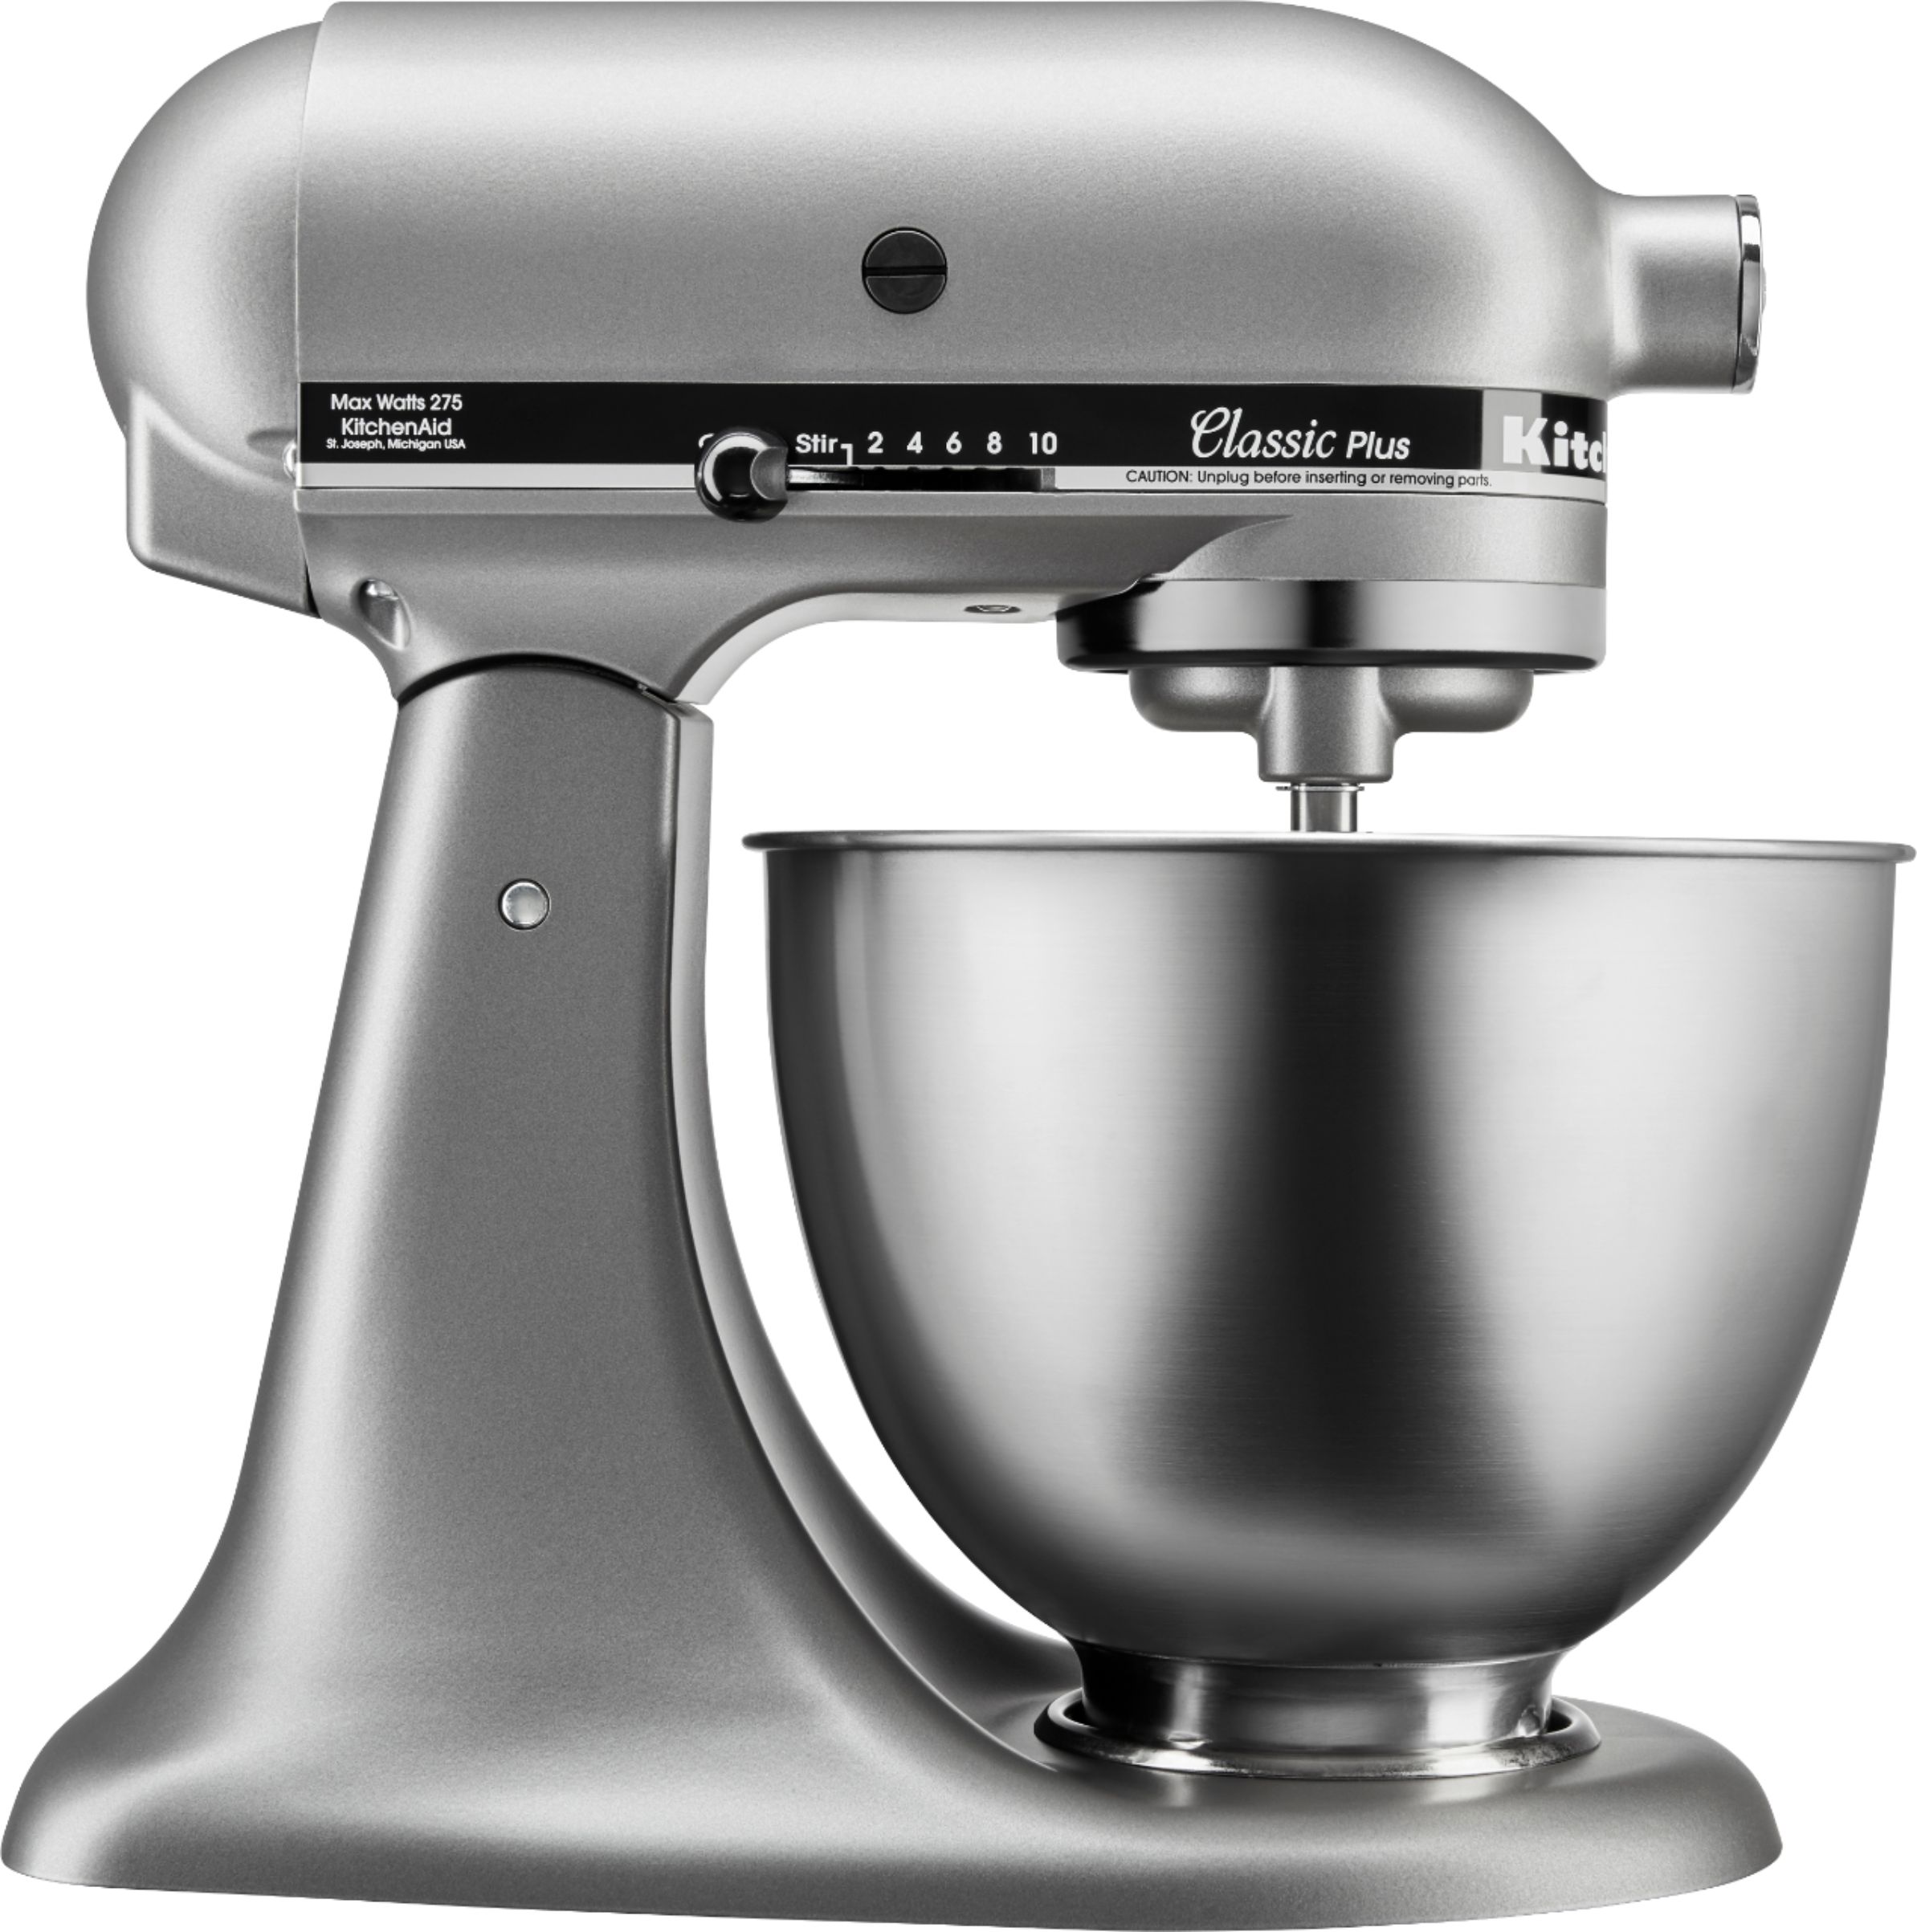
The adjustment process is largely the same across KitchenAid mixer models but varies slightly. Here are tips for other common styles:
Refer to your manual for model-specific steps. The instructions will walk you through proper adjustment. Don’t force any parts – slight turns of the screw make a big difference.
Taking a few minutes to properly adjust your KitchenAid mixer ensures it performs at its best for years to come. Well-adjusted clearance prevents overheating and makes recipes mix up smooth and consistent.
While it’s just one factor, proper adjustment combined with high quality attachments and recipes tested for your mixer will help you achieve kitchen success. Here’s to happy mixing!

What are signs my mixer needs adjustment?
Some signs your KitchenAid needs adjustment include dough climbing up the attachment, ingredients getting stuck on the side of the bowl, and the mixer overheating or sounding strained.
How do I know if the clearance is right?
A sheet of paper sliding between the mixer head and bowl with slight friction is ideal. If the paper moves easily or gets stuck, the head needs adjustment.
Should I unplug the mixer before adjusting?
Always unplug your KitchenAid mixer prior to adjusting clearance for safety. This prevents accidental activation while your hands are near the machine.
Conclusion
Adjusting your KitchenAid mixer is an important step in ensuring optimal performance. With proper head clearance, your mixer will deliver consistent, quality results across recipes. Refer to your manual for model-specific steps and make slight screw turns to tweak clearance. A few small adjustments can make a big difference in mixing success!

