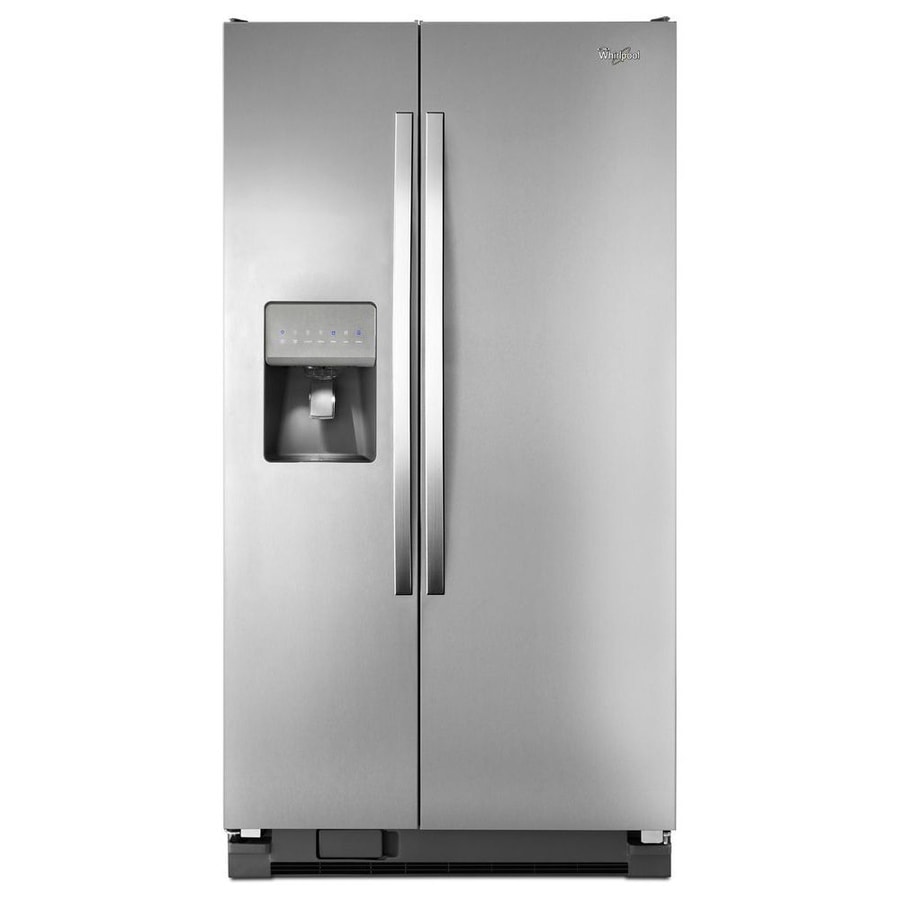
If you have a Whirlpool fridge with an ice maker, you may enjoy the convenience and luxury of having ice cubes ready at your fingertips. However, if your ice maker stops working or malfunctions, you may be left with no ice or low-quality ice. What can you do to fix a broken ice maker on a Whirlpool fridge and restore its function? In this post, we will explain some of the possible causes of a broken ice maker and how to troubleshoot them. We will also answer some common questions about Whirlpool ice maker repair and replacement.
The best way to fix a broken ice maker on a Whirlpool fridge is to identify the source of the problem and replace or repair the faulty part. Some of the common parts that can cause a broken ice maker are the water inlet valve, the water filter, the ice maker assembly, the ice level control board, and the door switch.
How To Replace The Water Inlet Valve Of Your Whirlpool Ice Maker
The water inlet valve is a solenoid-operated device that opens and closes to supply water to the ice maker. If the water inlet valve is defective, it may not open or close properly, resulting in no water or too much water entering the ice maker. This can cause no ice or small or large ice cubes to be produced. To replace the water inlet valve of your Whirlpool ice maker, follow these steps:
- Unplug your Whirlpool fridge from the power outlet. This will prevent any electric shocks or accidents while you are replacing the water inlet valve.
- Turn off the water supply to your Whirlpool fridge. This will prevent any water leaks or spills while you are replacing the water inlet valve.
- Locate the water inlet valve behind your Whirlpool fridge. The water inlet valve is usually located behind a panel on the lower back of your Whirlpool fridge. It may look like a plastic or metal box with two or more water lines attached to it.
- Remove the panel and disconnect the water lines from the water inlet valve. Depending on your model, you may need to unscrew, unclip, or unlatch the panel from its place. Then, disconnect the water lines from their fittings on the water inlet valve by pushing in on their collars and pulling them out. You may need to use pliers to do this. Be prepared for some water to spill out of the lines.
- Disconnect the wires from the water inlet valve. Depending on your model, you may need to pull off, unplug, or unscrew the wires from their terminals on the water inlet valve. You may need to use a small flathead screwdriver to do this.
- Remove the old water inlet valve from its bracket. Depending on your model, you may need to unscrew, unclip, or unlatch the old water inlet valve from its bracket.
- Install the new water inlet valve on its bracket. Depending on your model, you may need to screw on, clip on, or latch on the new water inlet valve on its bracket. Make sure it is aligned and secured properly.
- Reconnect the wires to their terminals on the new water inlet valve. Depending on your model, you may need to push on, plug in, or screw on the wires to their terminals on the new water inlet valve. Make sure they are connected correctly and firmly.
- Reconnect the water lines to their fittings on the new water inlet valve. Depending on your model, you may need to push in, plug in, or screw on the water lines to their fittings on the new water inlet valve. Make sure they are connected correctly and firmly.
- Replace the panel and turn on the water supply to your Whirlpool fridge. Depending on your model, you may need to screw on, clip on, or latch on the panel back in its place. Then, turn on the water supply to your Whirlpool fridge and check for any leaks or drips.
- Plug in your Whirlpool fridge to the power outlet and check if the ice maker is working properly. If not, you may need to troubleshoot further or contact Whirlpool customer service or a professional for assistance.