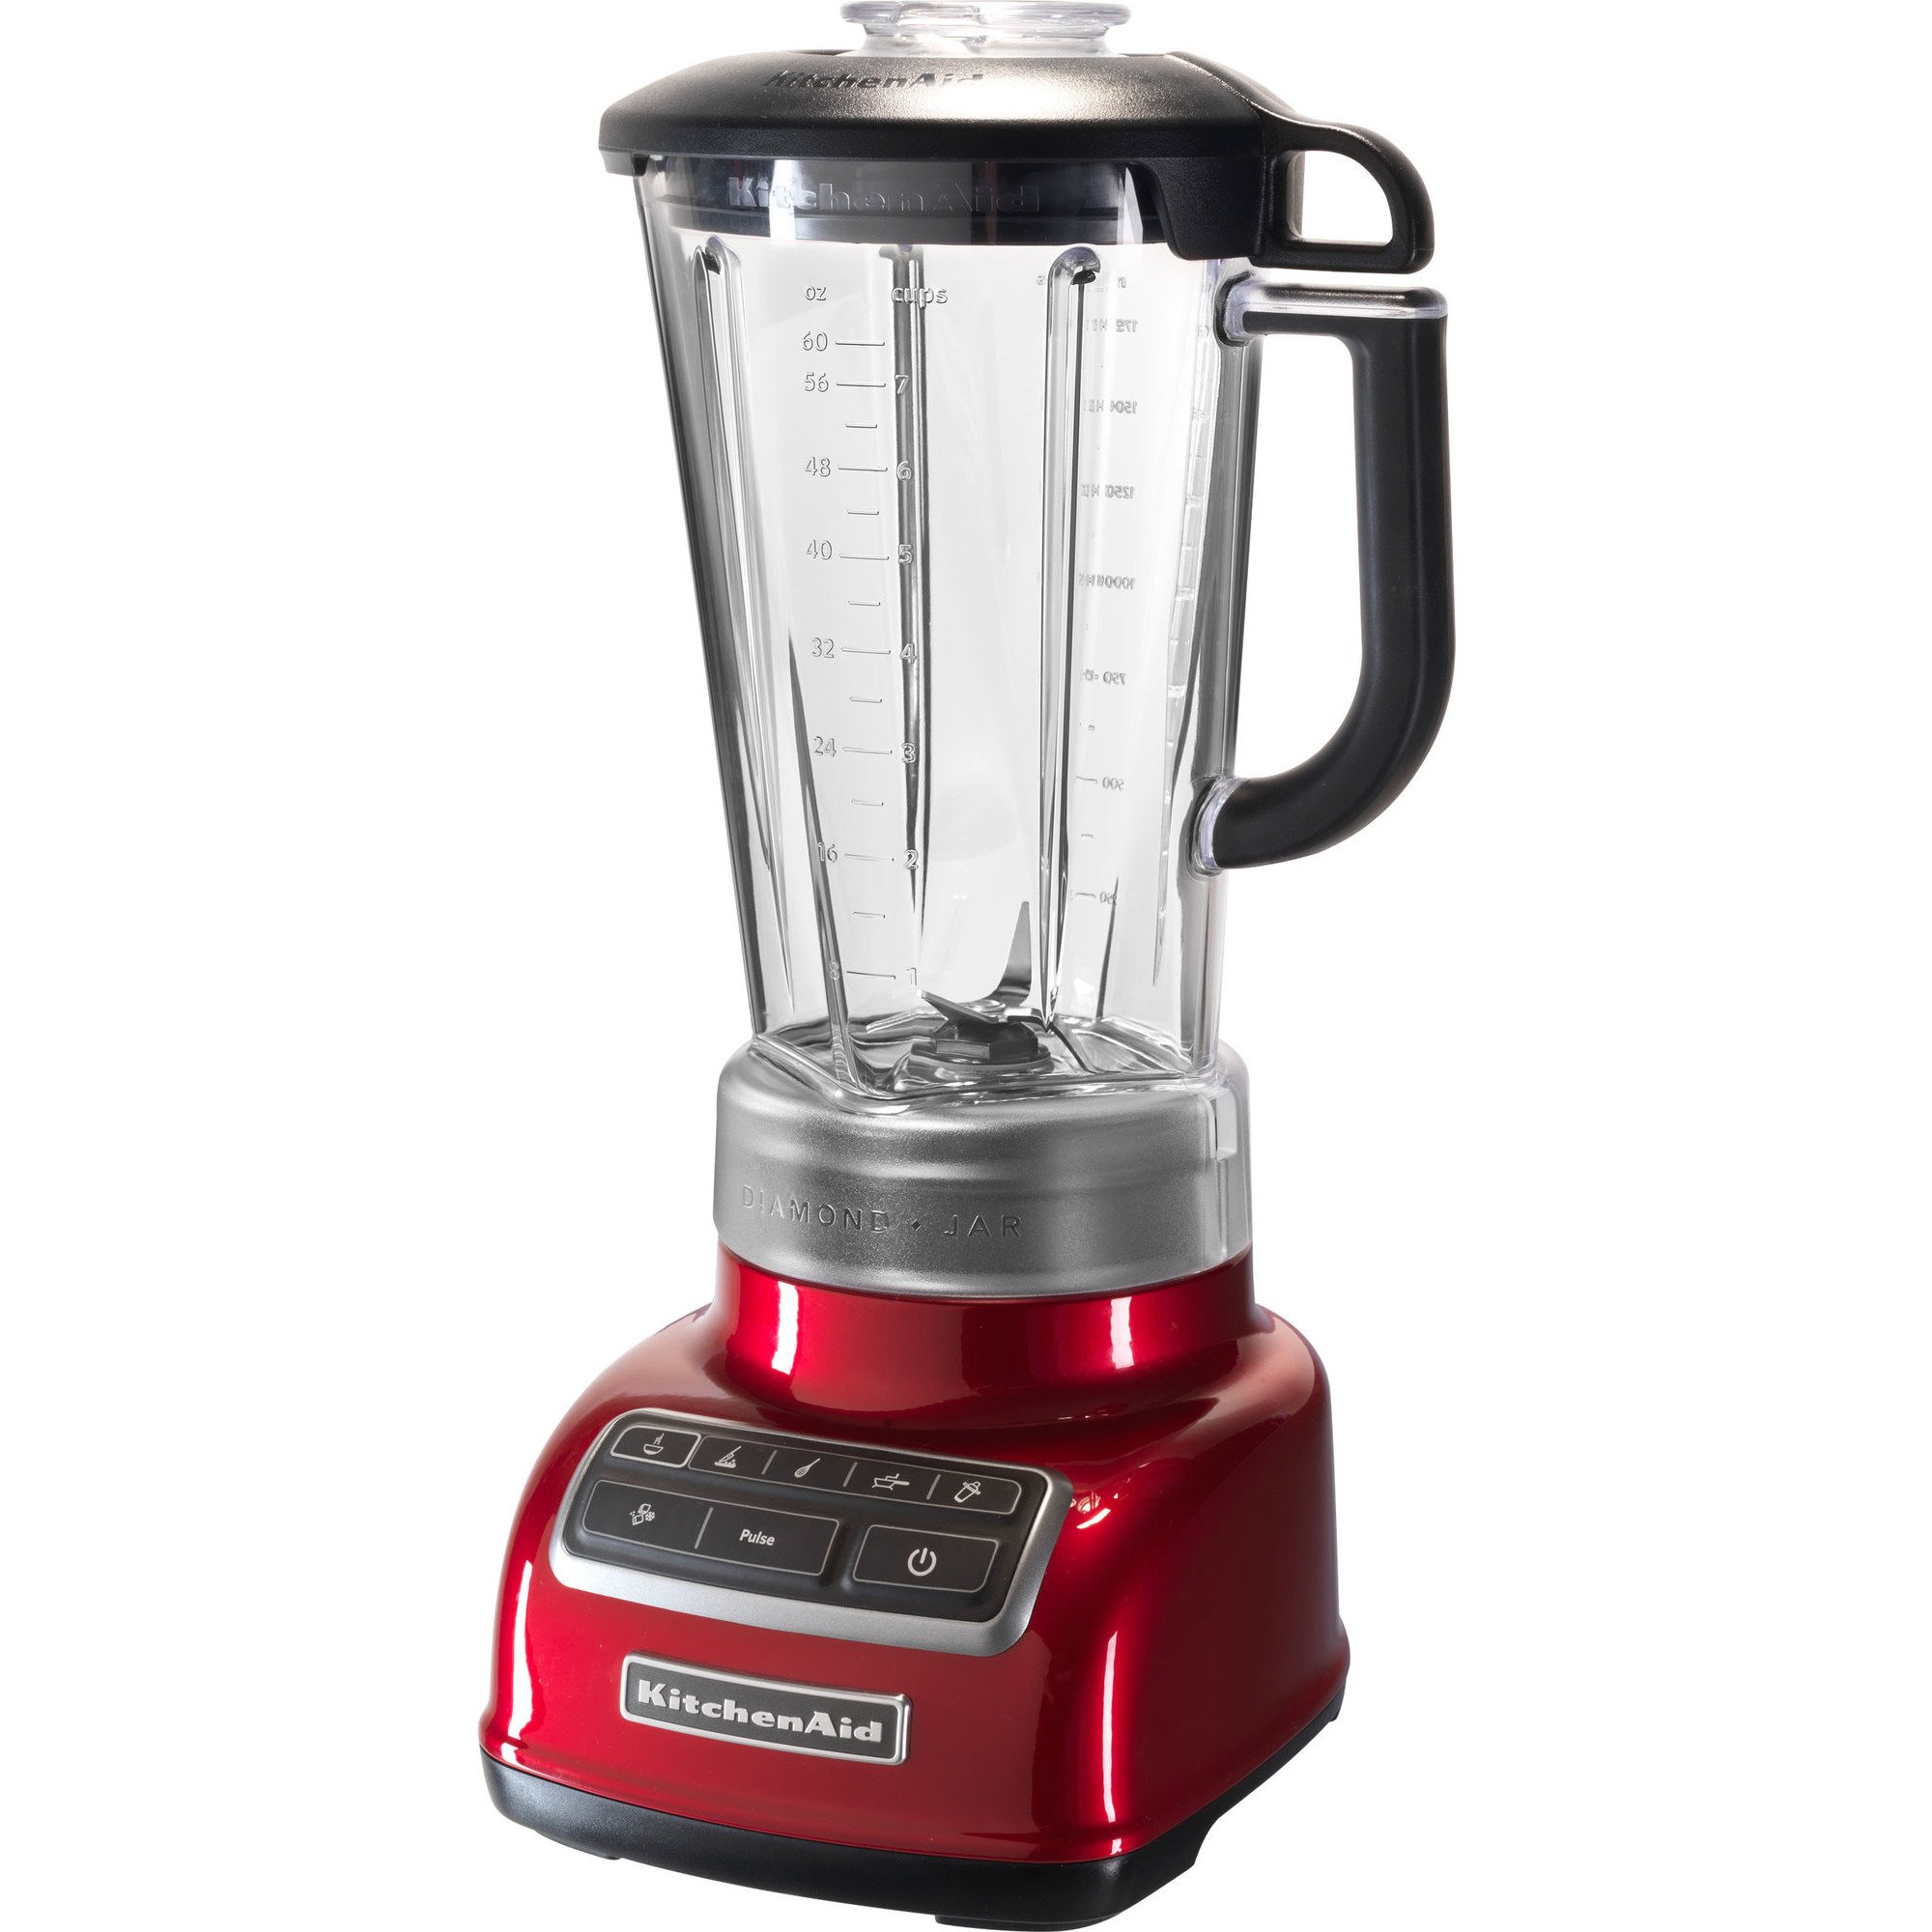
A stuck jar is annoying to deal with, but fortunately, there are a few tricks you can try to get the jar unstuck quickly and easily at home. In this post, we’ll explore some of the main reasons why Kitchenaid jars get stuck and the step-by-step solutions to fix a stubborn jar.
There are two primary reasons why Kitchenaid’s jars can get tightly lodged onto the base:
Vacuum Suction
The rubber gasket on the bottom of the jar creates an airtight seal with the base to prevent leaks. This seal causes strong vacuum suction keeping the jar firmly fixed to the motor housing. Vacuum suction gets stronger the longer the blender runs.
Ingredient Buildup
Small fragments of food and sticky blends can get trapped between the jar and the base. As you continue using the blender, this buildup accumulates and glue the jar on. Sugary ingredients like frozen fruit are prone to causing buildup.

Once you know why the jar is stuck, here are the best methods to get it detached from the base:
Often, simply giving the jar a few good twists left and right can pop the seal and dislodge a stuck jar. Twist near the base of the jar applying even pressure. Be careful not to twist the jar itself.
Flipping the jar upside down uses gravity to help release the vacuum seal. With the jar upside down, give it a few more twists while pulling up gently. The change in orientation helps break the airtight suction.
Turning on the motor base for 10-15 seconds without the jar attached forces air into the seal breaking the vacuum suction. With the base unplugged, press and hold the pulse button. Then try detaching the jar.
Slide a spoon between the jar and the base and twist gently to pop the seal. A spoon handle gives you added leverage. Take care not to scratch the housing.
Gently tap the bottom of the jar against a towel placed on the counter. The light impact helps jar ingredients loose breaking any buildup or suction. Start with a few soft taps and increase force as needed.
Jar opening tools like the ones made by Amco or Prepworks have a rubber grip that twists underneath the jar for extra leverage. They give you a better non-slip grasp compared to using hands alone when twisting forcefully.
If other methods fail, try filling the jar halfway with warm water. Let it sit for 5 minutes. The heat releases the vacuum seal and the water softens any food buildup. Empty and wipe away any loose residue before twisting the jar off.
To prevent jars from getting stuck, don’t overfill blender jars. Leave some empty space for ingredients to move freely. Overloading jars makes it harder to generate suction release.
Rinse jars immediately after blending and scrub away any bits of food trapped near the base. Regular cleaning prevents residue buildup over time.
Examine the black gasket ring on the jar bottom and replace if cracked, warped, or worn. Gasket damage can prevent forming an airtight seal leading to sticking.

If you’ve tried all the troubleshooting tips but the Kitchenaid jar remains firmly stuck, the jar may be too damaged and need replacing. Cracks, loose blades, and worn gasket rims can make jars unsalvageable. Look for visible signs of damage. Replacement jars can be purchased directly from Kitchenaid.
While a stuck Kitchenaid blender jar can be a headache, a bit of wiggling, tapping, and twisting can usually get it detached from the base quickly. Remember to leave space between loads, rinse immediately after use, and inspect the gasket routinely to avoid stuck jars in the future. Proper cleaning and care will keep your Kitchenaid diamond blender functioning smoothly for years.
How do you open a stuck blender jar?
Try twisting, tapping, running the empty base, inserting a spoon to pop the seal, turning upside down, or filling partway with warm water. Avoid overloading ingredients which can increase sticking.
Why is my Kitchenaid blender jar stuck?
Vacuum suction and food buildup between the jar and base are the two main reasons. Longer blending times increase suction while sugary foods can cause residue.
When should you replace a Kitchenaid jar?
If visible cracks, loose blades, damaged gaskets or extreme sticking occurs that preventing opening, replacement is likely needed. Jars that won’t open after troubleshooting may be too worn out.
