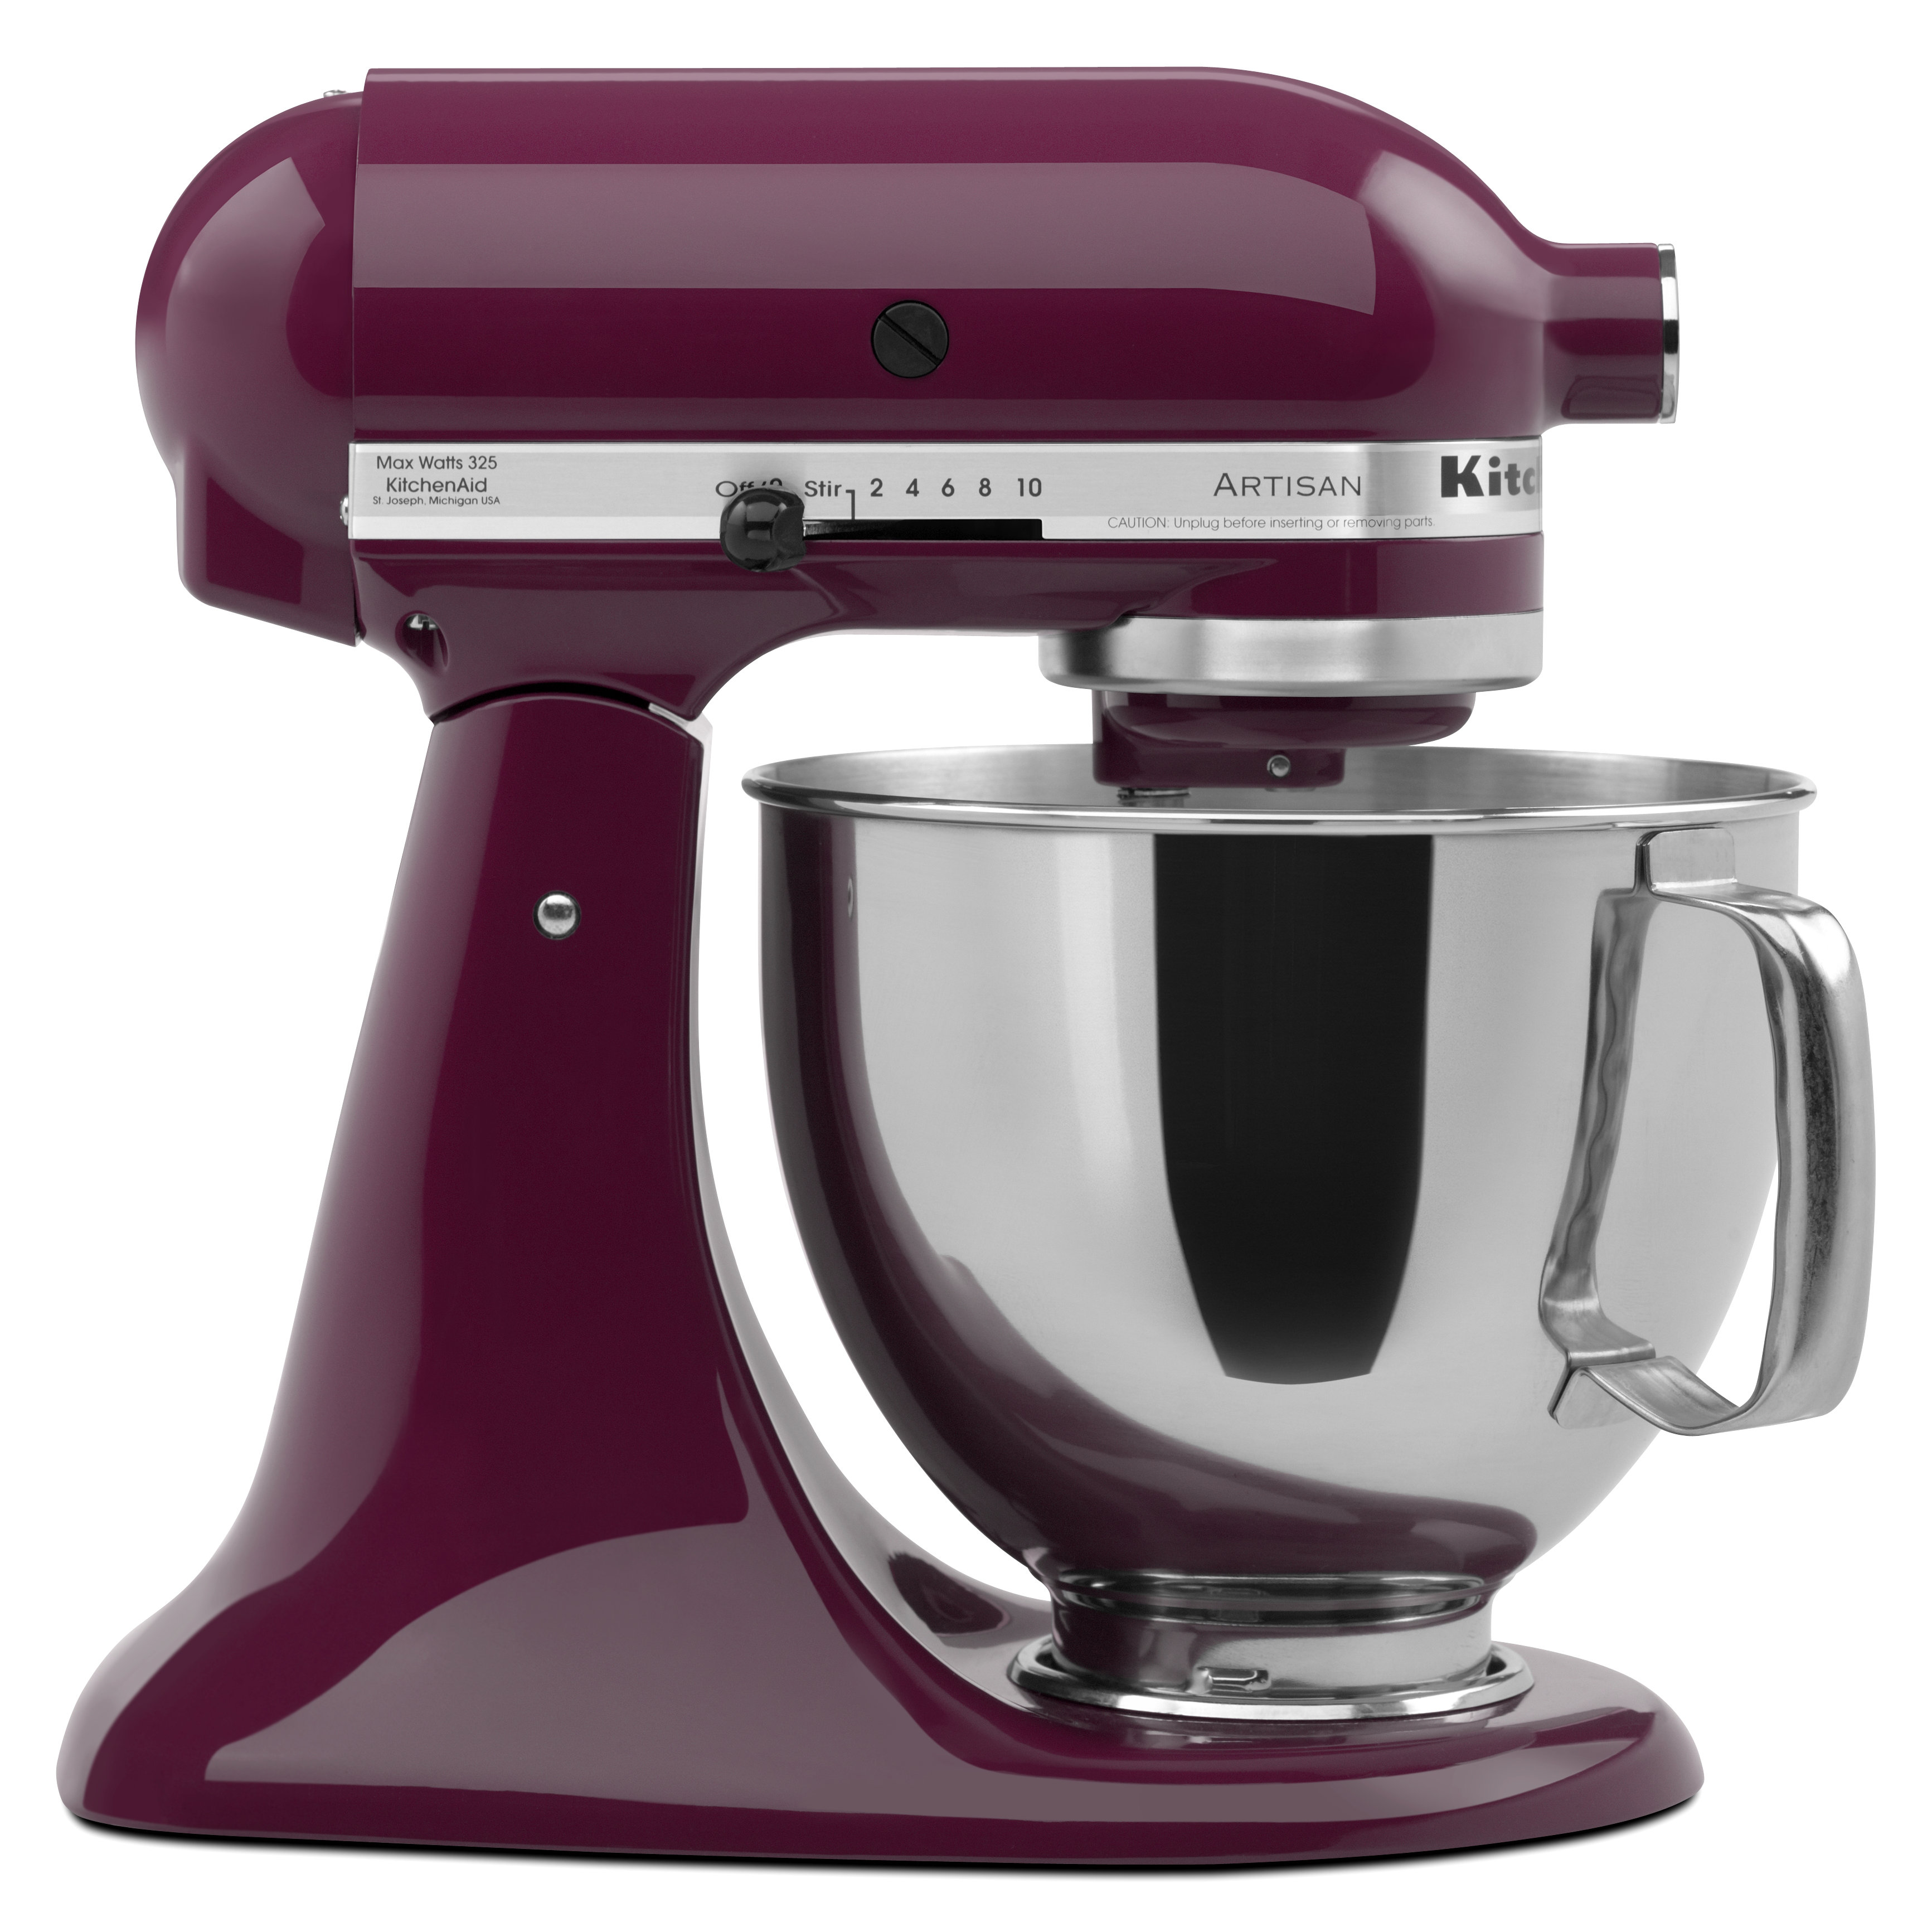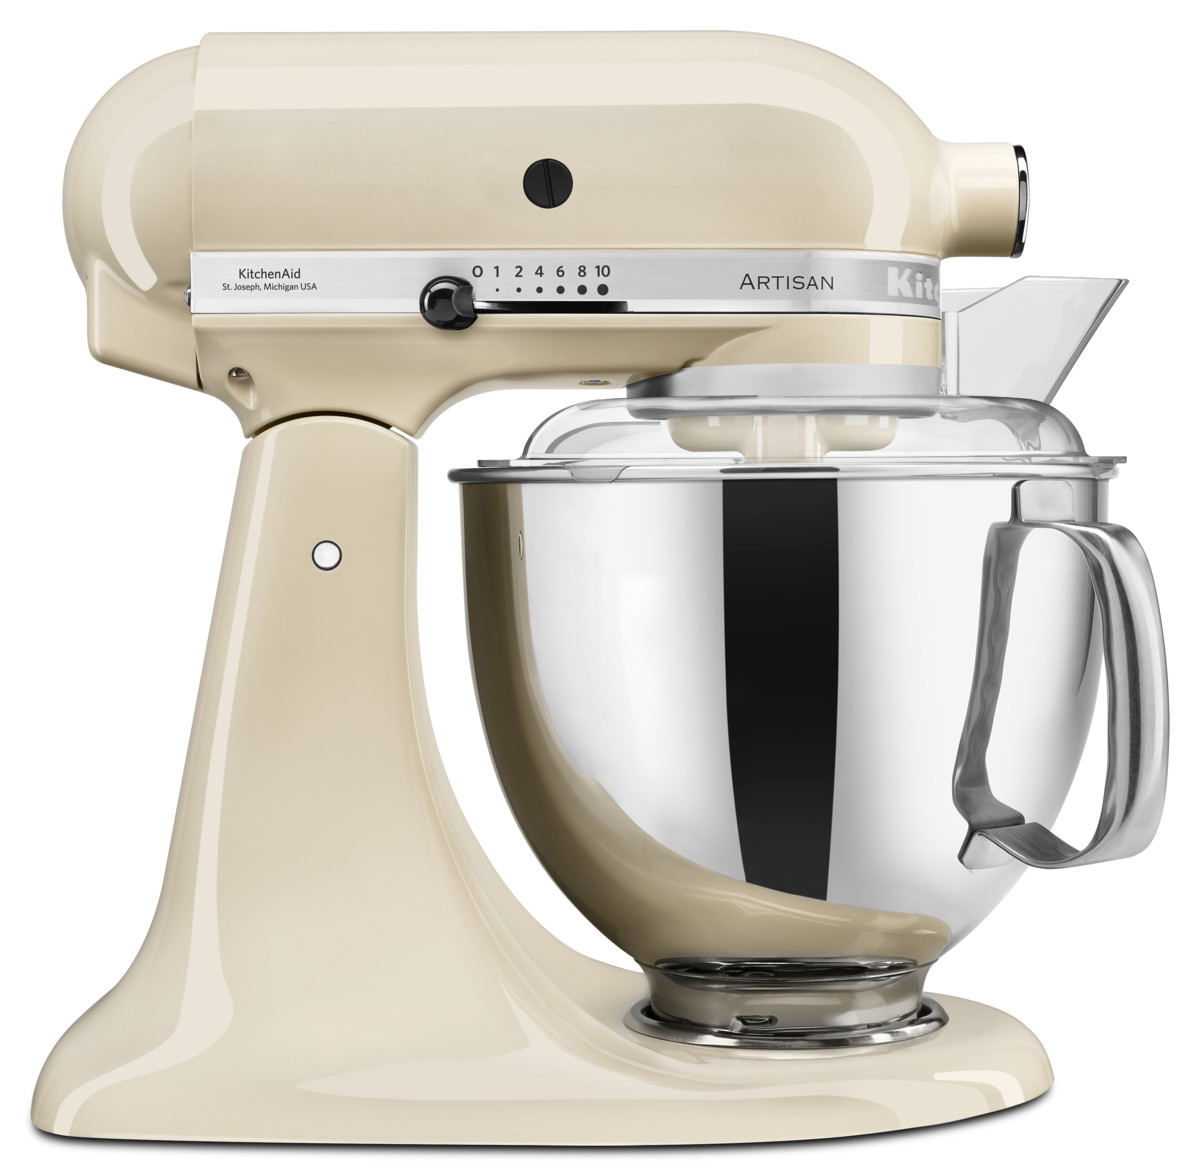
This article will guide you through the process of oiling your KitchenAid mixer, discussing why it’s necessary, when and how often it should be done, and providing you with a step-by-step guide. We’ll also tackle some frequently asked questions about the process.
KitchenAid mixers are geared machines. These gears are lubricated with a special grease that reduces friction and prevents wear and tear. Over time, the grease can break down or become contaminated, leading to increased friction and potential damage to the gears.
Oiling or re-greasing your mixer helps keep the gears operating smoothly, reducing the chance of premature wear or failure. It also ensures your mixer runs quietly and efficiently.

As a rule of thumb, a KitchenAid mixer should be oiled once every couple of years or after about every 100 hours of use. However, this can vary depending on the frequency and intensity of use. Signs that your mixer may need oiling include louder-than-usual operation, a noticeable decrease in performance, or visible grease leakage.

1. What kind of oil should I use for my KitchenAid mixer?
KitchenAid recommends using a food-grade grease for their mixers. This grease is safe for use with food-preparation appliances and is designed to withstand the high temperatures generated by the mixer’s gears.
2. Can I use cooking oil to oil my KitchenAid mixer?
No. Cooking oil is not suitable for lubricating the gears of a KitchenAid mixer. It doesn’t have the right consistency or heat-resistance properties and can lead to damage.
3. How much grease should I apply when oiling my KitchenAid mixer?
A general rule is to fill about a third of the mixer’s gear cavity with grease. However, refer to your mixer’s user manual for the manufacturer’s specific recommendations.

Oiling your KitchenAid mixer is a crucial part of its maintenance. Regular oiling can significantly extend the life of your mixer, ensuring it remains a reliable tool in your kitchen for years to come. With the right knowledge and a little time, you can keep your KitchenAid mixer performing at its peak, helping you create delicious meals and baked goods with ease.
Remember, always disconnect the mixer before servicing, use high-quality food-grade grease, and don’t be afraid to consult your user manual or KitchenAid’s customer service if you’re unsure about any part of the process.
