
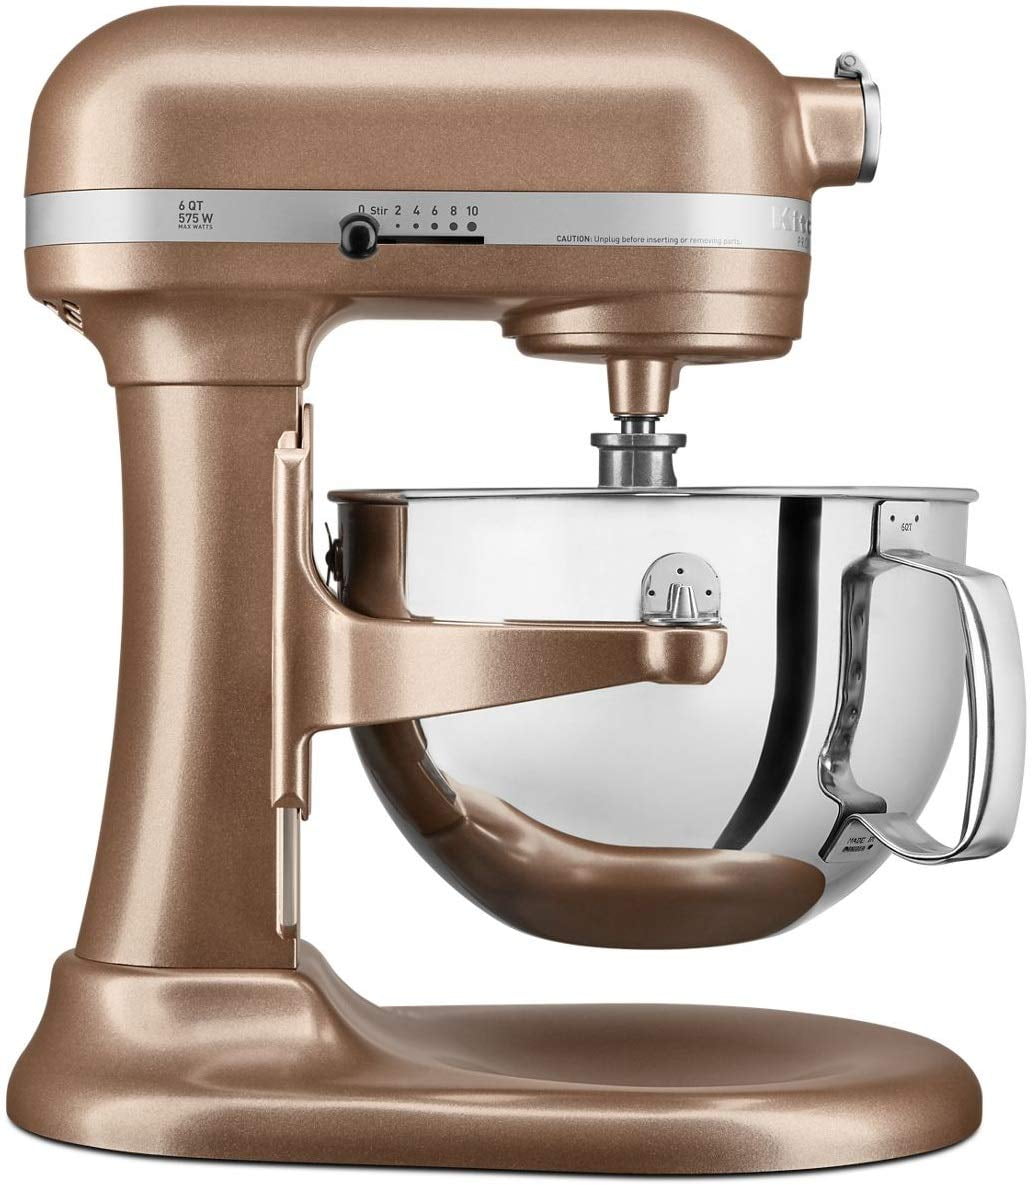
KitchenAid mixers are valuable appliances, both in terms of cost and utility. They’re often critical tools for baking enthusiasts and culinary professionals alike. The unique design of these mixers, combining heavy-duty motors with delicate attachments, makes them particularly susceptible to damage if not properly packed. Mishandling can lead to costly repairs or replacements, not to mention the inconvenience of being without your mixer in your new home.

Before you start packing your KitchenAid mixer, you’ll need to gather some essential packing materials. These include:
Using the original packaging is the best option, as it was specifically designed to protect the mixer during transport. However, if you don’t have it, a sturdy box slightly larger than the mixer will suffice.
Step 1: Clean and Dry the Mixer
Start by cleaning your KitchenAid mixer. Remove any food residue to prevent mold or pests, and then dry it thoroughly to avoid corrosion and other damage.
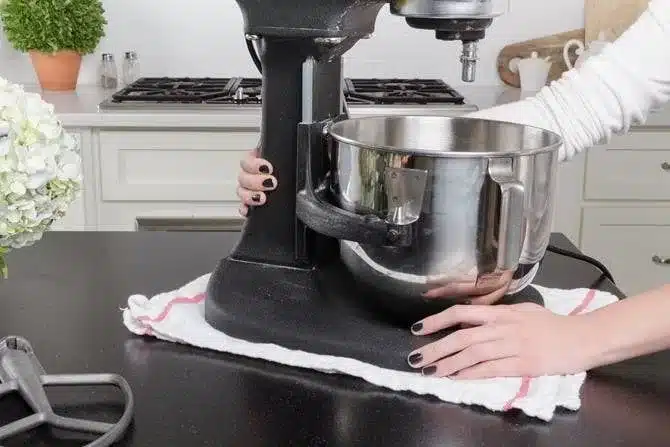
Step 2: Disassemble the Mixer
Next, disassemble the mixer by removing the bowl and any attachments. These will need to be packed separately to prevent damage.
Step 3: Wrap the Main Unit
Wrap the main unit of the mixer in bubble wrap, securing it with packing tape. Take care to protect the motor head and other protruding parts.
Step 4: Pack the Bowl and Attachments
Wrap the bowl and attachments separately in packing paper, and then add a layer of bubble wrap for extra protection.
Step 5: Position the Mixer in the Box
Place the wrapped mixer in the box, ensuring it fits snugly without being too tight. Fill any gaps with crumpled packing paper to prevent movement during transport.
Step 6: Add the Bowl and Attachments
Place the wrapped bowl and attachments in the box, filling any remaining space with more packing paper.
Step 7: Seal and Label the Box
Finally, seal the box securely with packing tape and label it appropriately with “KitchenAid Mixer – Fragile” and “This side up”.
Q1: Can I transport my KitchenAid mixer without disassembling it?
While it’s possible to transport the mixer without disassembling it, we strongly advise against it. Disassembling the mixer reduces the risk of damage to the attachments and the mixer itself.
Q2: What if I don’t have the original packaging?
If you don’t have the original packaging, a sturdy box slightly larger than the mixer will work. The key is to ensure the mixer is well-protected and immobilized during transport.
Q3: Can I use newspaper instead of packing paper?
While newspaper can be used in a pinch, it may leave ink stains on your mixer. Packing paper is a cleaner, safer alternative.
Packing a KitchenAid mixer for moving doesn’t have to be a daunting task. By following the steps outlined in this guide, you can ensure your mixer arrives at your new home in the same condition it left your old one. Remember, the key to successful packing is taking the time to protect each component properly. With a little patience and the right materials, you’ll be ready to whip up your favorite recipes in your new kitchen in no time.

