
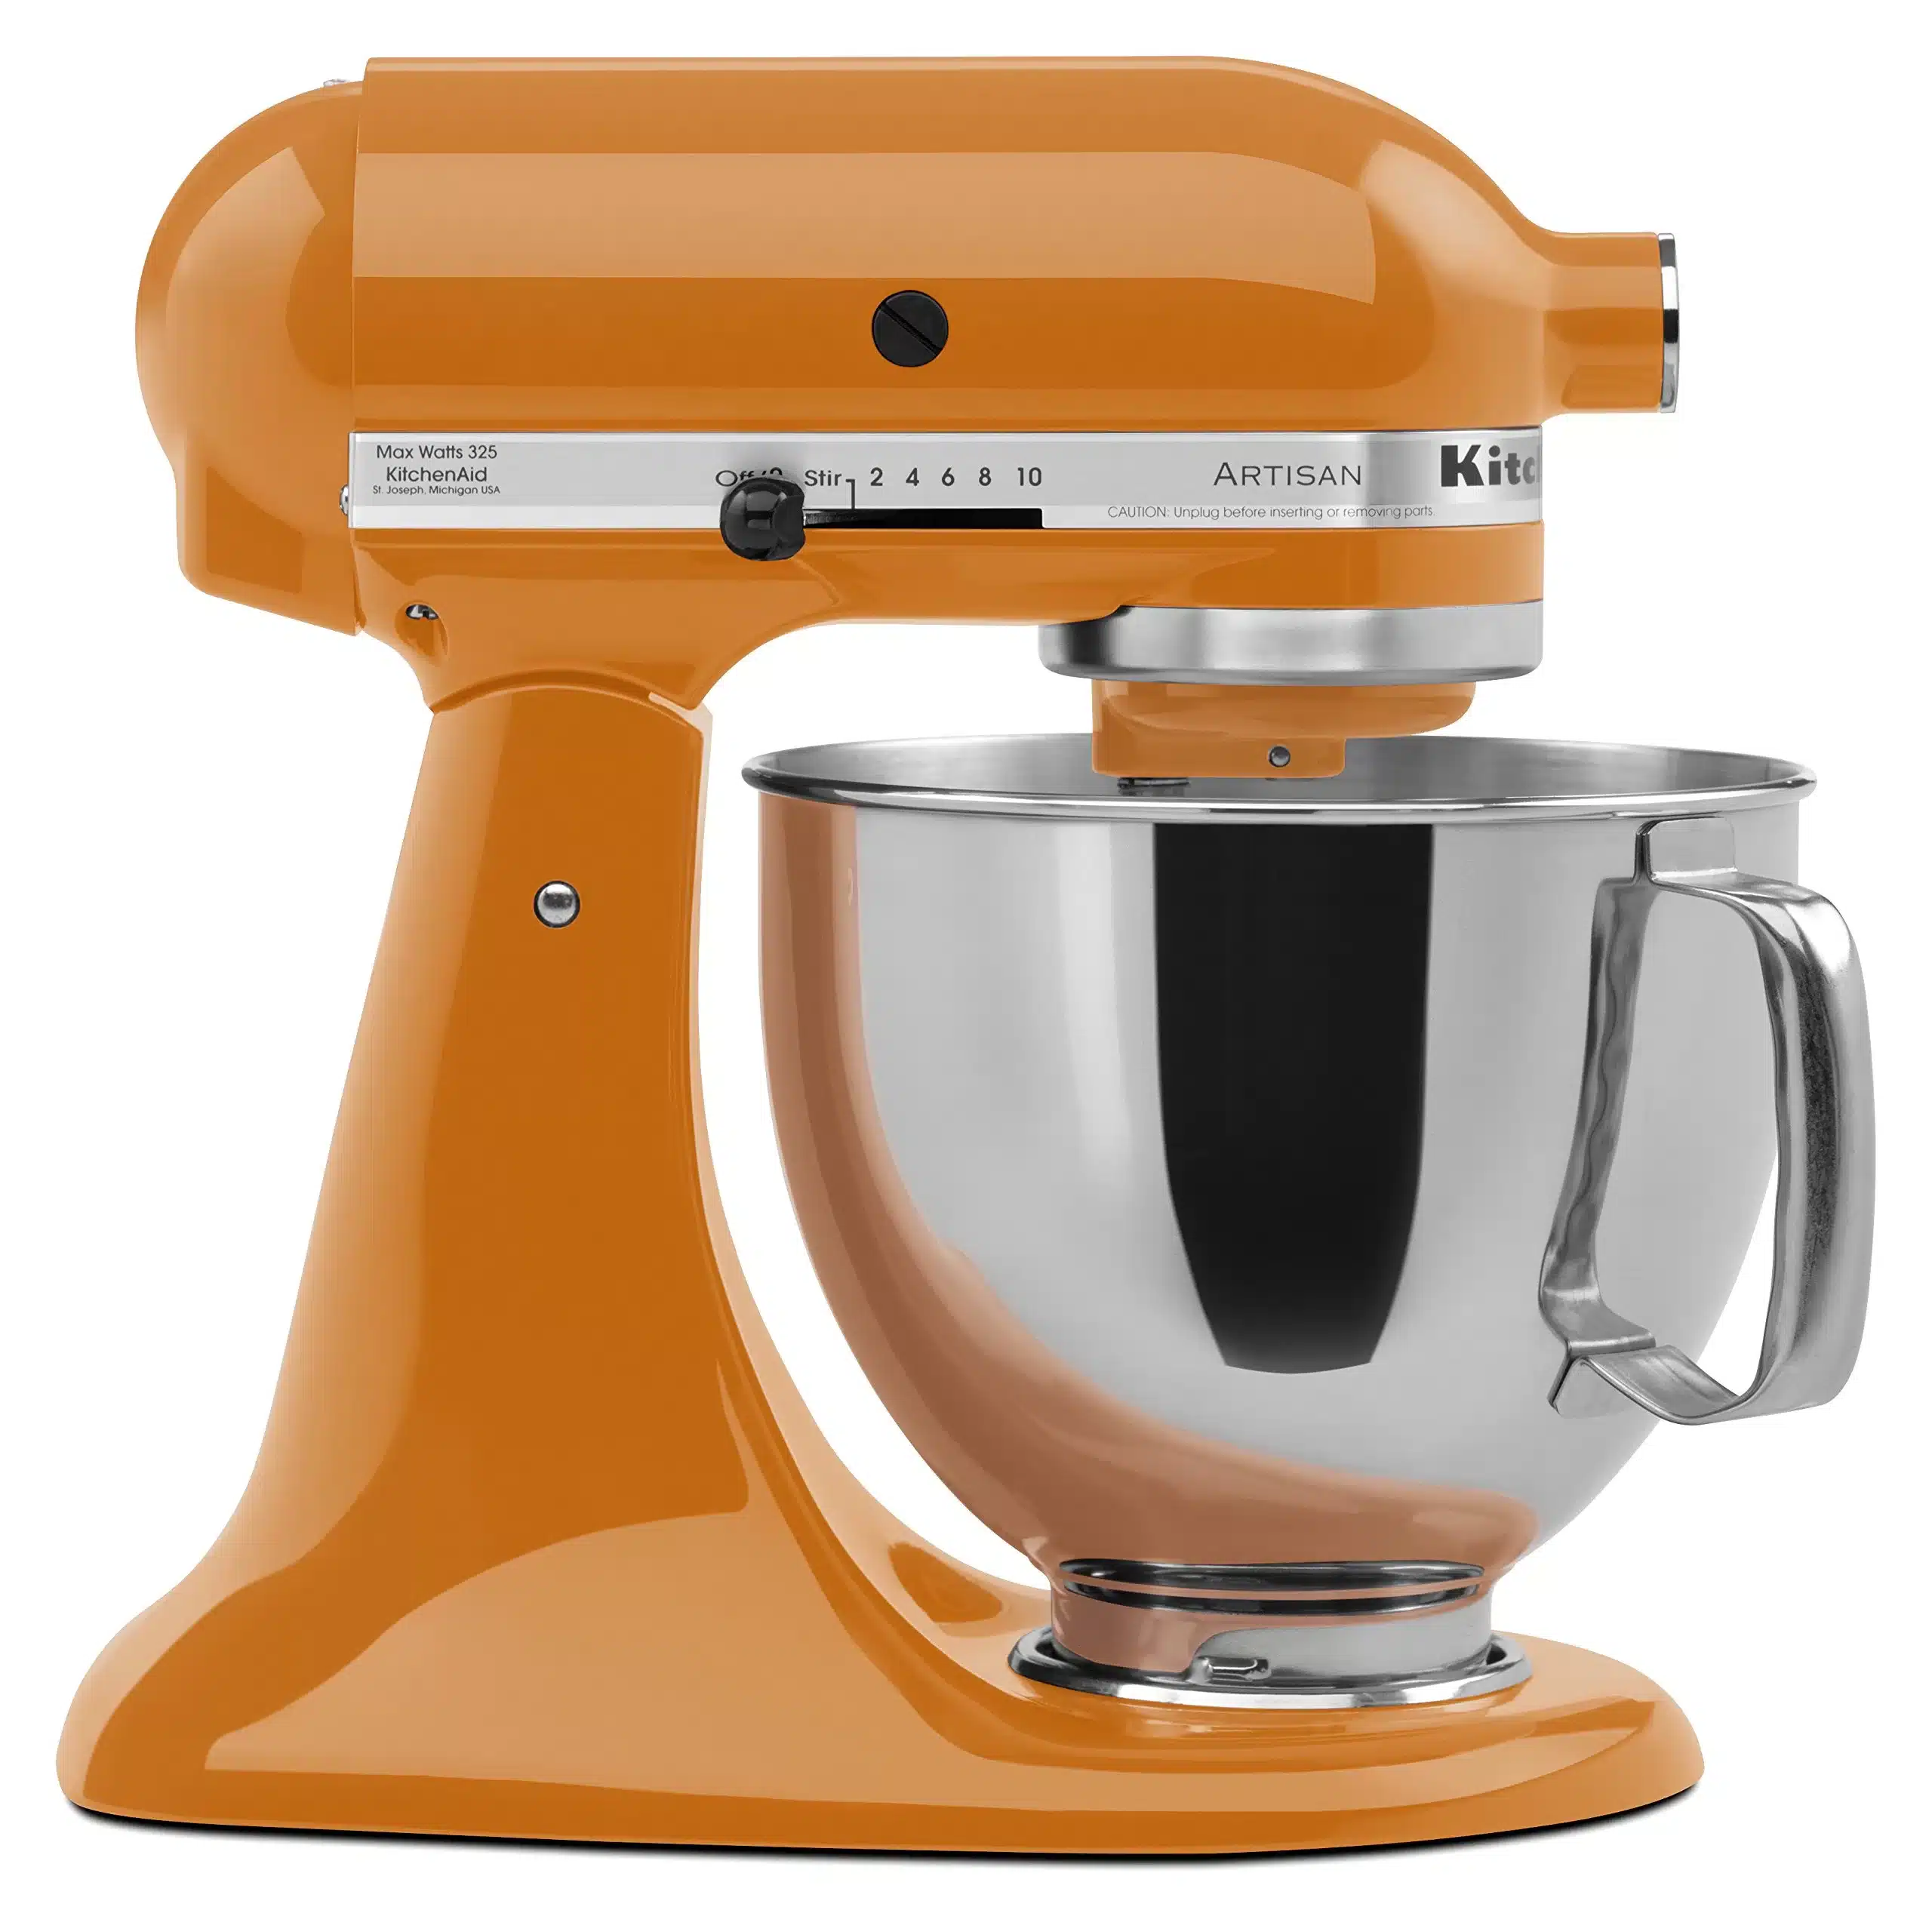
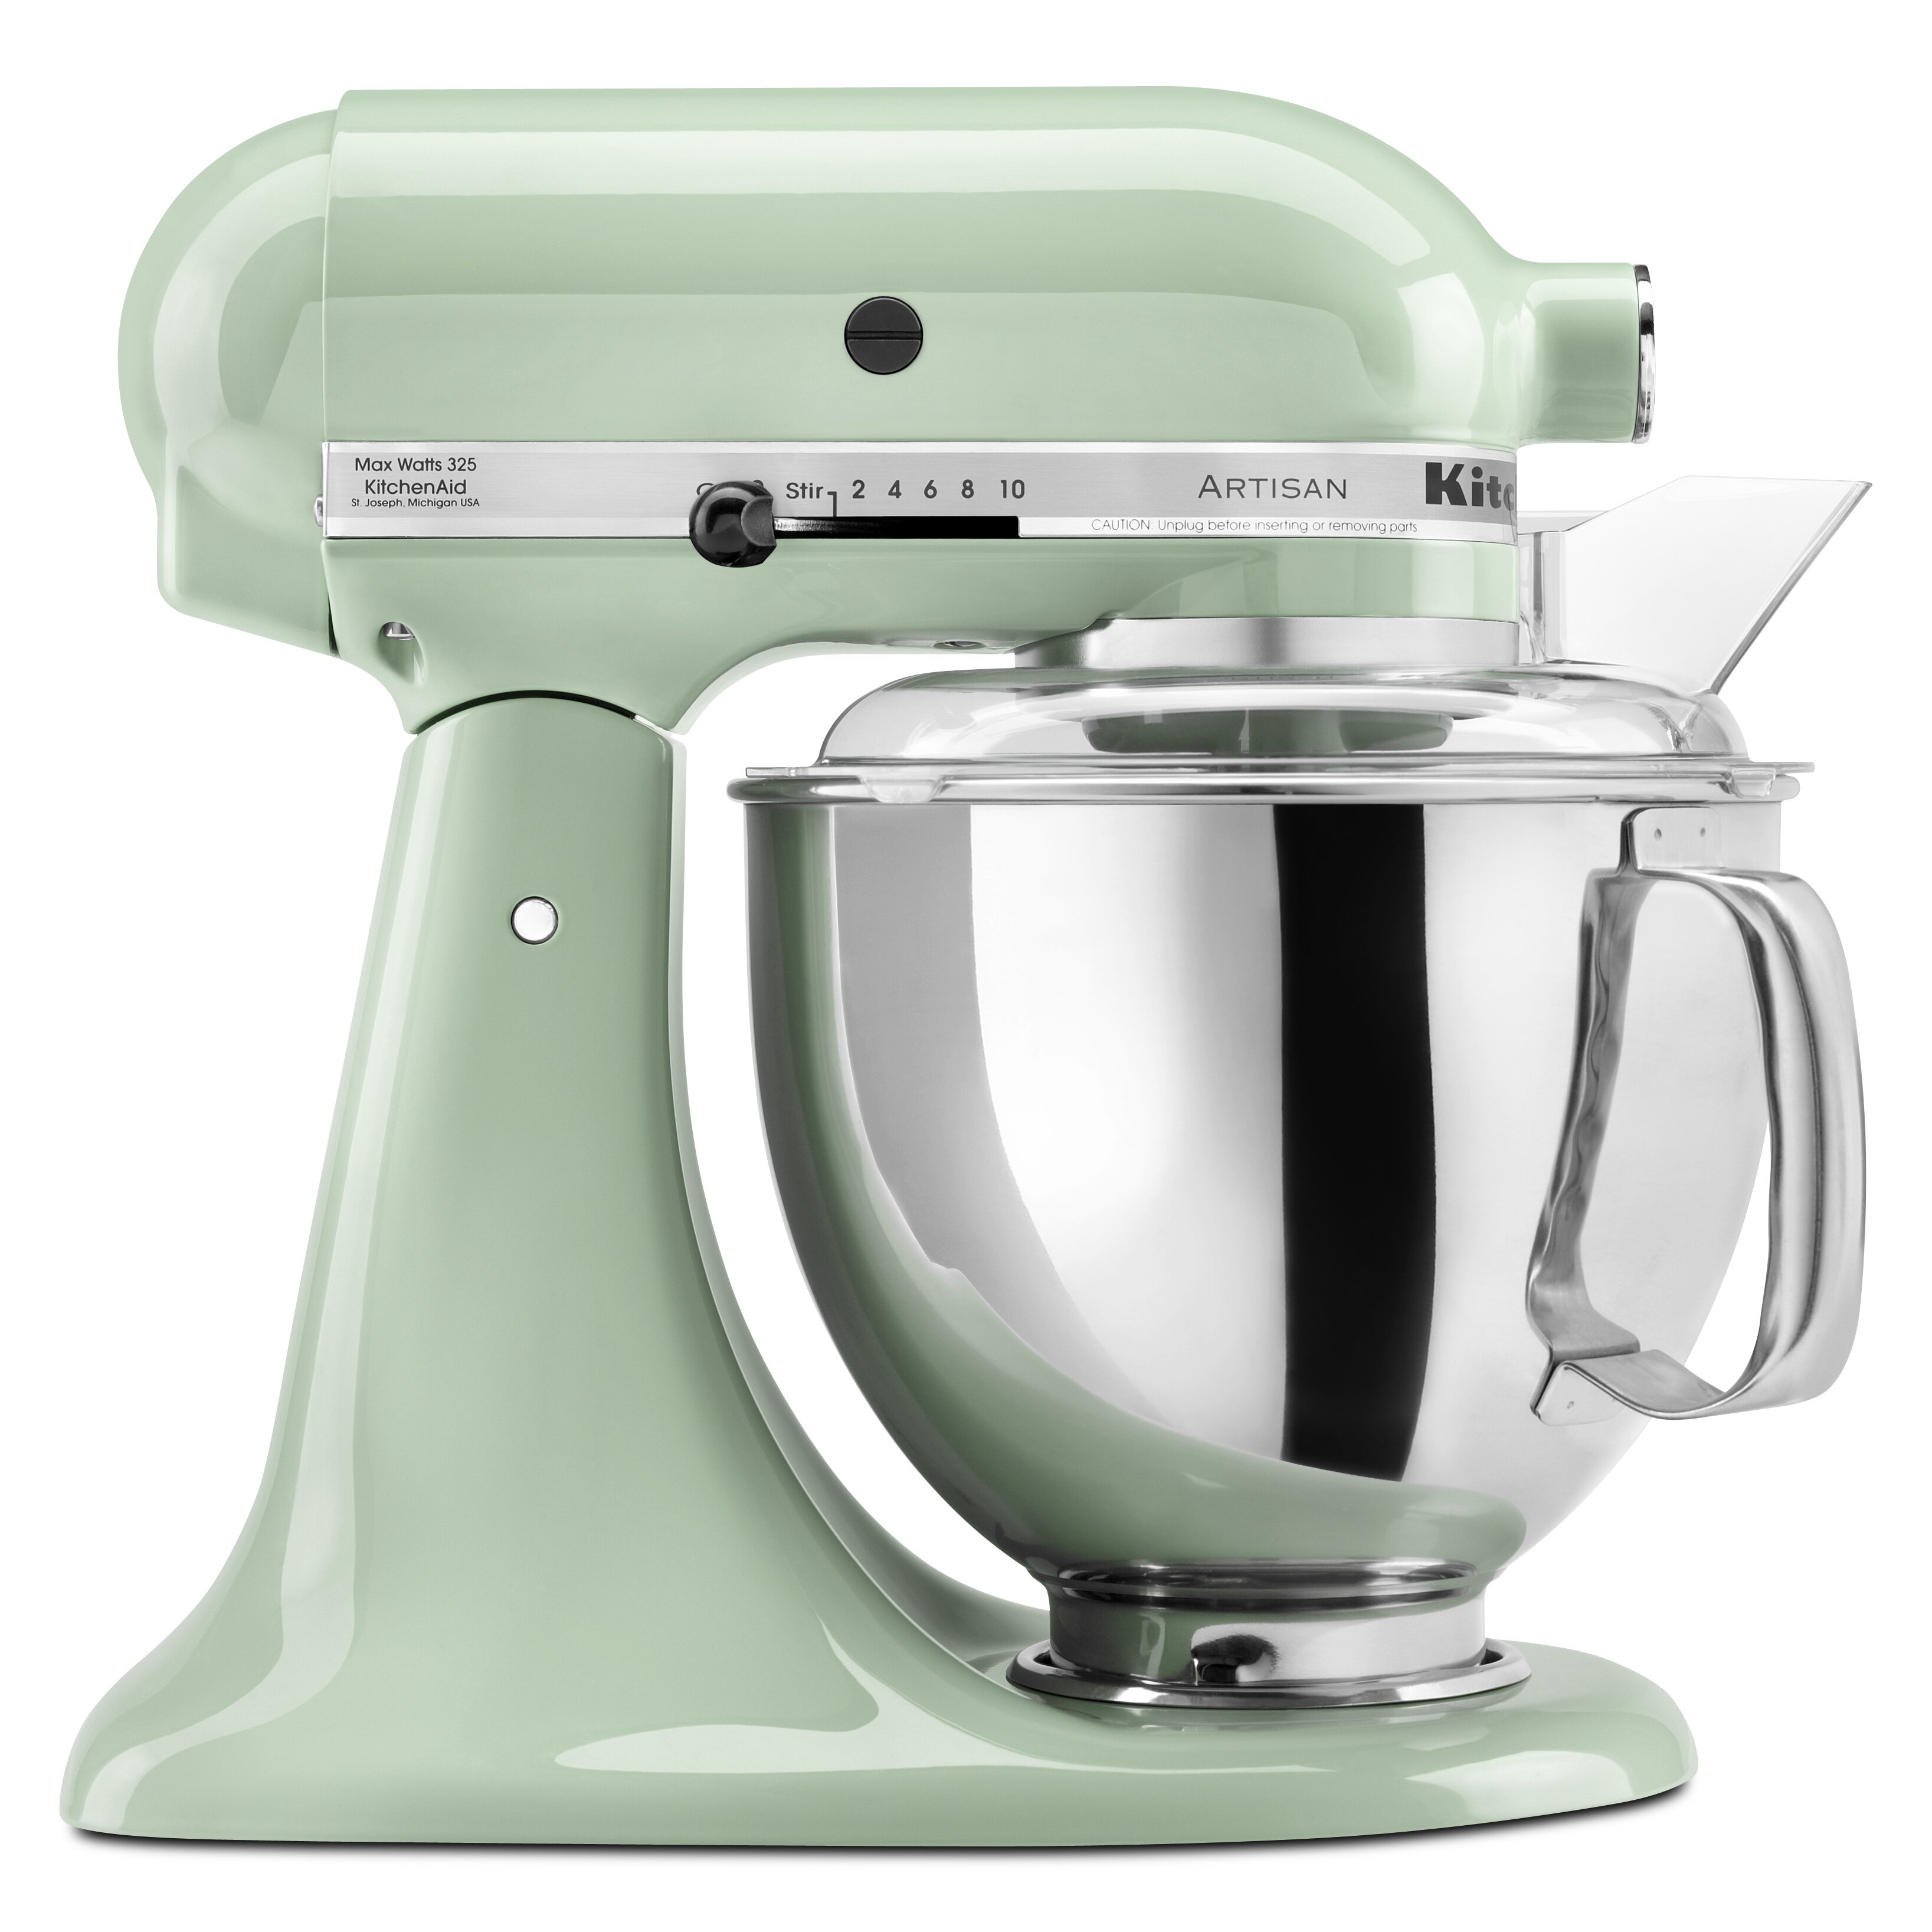
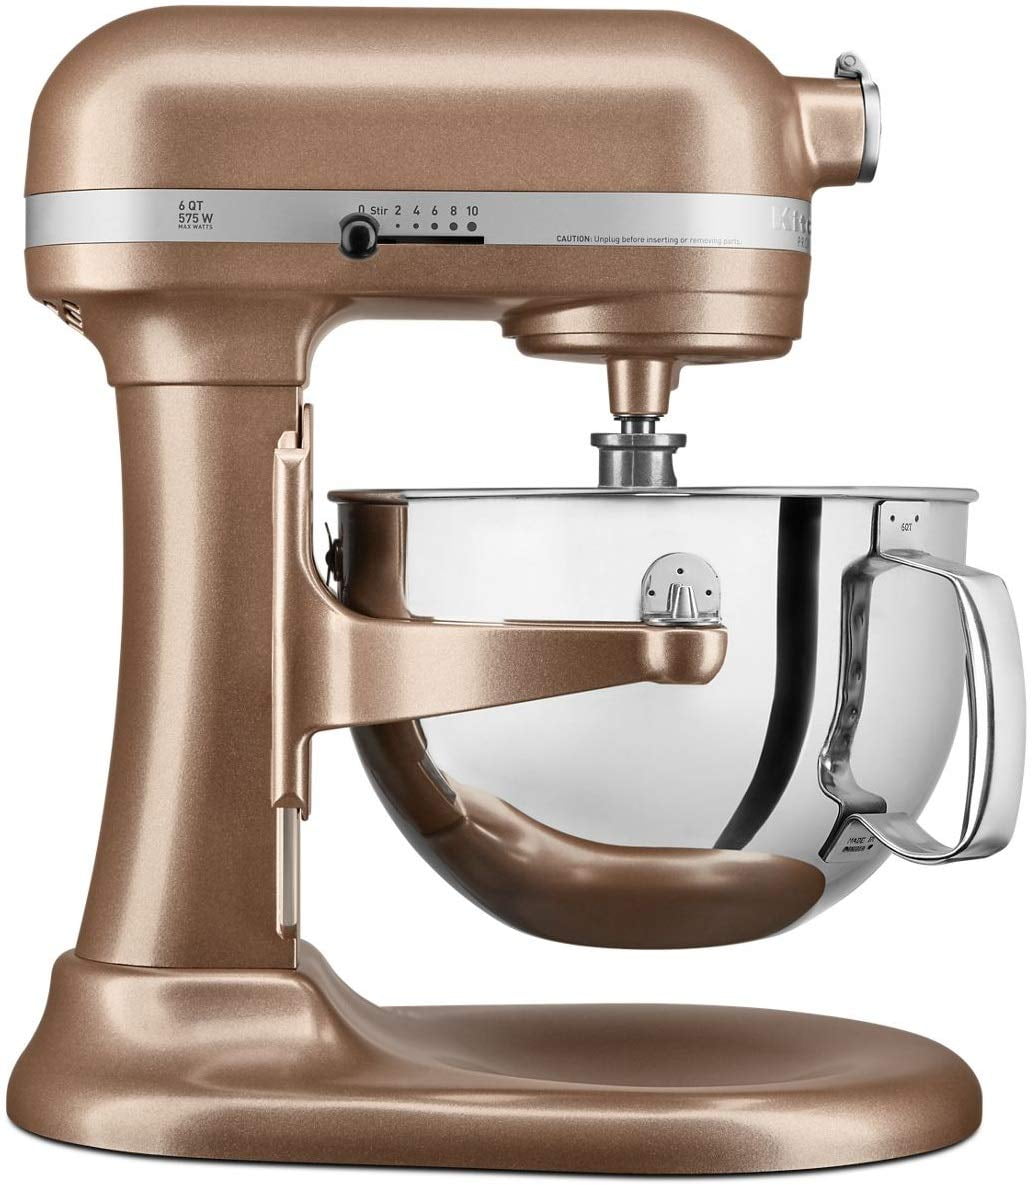
There are several great reasons to paint your KitchenAid mixer:
Painting your KitchenAid mixer is an easy DIY project. Here’s what you’ll need:
Make sure to use paint intended for metals, appliances, or automotives. Standard wall paint won’t adhere properly. An all-in-one spray paint + primer works great for simplicity.

Follow these steps to successfully paint your KitchenAid stand mixer:
Use a screwdriver to remove any accessories and attachments like beaters, the bowl, or splash guard. Remove knobs and the speed control lever if possible. Place all removed pieces on your plastic sheet.
Wipe down all mixer surfaces with a clean rag to remove dirt and dust. Then, use 220-400 grit sandpaper to rough up and dull the shiny exterior. This helps the paint adhere better.
Use painter’s tape to mask off any areas you don’t want painted, like the attachment hub or name badge. Plastic bags secured with masking tape also work well to cover intricate parts.
For best results, use primer before painting. For metal surfaces, a spray primer works best. If using regular liquid primer, apply 2-3 thin coats allowing drying in between coats.
Once primed, shake your paint well and apply steady, even coats. Spray paint works fastest, but brushed on acrylic paint can give a smoother, more even finish. Allow each coat to dry completely before adding another. Most mixers require 2-4 coats for solid coverage.
Once the final coat is dry, carefully remove all masking tape and bags. Check for any paint seepage and lightly sand and touch up if needed. Finally, reattach all the parts you removed.
And that’s it! With a few simple steps you can revive and customize your KitchenAid mixer. No more plain white appliance in your kitchen. Enjoy your colorful masterpiece!
Follow these tips for getting the best results when painting your mixer:
Here are answers to some frequently asked questions about painting KitchenAid mixers:
What type of paint should I use?
For best results, use high quality spray paint or acrylic craft paint intended for metal and appliances. Avoid standard wall paints. An all-in-one spray paint + primer works great.
How long does it take to dry?
Each coat of paint will be dry to the touch in 1-2 hours. Allow 8-24 hours between coats for thorough drying. The paint fully cures in 5-7 days.
Can I paint over the polished metal parts?
Yes, with proper prep and primer you can paint the polished metal bowl, beater attachments, and speed control. Just be very careful not to get paint on the motor base.
Should I remove the mixer parts before painting?
Removing attachments like beaters makes painting easier. You don’t need to take apart the actual mixer assembly. Just tape off what shouldn’t be painted.
How do I get an even coat with spray paint?
Use steady back and forth motions about 8 inches from the surface. Multiple light coats give better coverage than one thick coat from spraying too closely.
Custom painting your KitchenAid mixer is an easy, inexpensive way to revitalize its look and match your kitchen decor. With some basic materials and preparation, you can paint it any color you like for a fun DIY home project. Just be sure to properly prep the surfaces, use appropriate paints, allow thorough drying time, and apply multiple light coats. In no time you can have a like-new mixer in your perfect color to show off in your kitchen!

