how-to-put-together-a-cuisinart-blender

How To Put Together A Cuisinart Blender


The excitement and satisfaction of unboxing a new kitchen appliance can quickly be dampened by the seemingly complex task of putting it together. If you’ve just bought a Cuisinart blender and are unsure about the assembly process, this guide is for you.

Cuisinart blenders are renowned for their performance and durability. But to ensure that your blender functions optimally, proper assembly is crucial. This article provides detailed, step-by-step instructions on how to assemble a Cuisinart blender, along with answers to some frequently asked questions and practical tips for efficient operation and maintenance.

Understanding Your Cuisinart Blender Components

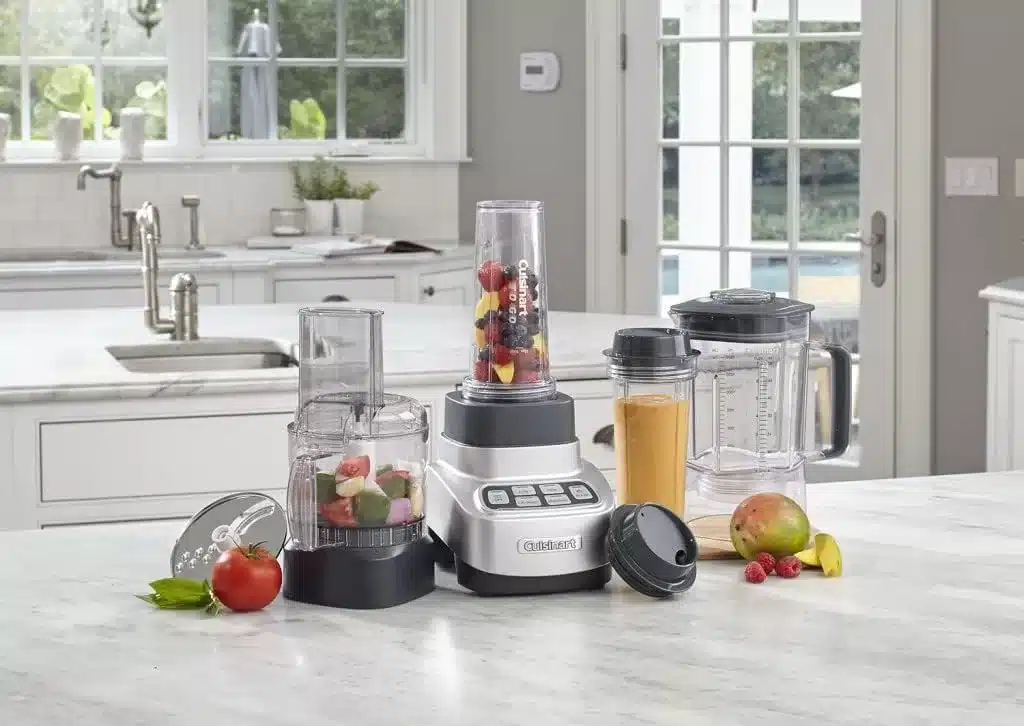
Before we delve into the assembly instructions, it’s essential to understand the various components of your Cuisinart blender. While the specific parts may vary slightly depending on the model, most Cuisinart blenders include the following key components:

  1. Base: This is the heaviest part of the blender and houses the motor. The base also includes the control panel, where you can select various blending options.
  2. Jar: This is the container into which you put the ingredients you want to blend. The jar is usually made of glass or high-quality plastic, depending on the model.
  3. Blade Assembly: The blade assembly includes the blade and a gasket (a rubber seal that prevents leaks). The sharp blender blades are responsible for chopping and blending the ingredients.
  4. Lid: The lid fits on top of the jar, ensuring that the contents don’t spill out when the blender is in operation. Most lids also have a removable fill cap that allows you to add ingredients while the blender is running.
  5. Fill Cap: The fill cap is a small cap that fits into the hole in the lid of the blender. You can remove this cap to add ingredients or liquids during blending without having to stop the blender and remove the entire lid.

Cuisinart SmartPower 7 Speed Electronic Blender (Refurbished), Black ...

Assembling Your Cuisinart Blender: A Step-by-Step Guide

Now that you’re familiar with the different parts of your Cuisinart blender, let’s look at the steps involved in assembling your blender:

  1. Position the Base: Start by placing the base on a flat, stable surface, such as your kitchen countertop. Make sure the blender is unplugged while you’re assembling it to avoid any potential accidents.
  2. Assemble the Blade Assembly: If your blade assembly is not already assembled, you’ll need to do this first. The gasket should be positioned on the bottom of the blade assembly and should fit neatly into the groove.
  3. Attach the Blade Assembly to the Jar: With the jar turned upside down, screw the blade assembly onto the bottom of the jar. Be careful not to over-tighten the blade assembly, as this could damage the gasket and potentially cause leaks.
  4. Mount the Jar onto the Base: Turn the jar right side up and position it onto the base. Depending on the model of your blender, you might need to twist the jar slightly to lock it into place.
  5. Attach the Lid: Place the lid onto the top of the jar, making sure it fits snugly and securely. If your lid has a removable fill cap, ensure that it is also securely fitted into the lid.
  6. Plug In the Blender: Now that your blender is fully assembled, you can plug it into an electrical outlet. Your blender is now ready for use!

Cuisinart Soup Maker & Blender | The Green Head

Frequently Asked Questions

1. Why is my blender not working after assembly?

If your blender does not start after assembly, make sure all components are properly installed. The blender may have safety features preventing it from operating if the jar or lid is not properly attached.

2. Can I assemble my blender with the jar already full of ingredients?

While it may seem like a time-saving step, filling the jar before assembly can lead to spills and improperly seated parts. It’s best to assemble your blender before adding any ingredients.

3. I’m having a hard time attaching the blade assembly to the jar. What can I do?

If the blade assembly is difficult to screw onto the jar, ensure that the gasket is properly seated in the groove of the blade assembly. If it’s not correctly positioned, it can prevent the assembly from attaching correctly to the jar.

Conclusion

Assembling a Cuisinart blender is a straightforward process once you understand the steps involved. Proper assembly is key to ensuring your blender works efficiently and lasts a long time. If you encounter any issues during assembly or use, refer to the instruction manual or contact Cuisinart’s customer support for further assistance.

Remember, always ensure your blender is unplugged during assembly and that all components are securely fitted before you start blending. Happy blending!

Meet

Dale

Dale is the founder and appliance expert behind PressToCook.com. He is a former restaurant manager who has spent years behind the scenes using just about every kitchen appliance imaginable.

He founded PressToCook.com to debunk the myths around appliances and show home cooks how to truly harness the power of their gadgets to whip up incredible dishes easily and efficiently.

Dale is on a mission to prove that kitchen appliances should be celebrated, not feared, and he can’t wait to share his real-world tips and tricks with you!
© 2024 PressToCook.com. All rights reserved.

Site built by LaowaiSites