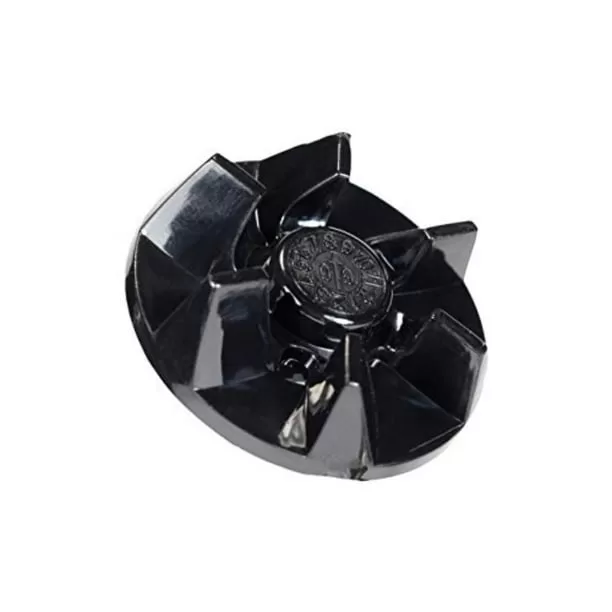
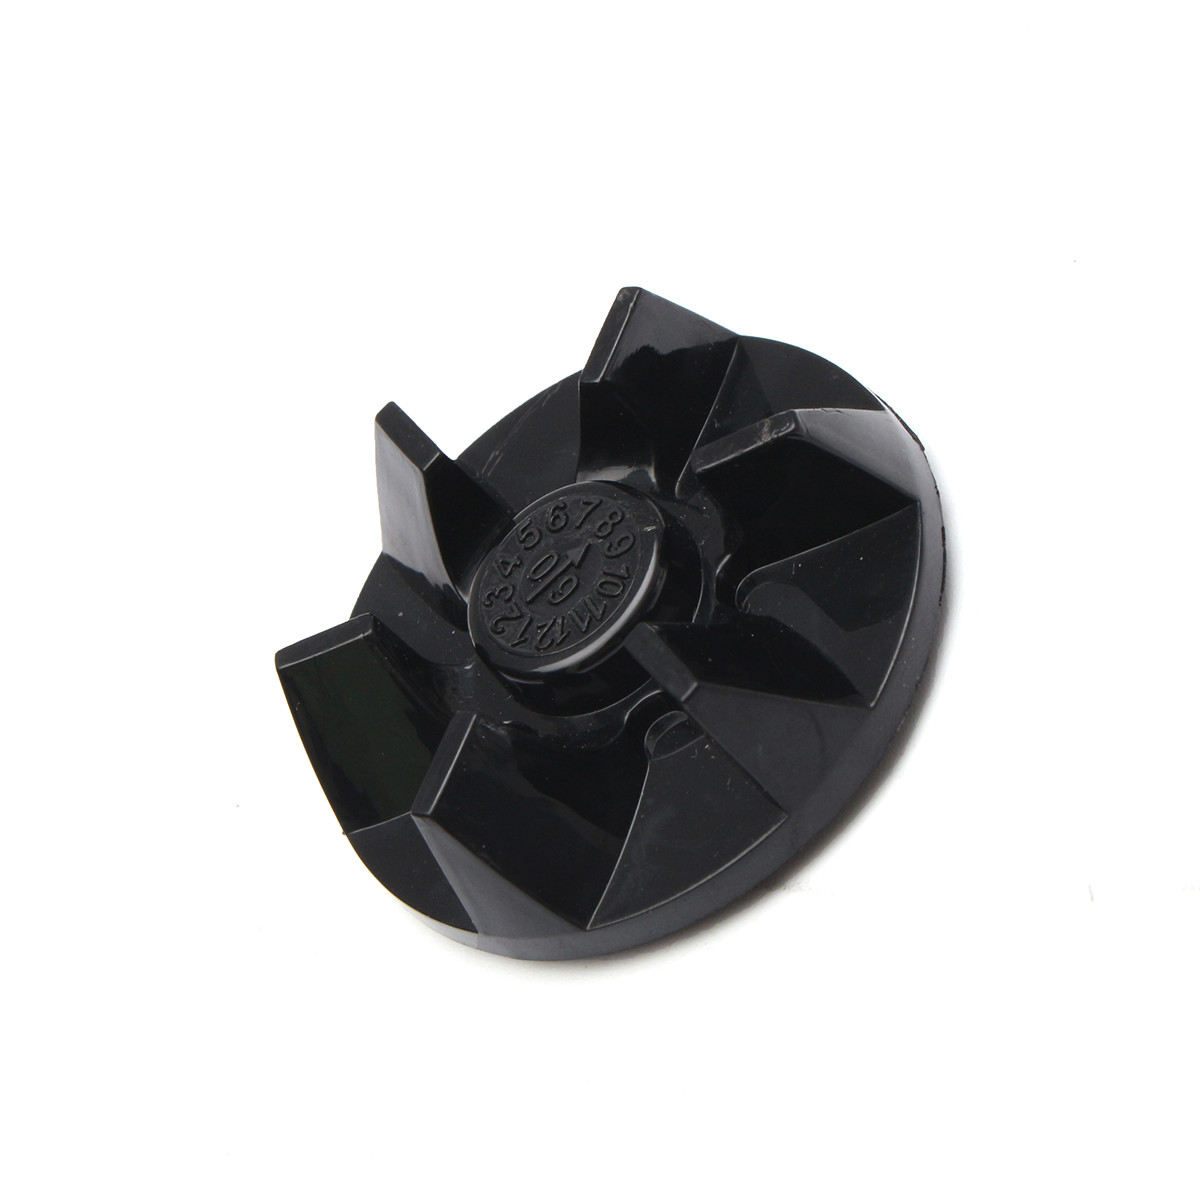
If you own a Cuisinart blender, you may eventually need to replace the coupling, which connects the blender jar to the motor base. The coupling contains a rubber gasket that allows the blade assembly to connect snugly to the base, and this gasket can wear out over time. Replacing the coupling is an easy fix that will have your blender running as good as new. In this blog post, we’ll walk through the entire process step-by-step.
When Do You Need a New Coupling?
There are a few signs that indicate it’s time to replace your blender’s coupling:
- Leaking from the base: If you notice liquid dripping out from the connection between the jar and the base while blending, the coupling gasket is likely worn out. This causes leaks and makes a mess on your countertop.
- Loose connection: If the jar wobbles while blending or feels looser than normal when attached to the base, this indicates the coupling is no longer sealing properly.
- Loud noise: You may hear abnormal loud noises when blending if the coupling is worn. The loose connection allows the blade assembly to rattle around.
- Poor blending: Damaged couplings can prevent the blender from functioning optimally. If your smoothies aren’t as smooth as they should be, replacing the coupling can help.
If you notice any of these issues, don’t wait to replace the coupling. Using your blender with a worn gasket can cause leaking, damage the motor, or result in injury.

How to Replace a Cuisinart Blender Coupling
Replacing the coupling is a straightforward fix you can do yourself in just a few minutes. Here are the step-by-step instructions:
Supplies Needed
- Replacement Cuisinart blender coupling (can be ordered online or purchased at many retail stores)
- Small Phillips head screwdriver
Steps
- Unplug the blender from the electrical outlet.
- Turn the jar upside down and remove it from the motor base.
- Using the screwdriver, remove the small screw that holds the plastic cover over the coupling. Take off the cover.
- Gently pull the rubber gasket out of the coupling socket to remove it. You may need to wiggle it out using your fingers.
- Clean the now-empty socket with a paper towel to remove any debris or old food buildup.
- Insert the new coupling gasket into the socket, pressing it in firmly by hand. The gasket should fit snugly in place.
- Replace the plastic cover and screw it back in place with the screwdriver.
- Set the blender jar back onto the motor base, turning it clockwise to lock it into place.
- Plug in and switch on the blender to test it. The jar should now attach tightly without wobbling or leaking.
And that’s it! With the few basic steps, you can have your Cuisinart blender coupling replaced in just a few minutes with minimal effort and cost.
Troubleshooting Tips
If you replace the coupling but are still experiencing issues, here are some troubleshooting tips:
- Make sure the new gasket is firmly pressed into the socket and the plastic cover is screwed on tightly. The connection needs to be secure.
- Inspect the interior of the socket for any cracks or damage that could prevent a good seal. If damaged, you may need a replacement base.
- Try flipping the rubber gasket over. It could have been inserted upside down.
- Ensure you purchased the correct replacement part for your specific Cuisinart model. Couplings are not universally compatible.
- As a last resort, contact Cuisinart customer support for additional advice.
Maintaining Your Blender Coupling
To maximize the lifespan of the replacement coupling gasket and prevent leaks, here are some maintenance tips:
- Avoid overfilling the blender jar, which puts strain on the coupling with the extra weight.
- Tighten the jar securely each time, but don’t over tighten.
- Clean the socket and gasket regularly to prevent food buildup.
- Avoid blending hot liquids, which can deteriorate the rubber over time.
- Store the blender upright, not on its side, to avoid compression damage.
With proper care and replacement when needed, the coupling on your Cuisinart blender should last for years of smooth blending. Stay vigilant for any signs of wear and address issues promptly to keep your blender in top working order.

FAQs:
What type of replacement coupling do I need?
You need to purchase the specific coupling made for your Cuisinart blender model. The part numbers are usually printed on the gasket itself or listed in the instruction manual.
Where can I buy a replacement coupling gasket?
Replacement parts are available directly from Cuisinart, at many major retailers, or on Amazon. Search for your blender model number to find the correct part.
How can I prevent the new gasket from wearing out prematurely?
Avoid overfilling the jar, clean the coupling socket regularly, don’t blend hot liquids, and store upright to extend the gasket lifespan. Only hand tighten when attaching the jar.
Conclusion
Replacing the coupling gasket is an easy and inexpensive fix that can get your Cuisinart blender running smoothly again. With the right replacement part and proper maintenance, your new coupling should last a long time. Just be attentive to any signs of wear and address them promptly. With this guide, you can now replace the coupling on your blender hassle-free.