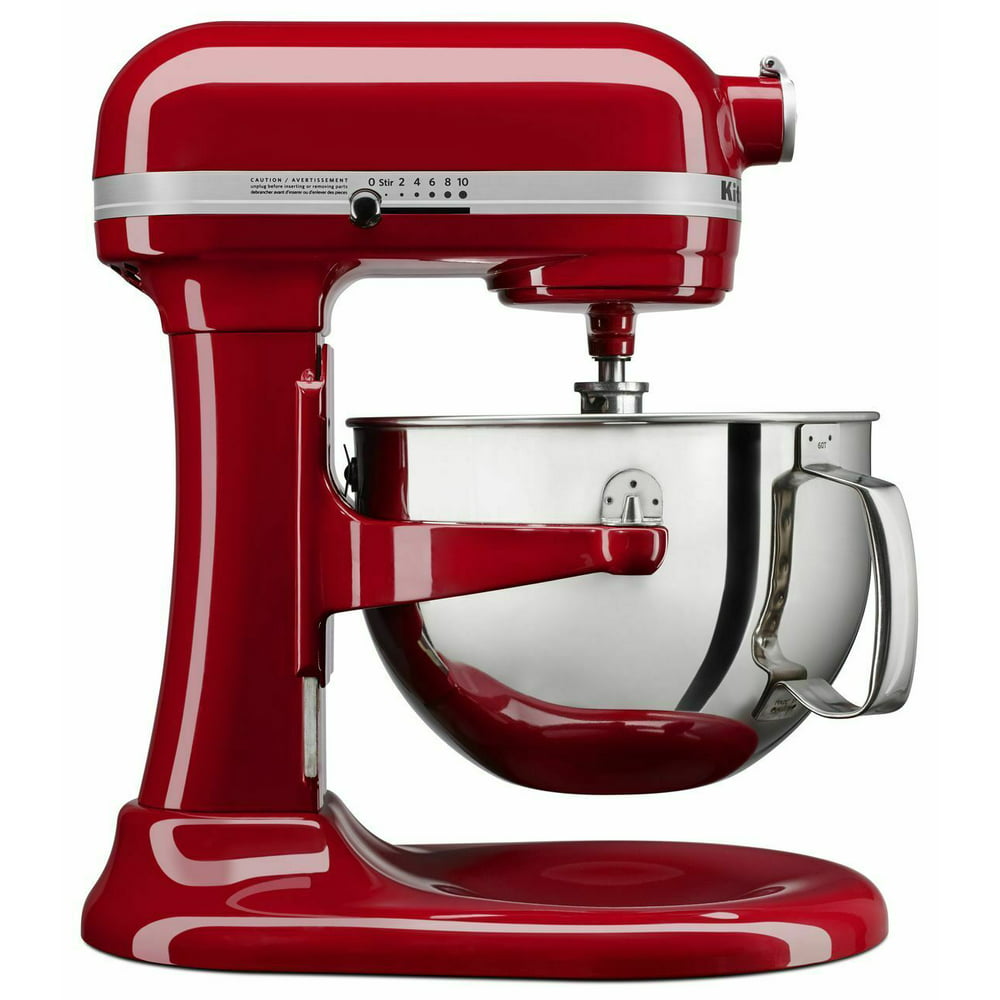
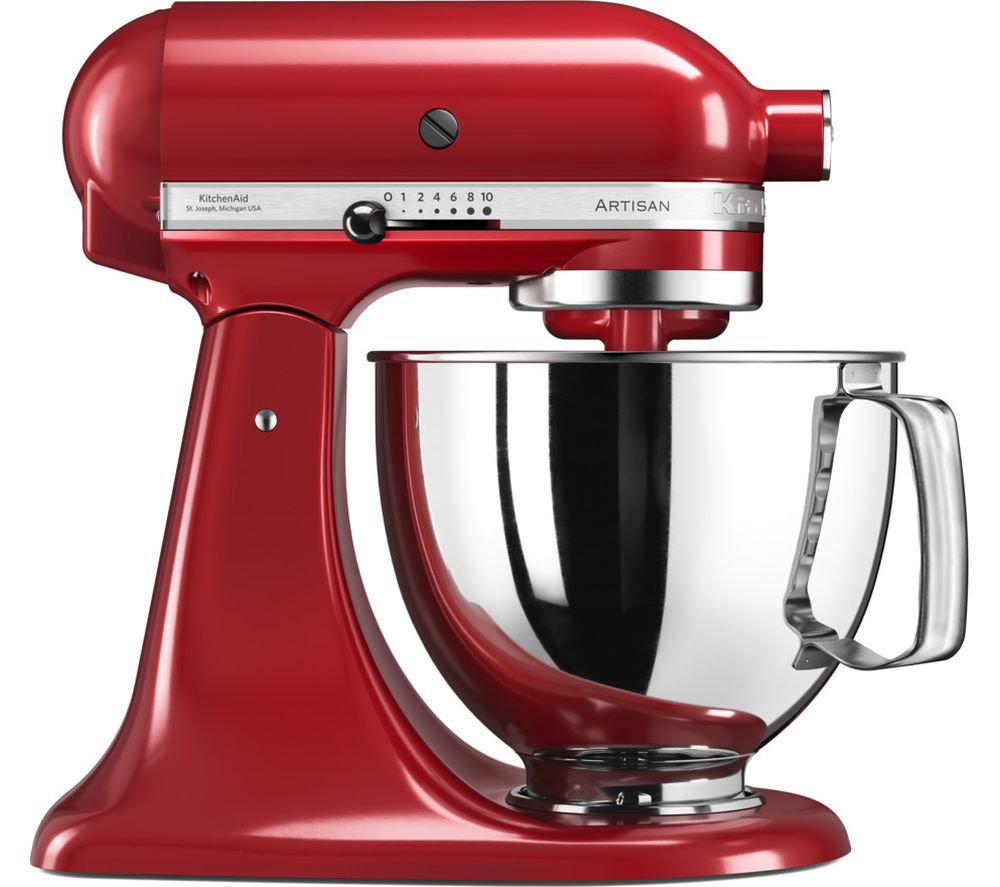
Kitchenaid mixers are a staple in many kitchens, loved for their versatility, reliability, and aesthetic appeal. Whether you’re an avid baker or just enjoy home cooking, maintaining your Kitchenaid mixer is essential for ensuring its longevity and optimal performance. One of the key aspects of this maintenance is oiling the mixer. This blog post will walk you through the process, offering practical tips and insights to help you keep your Kitchenaid mixer in top shape.
The Importance of Oiling Your Mixer
Before we delve into the specifics of oiling a Kitchenaid mixer, let’s consider why it’s necessary. Oiling your mixer serves two main purposes:
- Lubrication: The mixer’s gears need oil to function smoothly. Without proper lubrication, the gears can wear down faster, leading to reduced performance and potentially damaging the mixer.
- Protection: Oil helps protect the metal parts of your mixer from rust and corrosion. This is particularly important in kitchen environments, where moisture and humidity can be high.

When to Oil Your Kitchenaid Mixer
Knowing when to oil your Kitchenaid mixer is just as important as knowing how to do it. The manufacturer recommends oiling the mixer every 3-6 months, depending on usage. However, there are some telltale signs that your mixer may need oiling more frequently:
- Unusual noises: If your mixer starts making grinding or squeaking noises, it might be time to oil it.
- Leaking oil: If you see oil leaking from the mixer, this is a clear sign that the old oil needs replacing.
- Reduced performance: If your mixer doesn’t seem to be performing as well as it used to, lack of oil could be the issue.
Tools and Materials Needed
Here’s what you’ll need to oil your Kitchenaid mixer:
- Food-grade gear grease (Kitchenaid recommends using their grease, but any food-grade grease will do)
- Putty knife or similar tool for removing old grease
- Clean cloth or paper towels
- Screwdriver

Step-by-Step Guide to Oiling Your Kitchenaid Mixer
Now that we’ve covered the basics, let’s walk through the oiling process:
- Disconnect the mixer: Safety first! Always unplug the mixer before you begin.
- Remove the back cover: Use a screwdriver to remove the single screw securing the mixer’s back cover, then slide the cover off.
- Remove the planetary: The planetary is the part of the mixer where the attachments connect. Remove the drip ring, then use a punch and hammer to tap out the pin holding the planetary in place.
- Clean out old grease: Using a putty knife or similar tool, remove as much of the old grease as you can from the gears.
- Apply new grease: Apply a generous amount of new grease to the gears. You should use about as much grease as you removed.
- Reassemble the mixer: Put the planetary back in place, secure it with the pin, and replace the drip ring. Then slide the back cover back on and secure it with the screw.
Please note: This is a general guide and may not apply to all Kitchenaid mixer models. Always consult your mixer’s user manual before performing any maintenance.

Frequently Asked Questions
Q1: Can I use any type of oil to lubricate my Kitchenaid mixer?
No, it’s crucial to use food-grade gear grease when oiling your mixer. This type of grease is safe for use in kitchen appliances that come into contact with food.
Q2: What if I don’t feel comfortable oiling my Kitchenaid mixer myself?
If you’re not comfortable performing this maintenance task yourself, consider getting your mixer serviced by a professional. Many appliance repair shops offer this service.
Q3: How can I prevent oil from leaking out of my Kitchenaid mixer?
Oil leakage is often a sign of over-lubrication. When oiling your mixer, ensure you’re using roughly the same amount of grease as was originally in the mixer. Over time, the grease can separate into oil and thicker grease. If this happens, it’s time to remove the old grease and replace it with fresh grease.
Conclusion
Properly maintaining your Kitchenaid mixer can greatly extend its lifespan and ensure it continues to perform at its best. Oiling your mixer is a simple but essential task that can be easily done at home with the right tools and knowledge. By following the steps outlined in this blog post, you can keep your Kitchenaid mixer running smoothly and efficiently for years to come.


