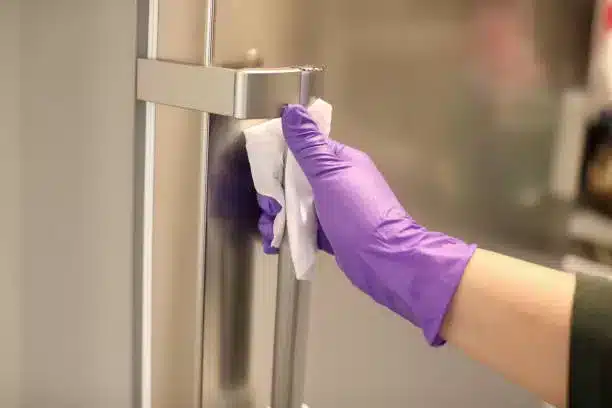
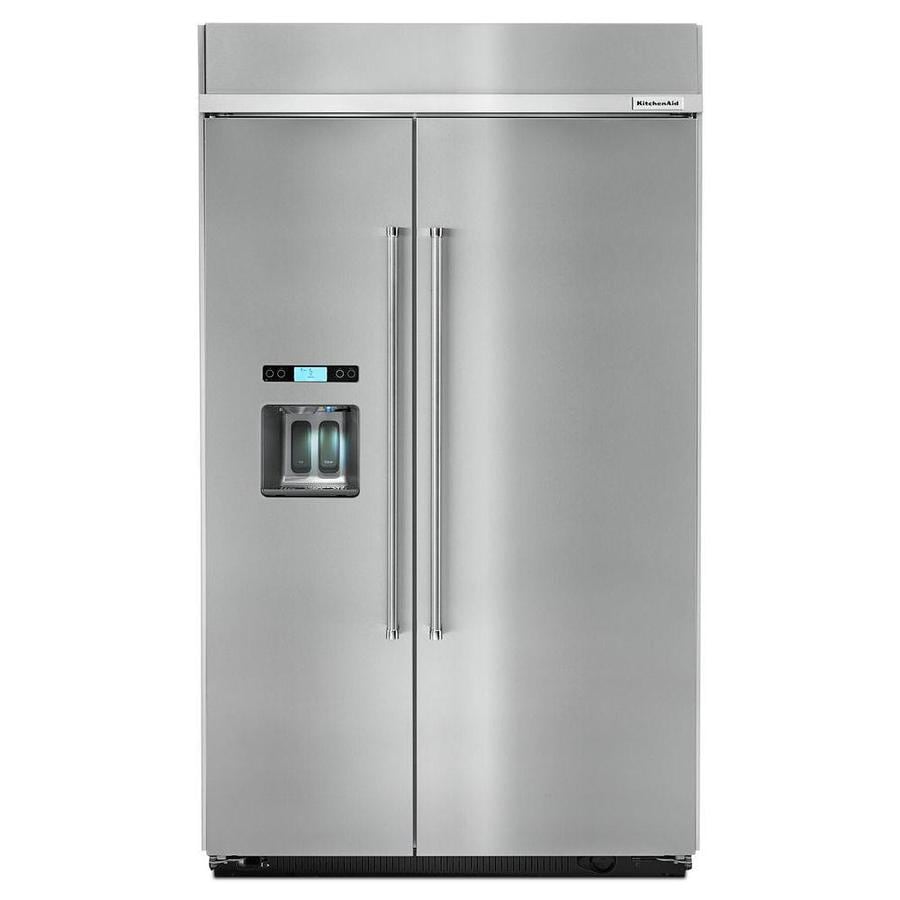
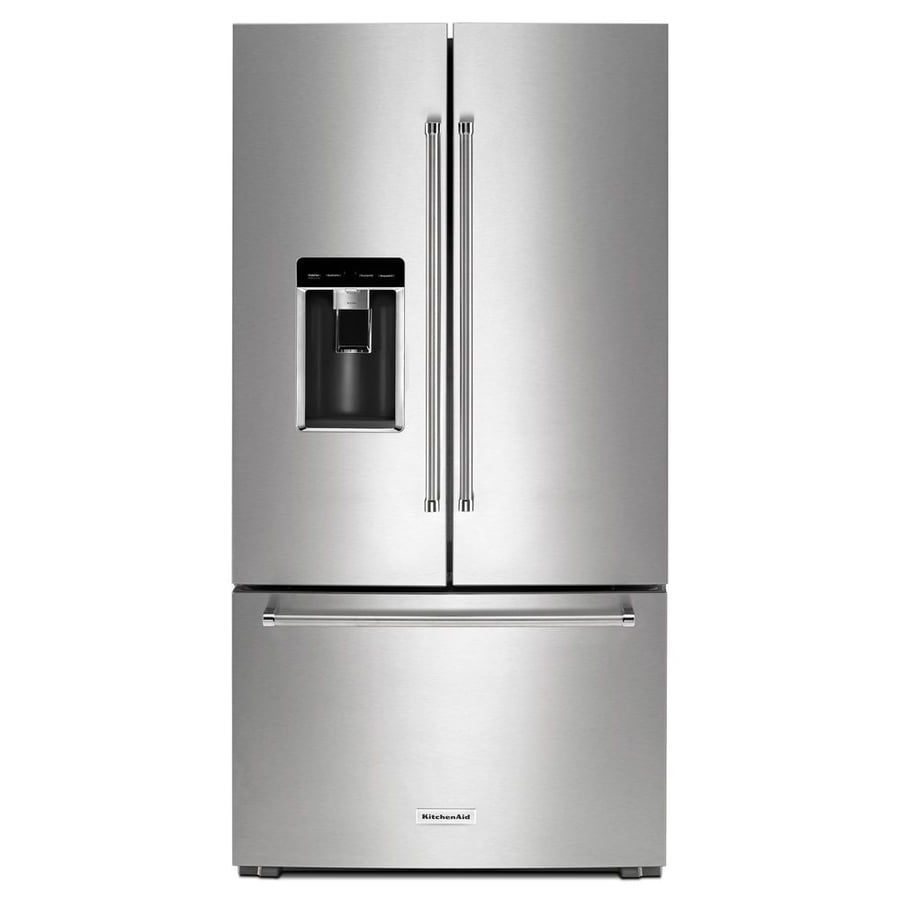
If you have a Kitchenaid freezer, you might notice that the handle on the freezer door becomes loose over time. This can be annoying and inconvenient, as it can make it harder to open and close the door or cause the handle to fall off completely. Fortunately, you don’t need to call a professional or buy a new freezer to fix this problem. You can securely fasten the handle on your Kitchenaid freezer by yourself with some simple tools and steps. In this post, we’ll show you how to tighten the handle on your Kitchenaid freezer and prevent it from becoming loose again.
You can tighten the handle on your Kitchenaid freezer by using a screwdriver to tighten the screws that hold the handle in place. You can also replace the screws with longer or stronger ones, or add washers to the screws, if they are stripped or worn out. You should also check the insulation behind the handle and apply some epoxy or glue if it is damaged or loose.
How to Tighten the Handle on Your Kitchenaid Freezer with a Screwdriver
The easiest and most common way to tighten the handle on your Kitchenaid freezer is to use a screwdriver to tighten the screws that hold the handle in place. Here are the steps to follow:
- Locate the two screws on the underside of the freezer door. These screws are attached to metal studs that go through the door and connect to the handle.
- Use a screwdriver that matches the head of the screws. You might need a Phillips or a flathead screwdriver, depending on your model.
- Turn the screws clockwise until they are snug and secure. Do not overtighten them, as this might damage the threads or strip the screws.
- Test the handle by pulling and pushing it gently. It should feel firm and stable, without any wobbling or rattling.
How to Replace or Add Washers to the Screws on Your Kitchenaid Freezer Handle
If tightening the screws does not fix the problem, it might be because the screws are stripped or worn out. This means that they cannot grip the studs or the handle properly, and they might come loose again. In this case, you might need to replace the screws with longer or stronger ones, or add washers to the screws, to create more friction and stability. Here are the steps to follow:
- Remove the two screws from the underside of the freezer door with a screwdriver. Be careful not to lose them or drop them inside the door.
- Check the condition of the screws. If they are rusty, bent, or have damaged threads, you should replace them with new ones that have the same size and shape.
- Check the condition of the washers. If they are missing, cracked, or have worn out edges, you should replace them with new ones that have the same size and thickness.
- Insert a washer onto each screw before inserting them into the studs. The washers will act as spacers and create more tension between the screws and the studs.
- Tighten the screws with a screwdriver until they are snug and secure. Do not overtighten them, as this might damage the threads or strip the screws.
- Test the handle by pulling and pushing it gently. It should feel firm and stable, without any wobbling or rattling.
How to Check and Repair the Insulation Behind Your Kitchenaid Freezer Handle
If replacing or adding washers to the screws does not fix the problem, it might be because the insulation behind the handle is damaged or loose. This means that there is not enough support for the studs or the handle, and they might come loose again. In this case, you might need to check and repair the insulation behind your Kitchenaid freezer handle with some epoxy or glue. Here are the steps to follow:
- Remove both screws from underneath of freezer door with a screwdriver
- Carefully pull off handle from door
- Check condition of insulation behind handle
- If insulation is torn, cracked, or missing, you should repair it with some epoxy or glue
- Apply epoxy or glue to damaged areas of insulation and press firmly
- Let epoxy or glue dry completely according to instructions
- Reattach handle to door by inserting studs into holes
- Tighten screws with screwdriver until they are snug and secure
- Test handle by pulling and pushing it gently
- It should feel firm and stable, without any wobbling or rattling

Conclusion
Tightening up your Kitchenaid freezer handle is not a difficult task if you follow these simple steps. You can use a screwdriver to tighten up your existing screws, replace them with longer ones if needed, add washers for extra stability if needed, and repair any damage in your insulation if needed. By doing so, you can securely fasten your handle on your Kitchenaid freezer and enjoy using it for years to come.