
To set the clock on your Panasonic microwave, you just need to press the clock button, enter the current time, and press the clock button again. That’s it. You’re done.

The first thing you need to do is press the clock button on your microwave’s control panel. This is the button that has a picture of a clock or the word “clock” on it. It’s usually located near the top or bottom of the panel, depending on your model.
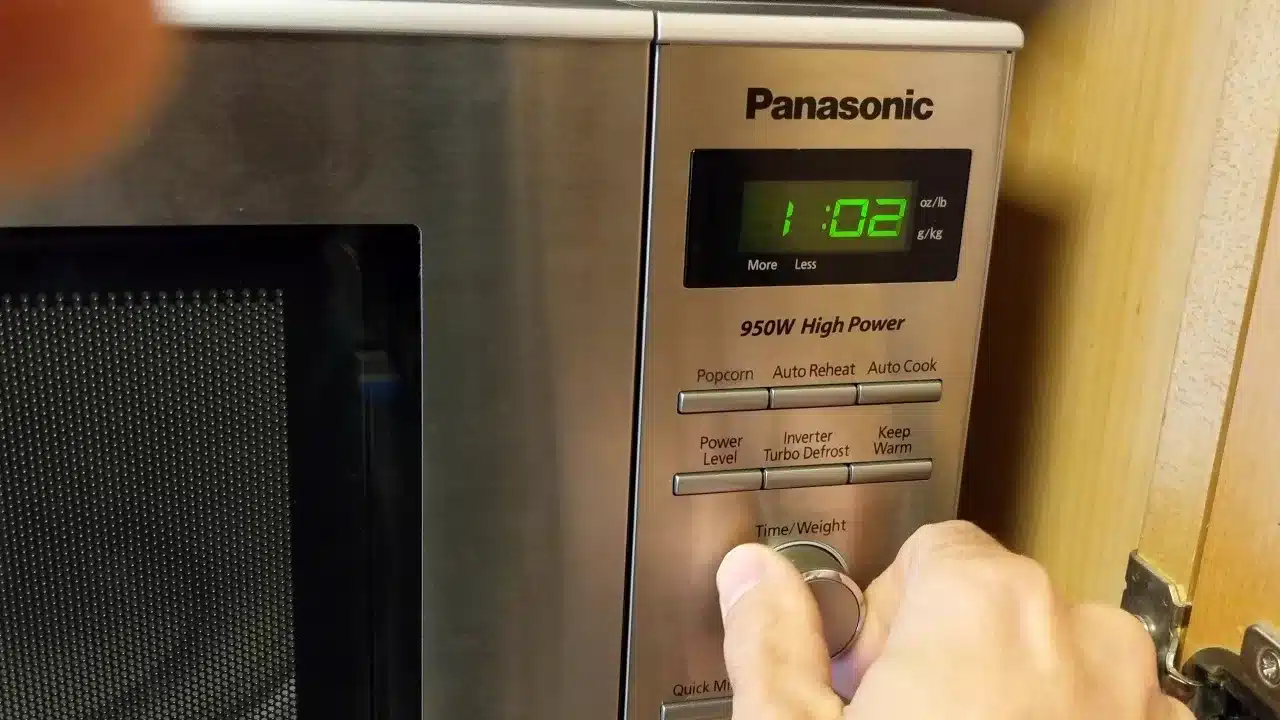
When you press the clock button, you’ll see some numbers flashing on the display screen. These are the default settings for the clock, which may not match your current time zone or daylight saving time.
The next thing you need to do is enter the current time using the number buttons on your microwave’s control panel. You can enter the time in either 12-hour or 24-hour format, depending on your preference.
For example, if you want to set the clock to 10:15 AM, you can either press 1-0-1-5 or 1-0-1-5-A-M. If you want to set the clock to 10:15 PM, you can either press 1-0-1-5 or 2-2-1-5.
If you make a mistake while entering the time, you can press the stop/clear button to erase it and start over.
The last thing you need to do is press the clock button again to confirm your settings and activate the clock. You’ll hear a beep sound and see the time displayed on the screen without flashing.
Congratulations! You’ve successfully set the clock on your Panasonic microwave. Now you can enjoy having a reliable and accurate time display on your kitchen appliance. You can also use it as a timer or an alarm for your cooking tasks.
We hope this guide has helped you learn how to set the clock on your Panasonic microwave in a snap. As you can see, it’s a very simple and quick process that anyone can do. You don’t need to call a technician or read a manual to do it. Just follow these three easy steps and you’re good to go.
Thank you for reading this blog post from Presstocook.com. We’re here to help you with all your cooking needs and questions. If you have any feedback or suggestions for us, please leave a comment below or contact us through our website. We’d love to hear from you.

