
Congratulations on your purchase of a small Aroma rice cooker! This compact and versatile appliance is perfect for cooking delicious rice effortlessly. To help you get started, we have provided step-by-step instructions on how to use your small Aroma rice cooker effectively.
Before using your Aroma rice cooker, it is important to read the instruction manual that came with the appliance. Familiarize yourself with the specific features and functions of your model. Additionally, ensure that you have all the necessary ingredients and equipment, including rice, water, and the inner pot.
Using the measuring cup that came with your Aroma rice cooker, measure the desired amount of rice. The measuring cup typically has markings for different serving sizes, such as 1 cup, 2 cups, and so on. It is important to use the measuring cup provided, as the rice-to-water ratio may vary depending on the cup’s size.
Place the measured rice into the inner pot of the rice cooker. Rinse the rice under cold water, gently swishing it with your hand. This helps remove excess starch and impurities from the rice, resulting in fluffier cooked rice. Drain the water from the pot.

Add water to the inner pot based on the rice-to-water ratio recommended in the instruction manual. The ratio typically ranges from 1:1 to 1:2 (rice to water), depending on the type of rice and desired consistency. The instruction manual will provide specific guidelines for your model.
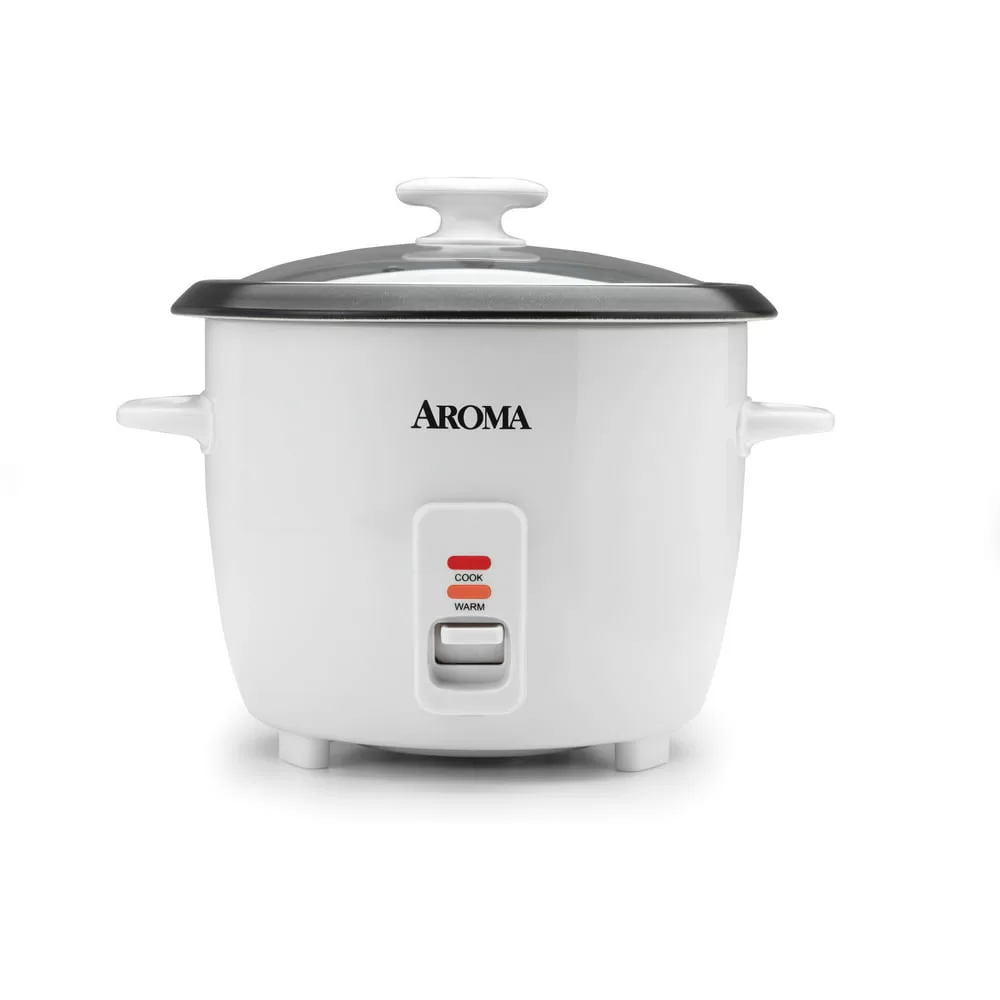
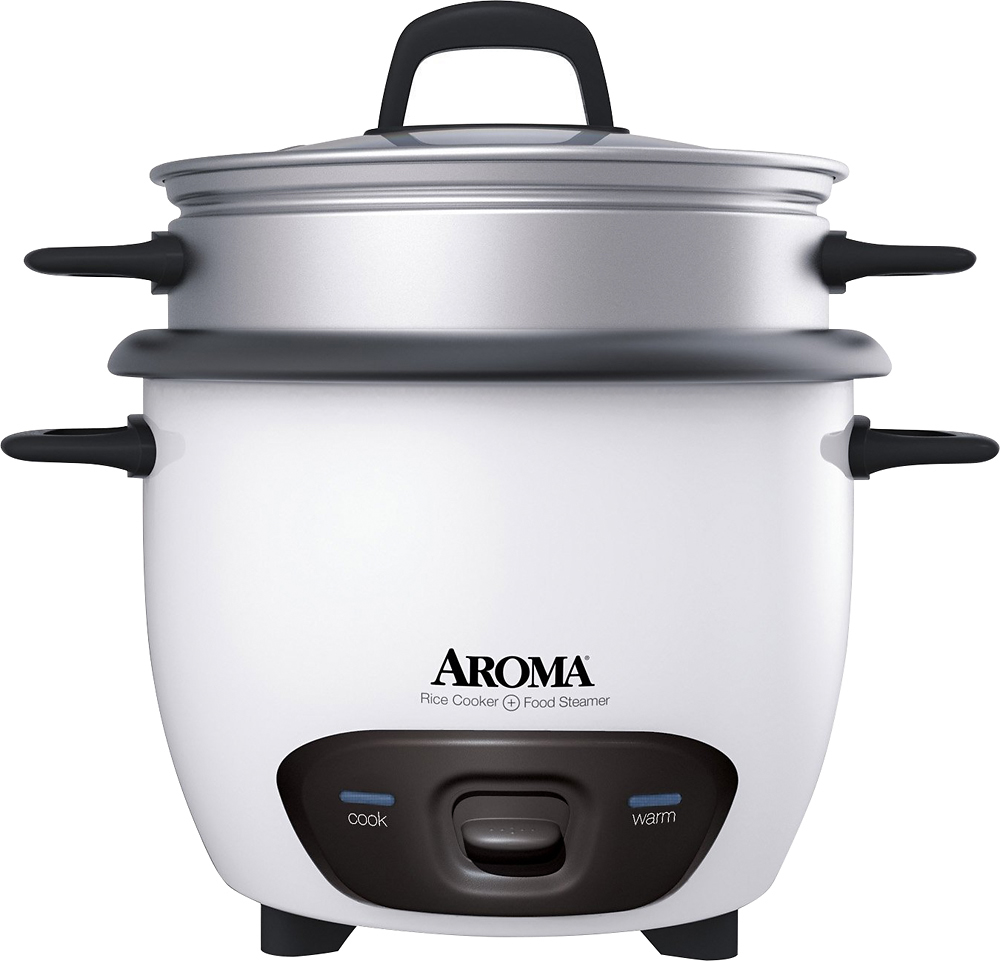
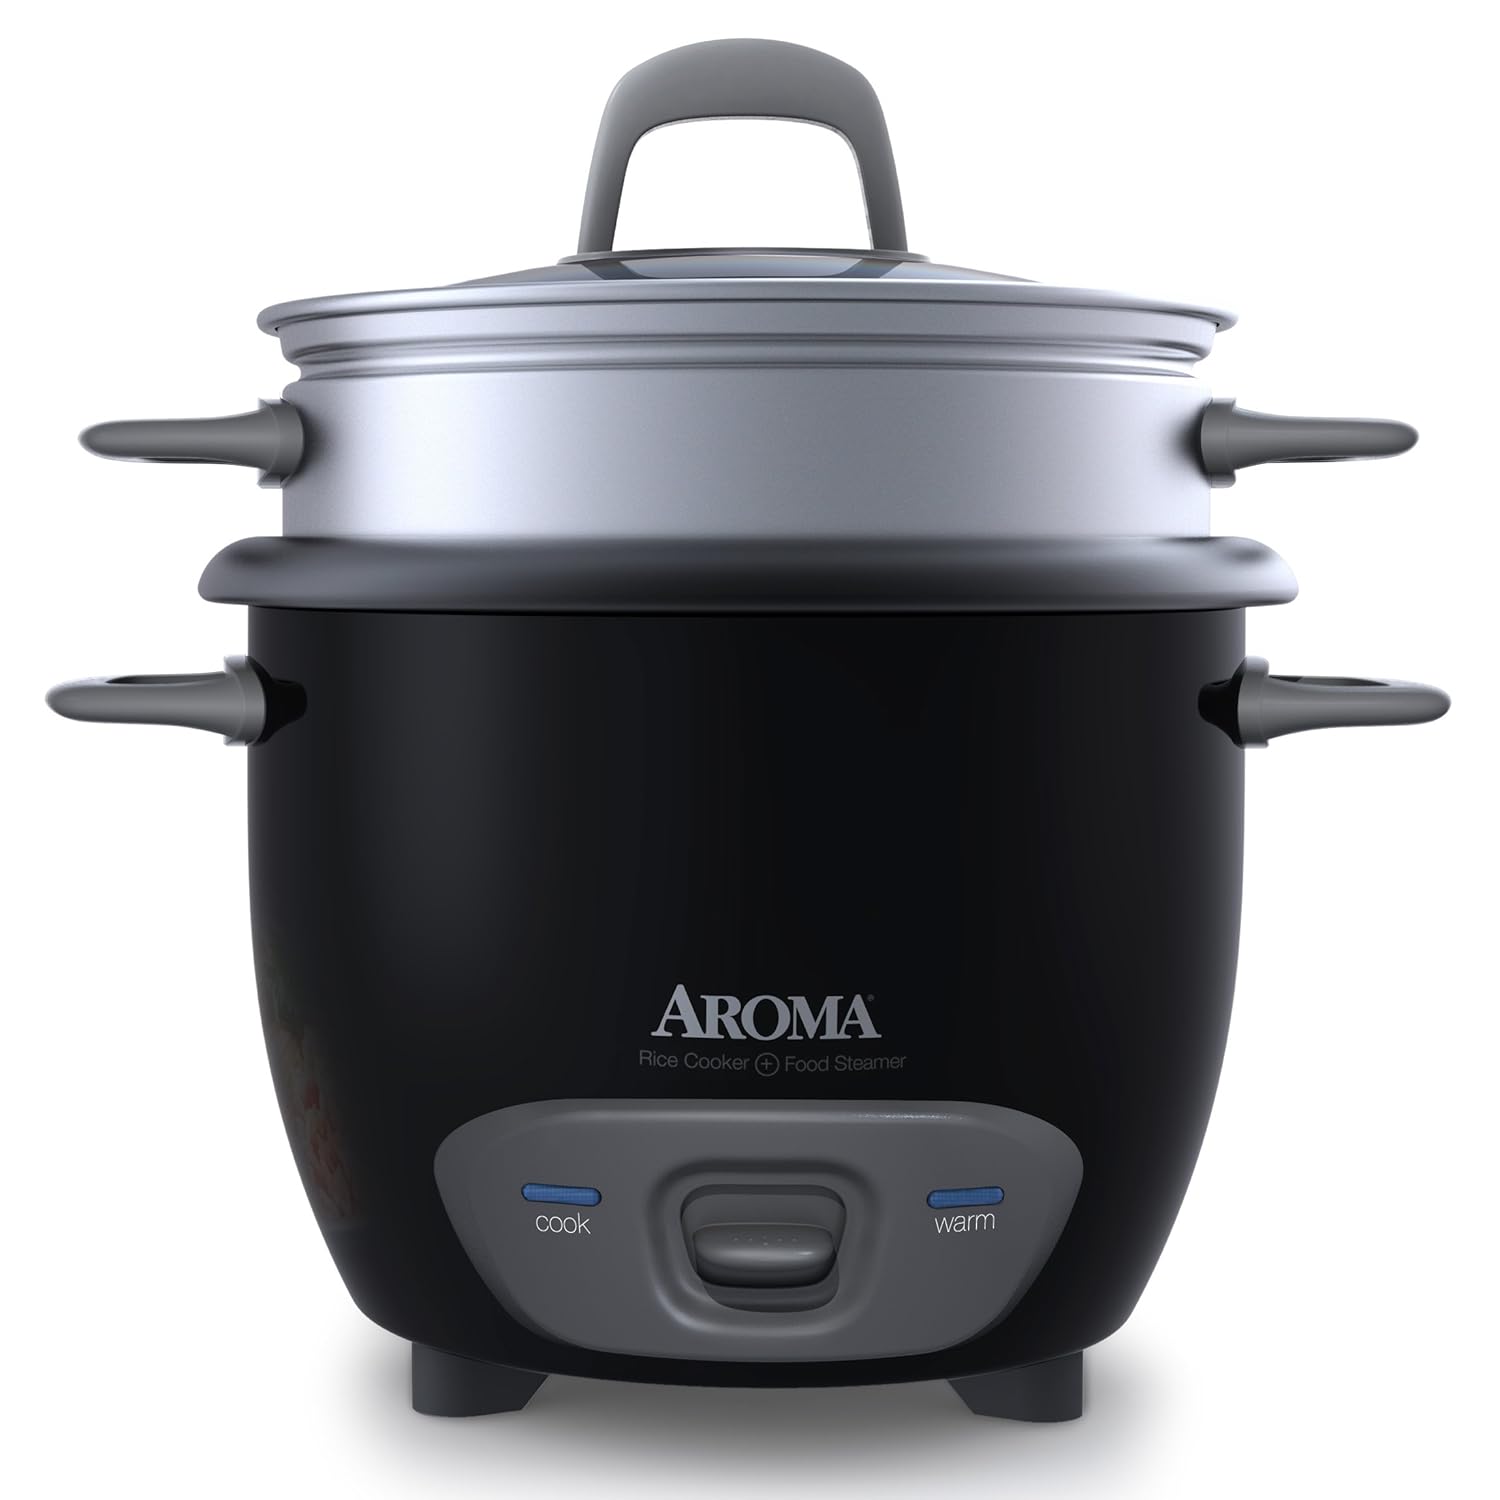
Your Aroma rice cooker comes equipped with a variety of cooking settings designed to cook different types of rice and grains to perfection. The settings you’ll find on your cooker may include:
To select a setting, simply press the corresponding button on your Aroma rice cooker. The selected setting will light up, indicating that it’s active. If you’re unsure of which setting to use for a particular type of rice or dish, refer to your instruction manual. The manual will provide detailed information on the recommended settings for different types of rice and dishes.
Remember, each type of rice may require different amounts of water and cooking times. Always refer to the instruction manual or a reliable rice cooking guide when determining the rice-to-water ratio and the appropriate setting to use.

Once you have selected the desired cooking setting, close the lid of the rice cooker and plug it into a power source. Press the “Cook” or “Start” button to begin the cooking process. The rice cooker will automatically adjust the cooking time and temperature based on the selected setting.
During the cooking process, avoid opening the lid to check on the rice. The rice cooker is designed to create a sealed environment, ensuring even cooking. Depending on the quantity and type of rice, the cooking time may vary. Refer to the instruction manual for approximate cooking times.
Once the rice cooker has completed the cooking cycle, it will automatically switch to a “Keep Warm” mode. Allow the rice to rest for a few minutes before opening the lid. This resting period helps to evenly distribute the moisture in the rice, resulting in a better texture.
After the resting period, open the lid of the rice cooker. Use a rice paddle or fork to fluff the rice gently, allowing any excess steam to escape. Serve the rice immediately or keep it warm in the rice cooker’s “Keep Warm” mode until ready to serve.
After each use, make sure to unplug the rice cooker and allow it to cool before cleaning. Remove the inner pot and wash it with warm, soapy water. Rinse thoroughly and dry before placing it back into the rice cooker. Wipe the exterior of the rice cooker with a damp cloth.
With these simple instructions, you can now confidently use your small Aroma rice cooker to prepare delicious rice. Remember to refer to the instruction manual for specific guidelines and cooking settings for your model. Enjoy your perfectly cooked rice every time!

