
To remove the ice maker from a Whirlpool freezer, you need to unplug the freezer and turn off the power at the electrical outlet. Then, remove the ice bin and the ice maker cover. Next, release the ice maker from its mounting tabs and disconnect the wire harness. To install it back, you need to do the opposite of what you did to remove it.
The first step is to unplug the freezer and turn off the power at the electrical outlet. This will prevent any electric shock or damage to your appliance.
Before you touch any electrical parts, make sure you wear gloves and use a multimeter to check if there is any voltage present.

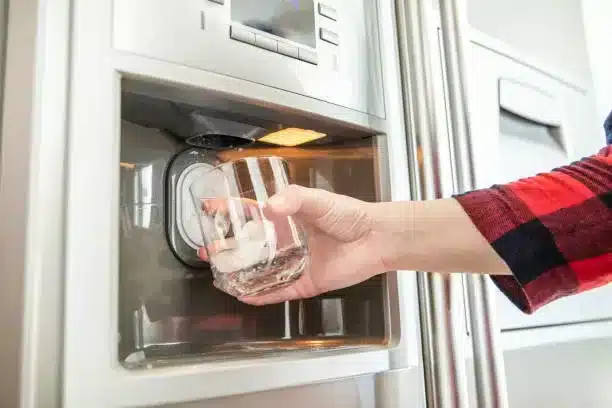
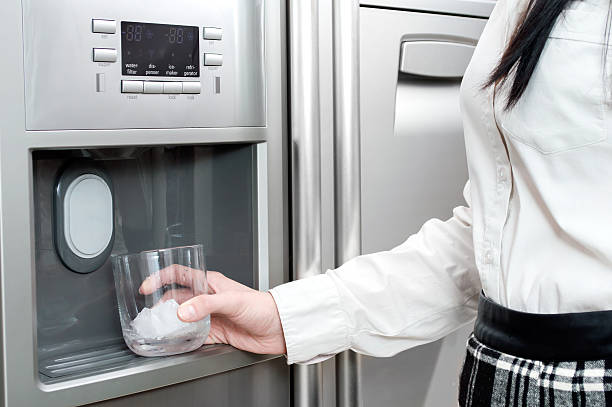
The next step is to remove the ice bin and the ice maker cover from your freezer. The ice bin is the plastic container that holds your ice cubes. The ice maker cover is a plastic or metal panel that protects the ice maker assembly.
To remove the ice bin, you need to place your fingers into the hole at the base of the bin and squeeze the latch to release it. Then, lift the bin up and pull it straight out.
To remove the ice maker cover, you need to locate the screws or clips that secure it to the freezer wall. Depending on your model, you may need a screwdriver or a pliers to loosen or remove them. Then, pull off the cover and set it aside.
The last step is to release the ice maker from its mounting tabs and disconnect the wire harness. The mounting tabs are small plastic or metal pieces that hold the ice maker in place. The wire harness is a bundle of wires that connects the ice maker to the power supply.
To release the ice maker from its mounting tabs, you need to locate them on either side of the ice maker assembly. Depending on your model, you may need to push them in or out with your fingers or a screwdriver to unlock them. Then, push or pull the ice maker forward and off its rails.
To disconnect the wire harness, you need to locate its plug behind or under the ice maker assembly. You may need a screwdriver to unlock it from its socket. Then, pull it out gently and set it aside.
To install it back, you need to do the opposite of what you did to remove it. That is:
Removing your ice maker matters because it allows you to access and clean or repair your ice maker assembly. This can improve your ice quality and hygiene, as well as extend the life of your appliance.
You should remove and clean your ice maker periodically or whenever you notice any dirt, mold, or mineral deposits on your ice cubes or inside your ice bin. You should also remove and inspect your ice maker if you experience any problems with its function or performance.
Q: How do I clean my Whirlpool freezer’s ice maker?
A: To clean your Whirlpool freezer’s ice maker, you need to follow these steps:
Q: How do I troubleshoot my Whirlpool freezer’s ice maker?
A: To troubleshoot your Whirlpool freezer’s ice maker, you need to check for these common issues:
Q: Where can I buy a replacement ice maker assembly for my Whirlpool freezer?
A: You can buy a replacement ice maker assembly for your Whirlpool freezer from www.whirlpool.com/parts or from other authorized retailers online or in-store. Make sure you buy an original or approved ice maker assembly for your freezer to ensure quality and compatibility.

