
To remove the freezer tray from a Whirlpool refrigerator, you need to unplug the refrigerator, disconnect the wire harness, open the freezer drawer, release the clips, and pull out the tray. To clean the tray, you need to wash it with warm water and mild soap or detergent, rinse well, and dry with a soft cloth or towel.
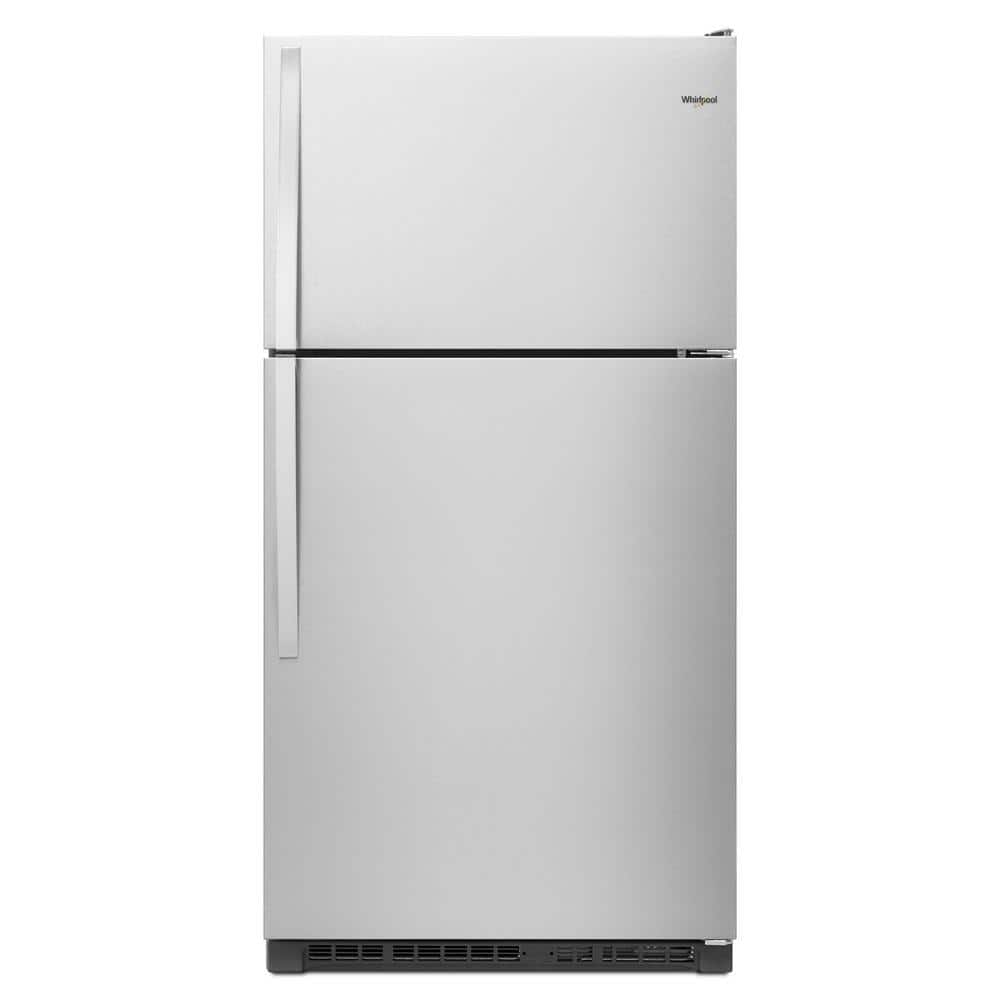
Removing the freezer tray from a Whirlpool refrigerator is not a complicated task, but you’ll need to follow some instructions and precautions. The following steps will guide you through the process of removing the freezer tray and preparing it for cleaning or replacement.
The first thing you need to do before removing the freezer tray is to unplug your refrigerator from the power source. This will prevent any electric shocks or damage to the appliance. Locate the power cord and pull it out of the wall outlet. Make sure you have enough space and light to work on your refrigerator.
The next thing you need to do is to disconnect the wire harness that connects your freezer tray to your refrigerator. The wire harness is a bundle of wires that provides power and communication between your tray and your refrigerator.
To disconnect it, locate the wire harness connector at the bottom of your refrigerator. It may be covered by a plastic cap or tape. Remove any coverings and gently pull apart the connector halves. Be careful not to damage or cut any wires.
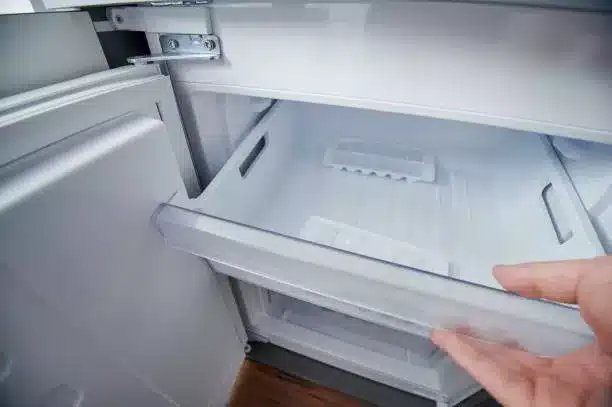
The next thing you need to do is to open your freezer drawer until it stops. You may need to pull it firmly to overcome the resistance of the door seal. Make sure you have enough space and light to work on your freezer.
The next thing you need to do is to release the clips that hold your freezer tray in place. Depending on your model of Whirlpool refrigerator, these may be located on the sides or on the back of your tray.
To release them, push them up from the bottom with your finger or a flathead screwdriver to disengage them. You may hear a click sound when they are released. Keep track of the clips for later use.
Once you have released the clips, you can pull out your freezer tray from your Whirlpool refrigerator. To do this, grasp both sides of your tray and pull it toward you until it stops. Then, lift up slightly on the front of your tray and pull it out completely.
Be careful not to damage or scratch your floor or your refrigerator when pulling out your tray. You may want to place some towels or cardboard under your tray to protect your floor.

To clean your freezer tray from your Whirlpool refrigerator, you need to follow some simple steps and precautions. The following steps will guide you through the process of cleaning your freezer tray and making it ready for use again.
The first thing you need to do is to wash your freezer tray with warm water and mild soap or detergent. You can use a sponge or cloth to scrub off any dirt or stains from your tray. You can also use baking soda or vinegar to remove any odors or residues from your tray.
The next thing you need to do is to rinse well your freezer tray with clean water. Make sure that there is no soap or detergent left on your tray. You can use a hose or a faucet to rinse off your tray thoroughly.
The last thing you need to do is to dry your freezer tray with a soft cloth or towel. Wipe off any excess water or moisture from your tray. You can also use a hair dryer or fan to speed up the drying process.
Q: How do I remove the ice maker from my Whirlpool refrigerator freezer tray?
A: Some models of Whirlpool refrigerator freezer trays have an ice maker that can be removed for cleaning or replacement. To remove the ice maker, you need to remove the freezer tray first by following our easy guide above. Then, locate the ice maker on the left side of your tray and unplug its wire harness connector. Next, remove the screws that secure the ice maker to the tray and lift it out.
Q: How do I adjust my Whirlpool refrigerator freezer tray?
A: Some models of Whirlpool refrigerator freezer trays have adjustable dividers that can be moved to accommodate different sizes of items. To adjust your freezer tray, you need to remove it first by following our easy guide above. Then, reposition the dividers at your desired location by inserting them into different slots or holes on the tray.
Q: How do I replace my Whirlpool refrigerator freezer tray?
A: To replace your freezer tray in your Whirlpool refrigerator, you need to reverse the steps above. Start by reconnecting the wire harness connector at the bottom of your tray. Then, align your tray with its rails and slide it back into place. Make sure that it is securely attached and slides smoothly.
Next, reattach the clips that hold your tray in place. Push them down from the top with your finger or a flathead screwdriver to engage them. You may hear a click sound when they are attached.
Finally, close your freezer drawer and check if everything is working properly. You may need to adjust your temperature settings or rearrange your food items if needed.
Removing and cleaning your freezer tray from your Whirlpool refrigerator is a simple task that can help you keep your freezer clean and organized. By following our easy guide, you can remove and clean your tray in minutes and enjoy more space and convenience in your freezer.

